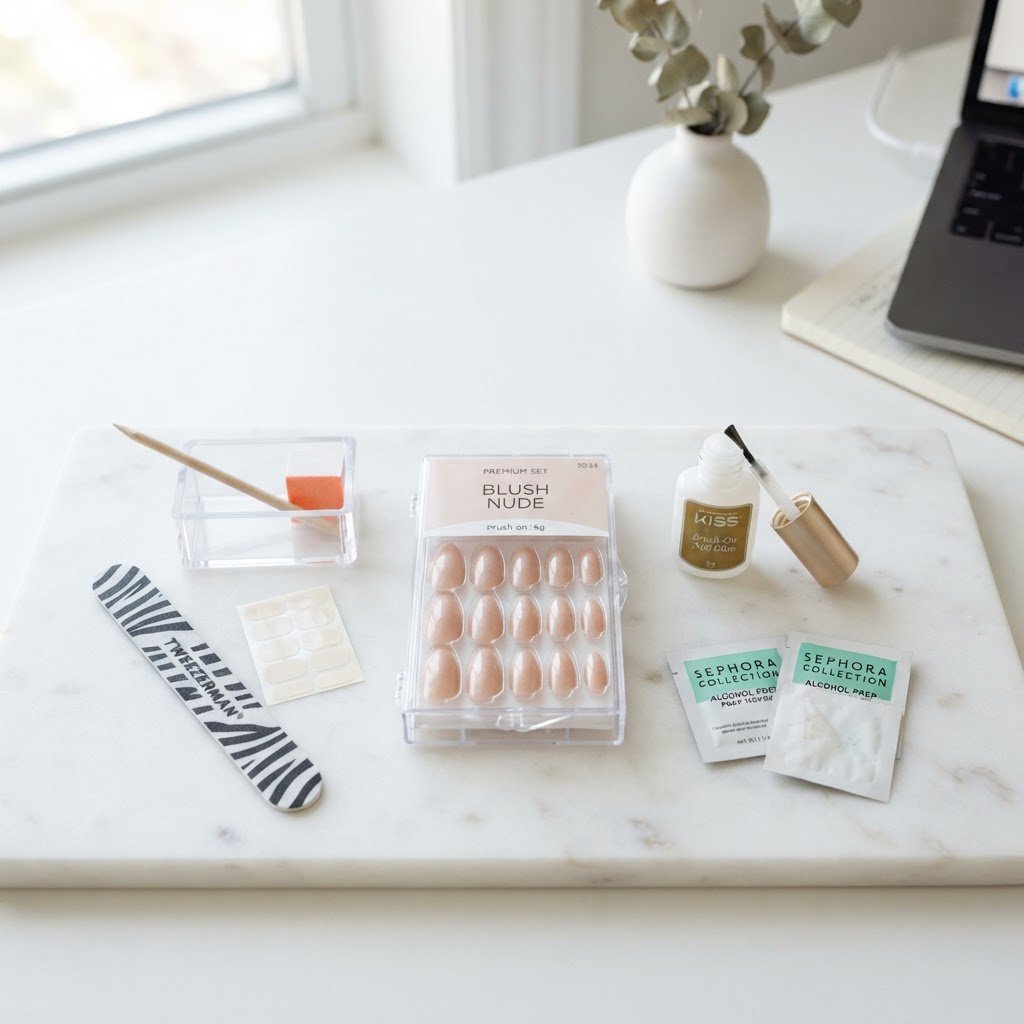
Achieving salon-quality results while racing against the clock is entirely possible when you utilize expert quick press-on nail hacks for busy mornings. By focusing on proper surface preparation, choosing high-quality adhesive tabs versus liquid glue, and mastering the “fit-first” sizing method, you can transform your routine from a chaotic chore into a streamlined, durable manicure process that fits into even the busiest schedule.
Perfecting Your Surface Preparation
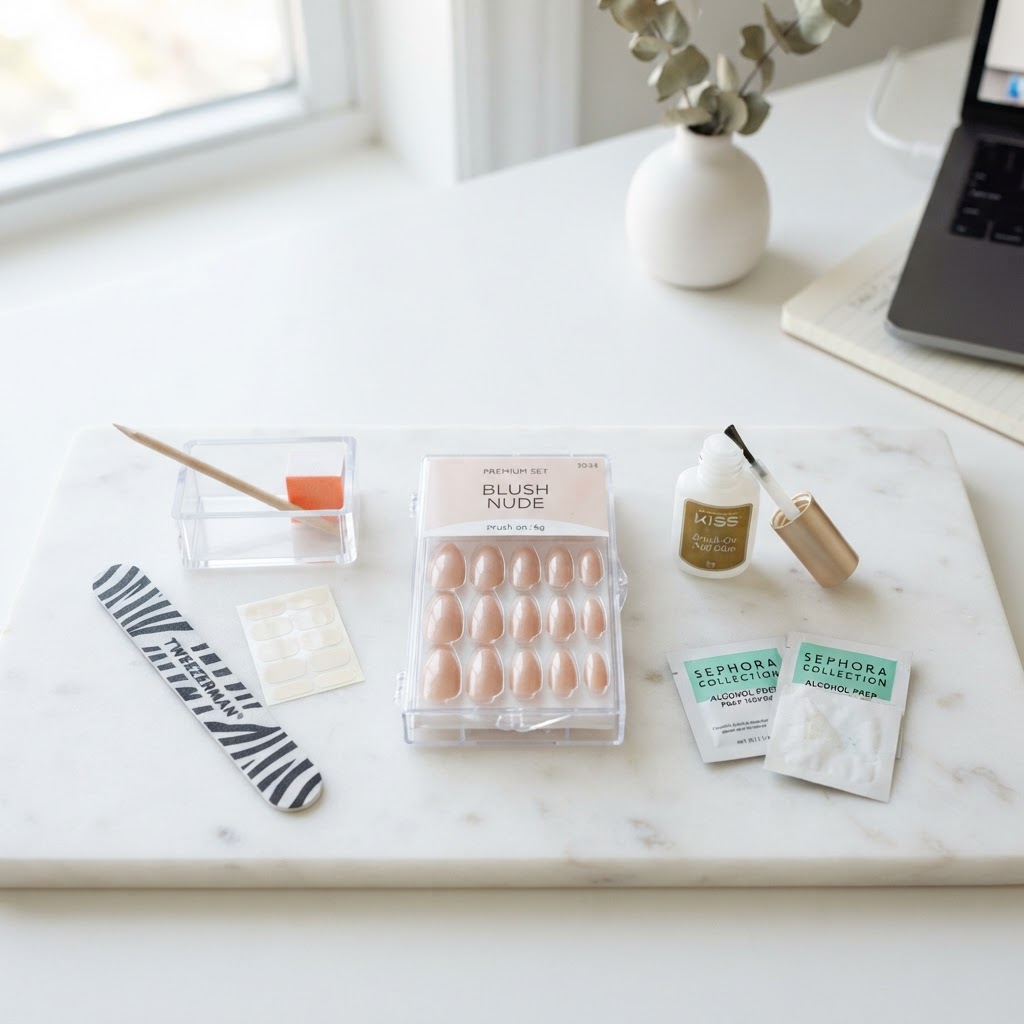
Proper nail surface prep is the undisputed foundation of any long-lasting press-on manicure. If you skip this step, no amount of glue will keep your nails from popping off mid-commute. Start by using an alcohol wipe or an acetone-based cleanser to remove every trace of natural oil from your nail plate. Even if your hands feel clean, residual oils are the number one culprit behind lifting. Next, gently push back your cuticles and lightly buff the surface of your nail to create a textured “tooth” for the adhesive to grip. This simple prep sequence drastically improves the longevity of your press-ons, ensuring they stay put throughout your high-intensity workday.
The Secret to Sizing Efficiency
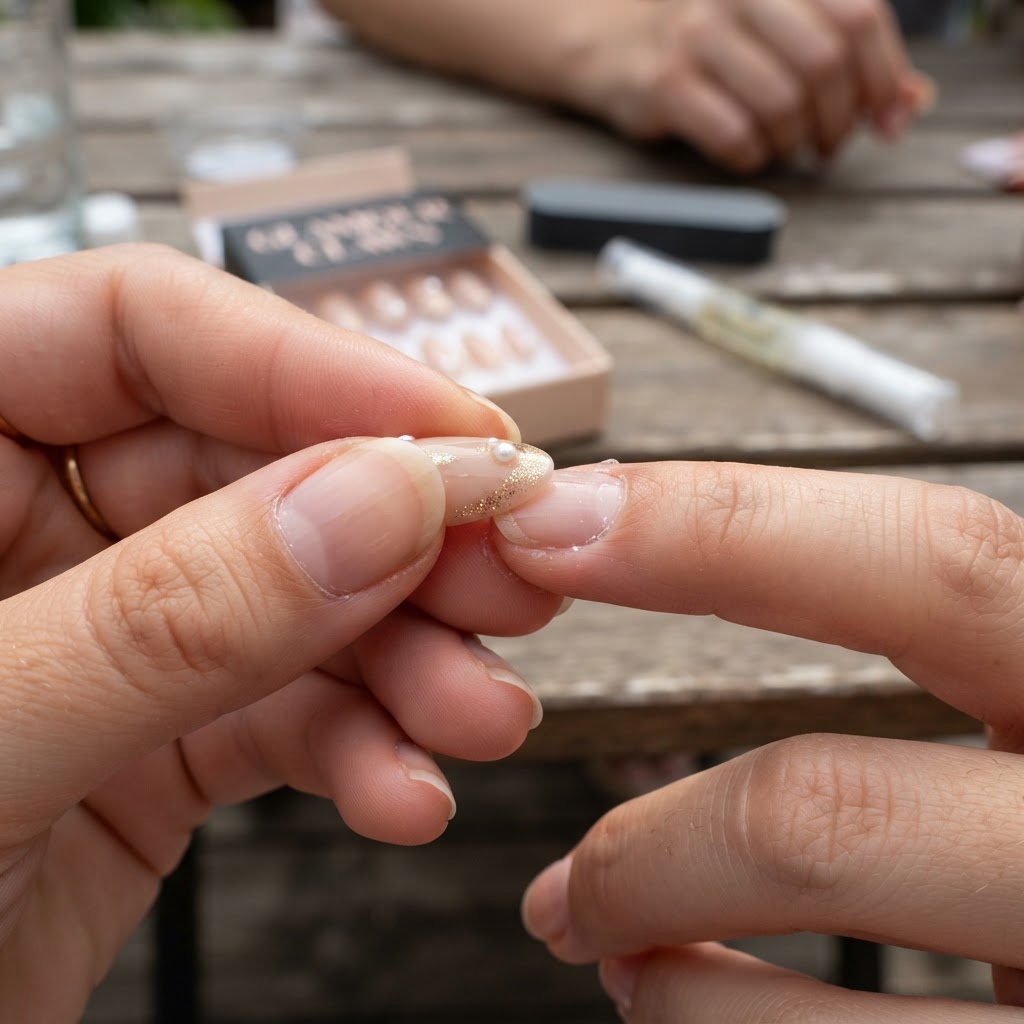
Selecting the correct size before you start your application will save you several minutes of frustration. Instead of picking sizes as you go, lay out your full set of ten nails on a flat surface or a piece of double-sided tape before opening your adhesive. By “mapping out” your sizes for both hands at the very beginning, you eliminate the mental load of trial and error during the actual bonding process. Keep a “cheat sheet” or notes on your phone regarding your specific sizes for different brands so you can grab the correct set instantly. This organizational habit is one of the most effective manicure time savers for those who need a polished look without the fuss.
Mastering Adhesive Application
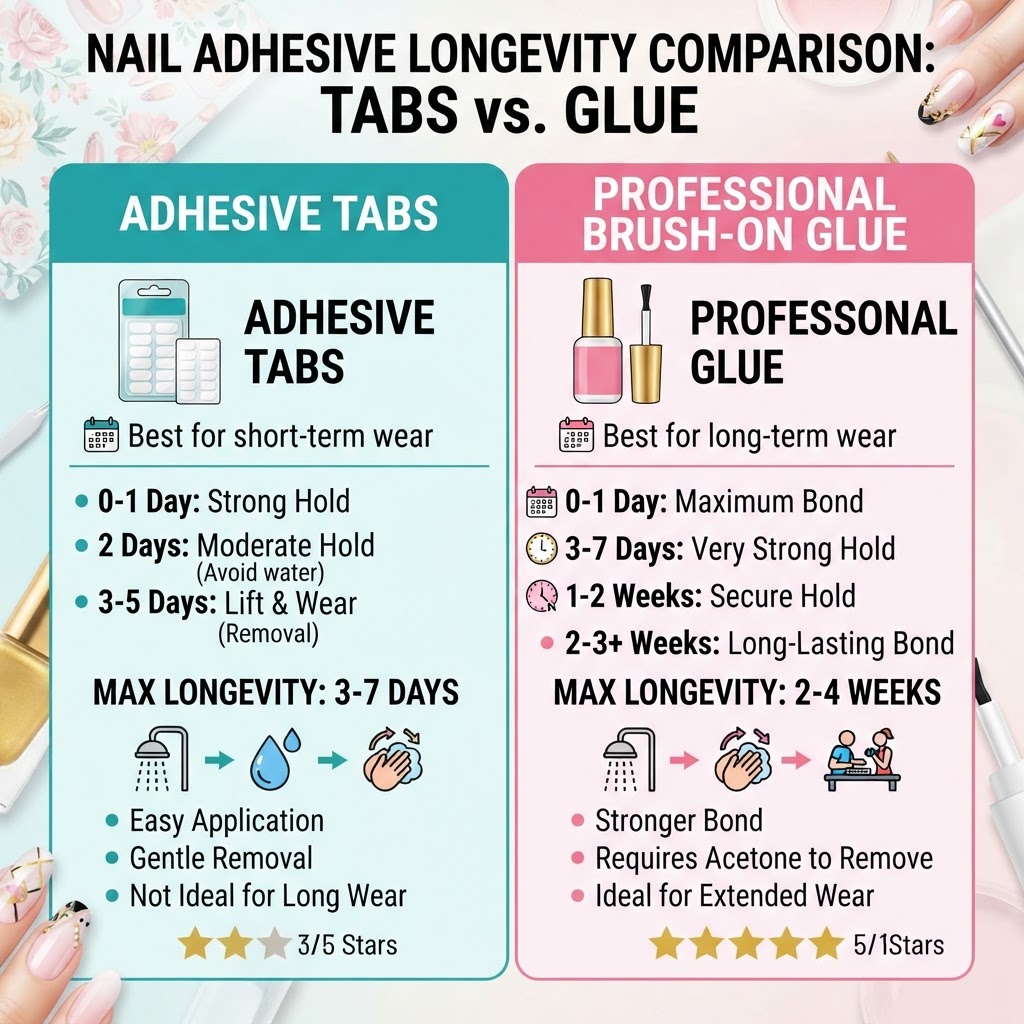
Choosing the right adhesive depends entirely on how long you need your nails to last. If you are prepping for a quick morning transition and only need the nails to look great for 24-48 hours, adhesive tabs are superior because they are forgiving and do not damage your natural nail. However, for a durable press-on manicure that lasts over a week, a high-quality brush-on resin glue is the gold standard. When applying glue, use a thin, even layer on both your natural nail and the back of the press-on to maximize surface contact. Avoid flooding the cuticle area, as this causes premature peeling.
Comparing Adhesives for Speed
- Adhesive Tabs: Best for 1-2 day wear, no dry time, easy removal.
- Brush-on Glue: Best for 7-14 day wear, requires 30 seconds of pressure.
- Gel Nail Glue: Requires a UV lamp, extreme durability, 20 minute total application time.
Strategic Application Techniques
Angle is everything when applying the press-on to your finger to avoid air bubbles. Start by aligning the bottom of the press-on nail as close to your cuticle as possible without touching the skin. Press down firmly at a 45-degree angle to push the glue forward toward the free edge, which forces out trapped air. Holding each nail under firm pressure for at least 15 to 30 seconds is non-negotiable for a strong bond. If you press too lightly, moisture will enter the seal and lead to premature pop-offs. Following these quick press-on nail hacks for busy mornings will ensure your manicure survives your morning coffee and your afternoon typing sessions.
Maintaining Your Manicure
Maintaining your nails is just as important as the initial application. Carrying a small bottle of travel-sized nail glue in your purse is the ultimate “in-case-of-emergency” tool for any user of press-ons. Avoid prolonged water exposure immediately after application, as the adhesive needs a full “curing” period of about an hour to reach maximum strength. If you notice a side lifting, don’t rip the nail off; instead, apply a tiny drop of glue into the gap and hold it firmly for 30 seconds. This maintenance hack can extend the life of your quick press-on nail hacks for busy mornings by several days, making them a true staple of your beauty routine.
FAQ
How do I make my press-on nails stay on longer?
To make your press-ons last, focus on the “dehydrate and buff” method. Use an alcohol pad to remove oils and lightly buff the natural nail plate to help the glue bond better.
Can I reuse press-on nails?
Yes, if you use adhesive tabs, you can reuse the nails indefinitely. If you use glue, you can remove them safely by soaking in warm soapy water and oil, then gently buffing away the old glue residue from the back of the nail.
Will press-ons damage my natural nails?
The damage typically comes from improper removal. Never yank the nails off. Always use a high-quality cuticle oil to dissolve the glue adhesive slowly before gently lifting the edges.
How can I apply them faster?
Practice the “map and lay” technique where you sort your sizes onto a paper towel before opening the glue. This prevents you from fumbling with boxes and finding sizes while the glue is already tacky.
Conclusion
Mastering these techniques proves that you do not need a three-hour salon appointment to maintain a professional, high-end appearance. By prioritizing preparation, selecting the correct adhesive for your timeline, and utilizing efficient application angles, you can integrate these quick press-on nail hacks for busy mornings into your daily schedule with ease. Consistency in your prep routine will yield the most durable, salon-quality results, allowing you to walk out the door feeling confident and polished every single day. Start small, experiment with these tips, and reclaim your morning time.
Leave a Reply