Learning the best press on nails tutorials is the secret to achieving a flawless, long-lasting manicure from the comfort of your own home. By properly preparing your natural nail plate and using high-quality adhesive, you can ensure your artificial nails look like expensive salon acrylics while staying secure for up to two weeks. This guide covers every step from prep to removal, helping you perfect your look with ease.
Understanding the Basics of Press-On Nails
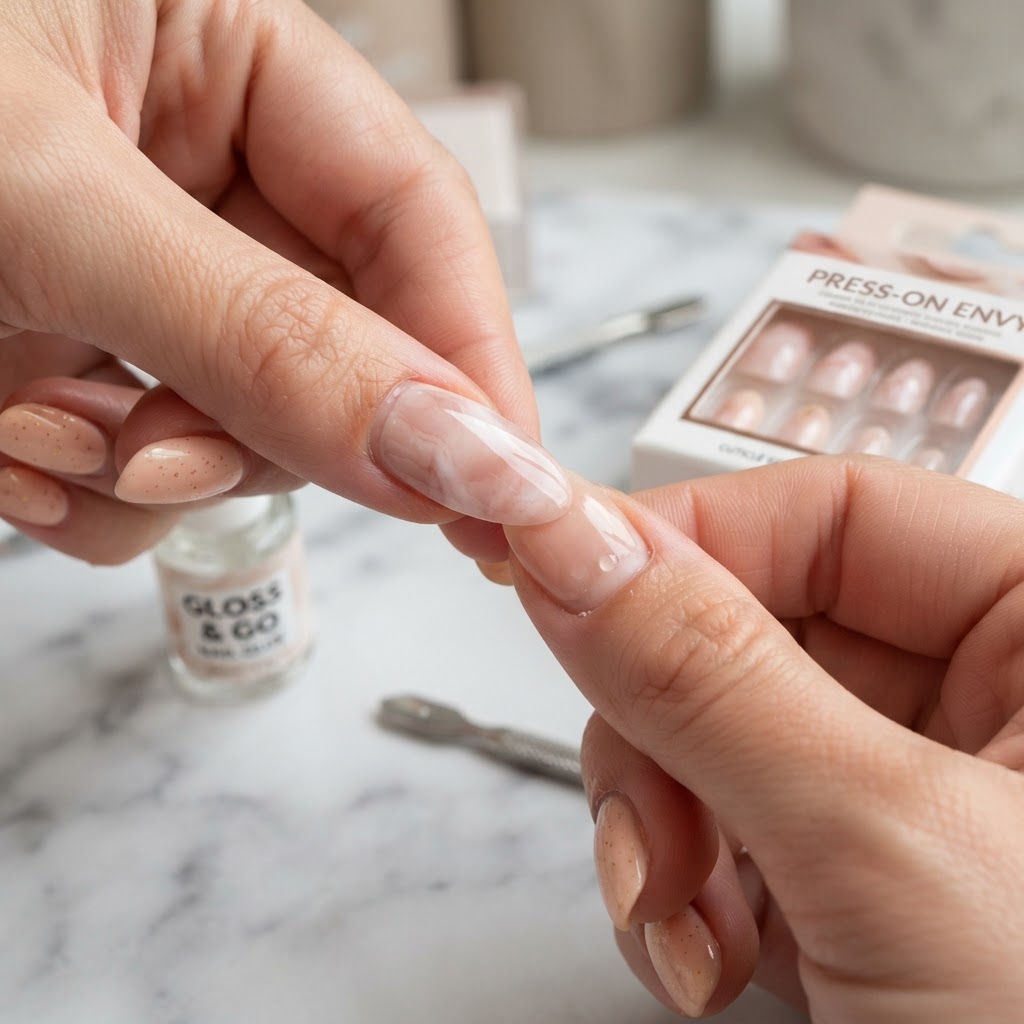
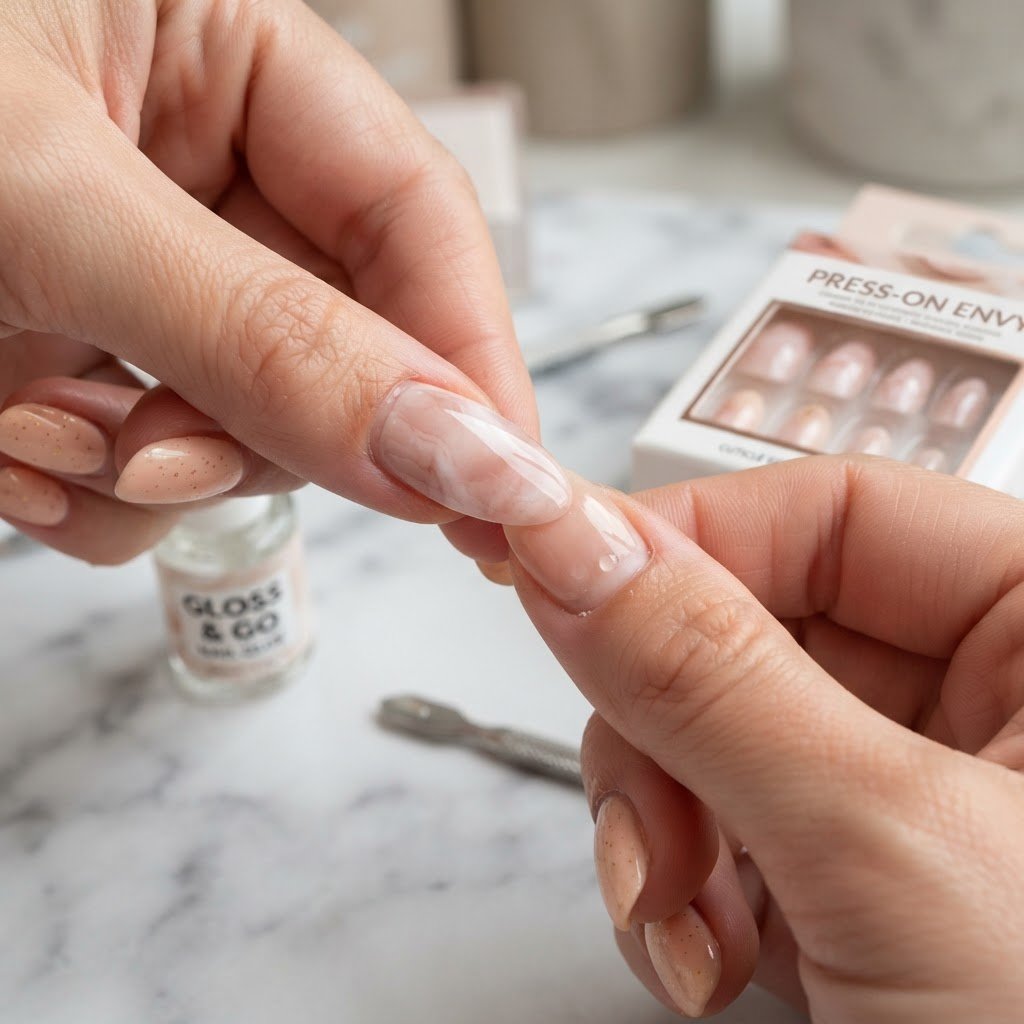
Starting your journey with press-ons requires understanding the basic components that make these artificial nails work for every lifestyle. Whether you prefer short box nails designs or intricate nail designs, the quality of your nail prep for press on nails determines how long your set will last. Press on nails provide a versatile, reusable alternative to traditional salon visits, allowing you to switch up your style with ease.
Why Choose Press-Ons?
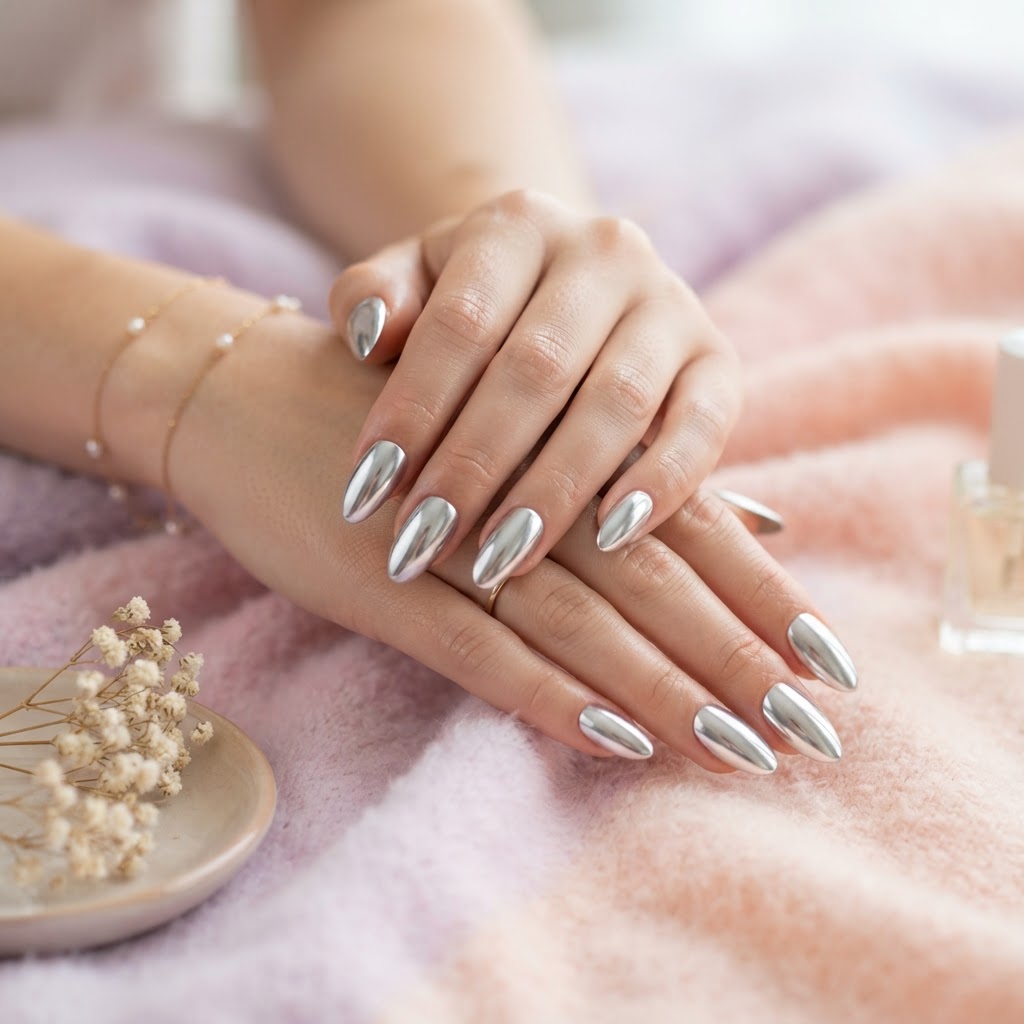
Press-ons offer a budget-friendly way to experiment with trending nail art designs, from French nails coffin shape to bold chrome nails. Unlike traditional gel nails, these sets are easy to apply and remove, making them perfect for those who want a quick glow up? before a big event. With the right nail kit and technique, you can master how to apply press on nails step by step in under twenty minutes.
Mastering Your Nail Prep Technique
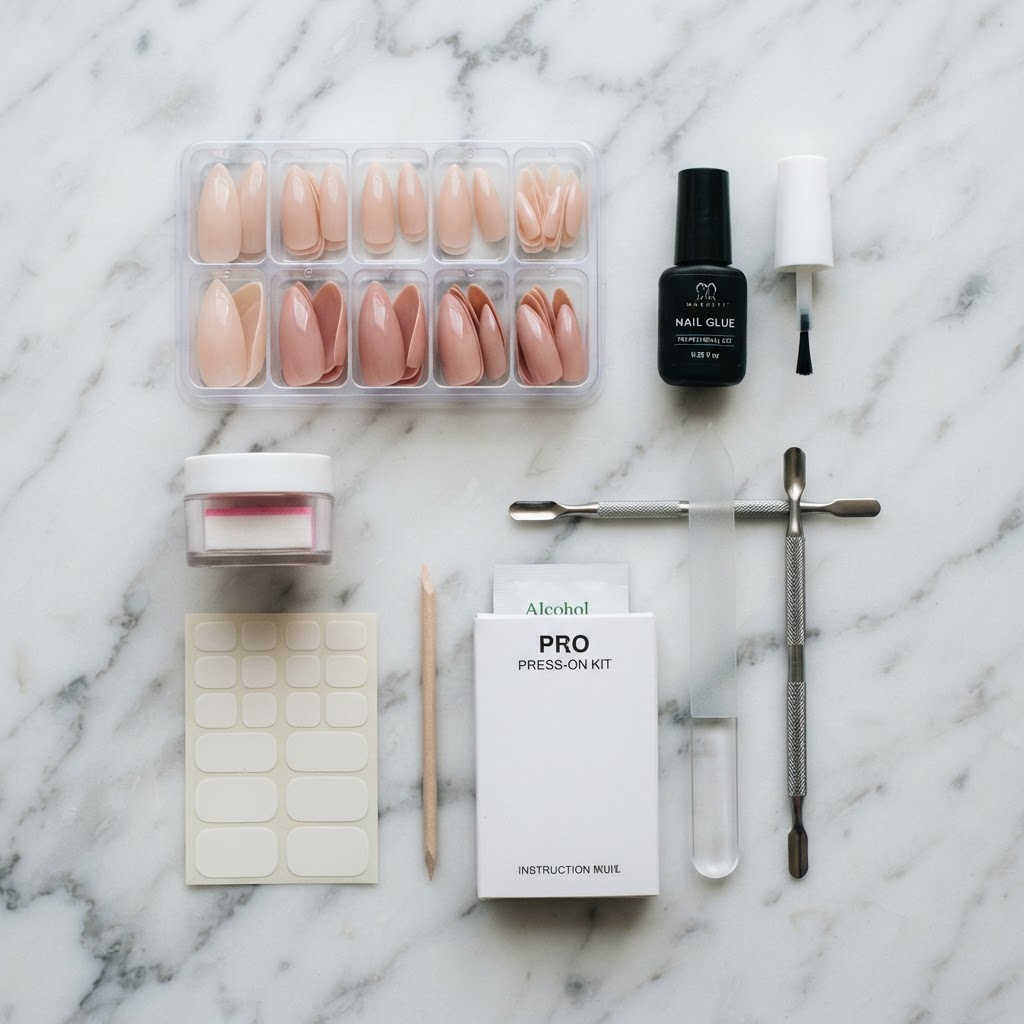
Proper nail prep for press on nails is the most crucial phase of your application process if you want your set to endure daily wear. Begin by sanitizing your hands and removing any existing polish with a gentle remover to ensure your surface area is clean and oil-free. Use a cuticle pusher to gently push back your cuticle, which helps the adhesive form a stronger bond with your natural nail bed.
The Essential Prep Steps
- Trim your natural nails to a short, even length.
- Gently buff the surface of each nail to remove shine and increase adhesion.
- Cleanse your nails with an alcohol wipe to remove dust and oils.
- Size your press-on tips by placing them over your nail bed to find the perfect comfort fit.
By following these steps, you create a perfect foundation that ensures your nails stay put, whether you are doing work nails or heading out for a night on the town. Remember that skipping the buffing step is a common mistake that often leads to lifting or loss of adhesion prematurely.
Selecting the Right Adhesive
Choosing between nail glue and adhesive tabs is a common dilemma when following professional press on nails tutorials. Glue provides a much stronger, semi-permanent bond that can last up to two weeks, whereas tabs are ideal for temporary wear or those who like to reuse their press on nails frequently. Many pros recommend using a high-quality nail glue for events or extended wear, ensuring your press on set stays firm against the nail bed without damaging your natural nail health.
Step-by-Step Application Guide
Once your natural nails are prepped and your sizes selected, it is time to apply the press-ons using a steady, precise motion. Apply a small bead of glue to both the natural nail and the back of the press-on tip to maximize the surface area connection. Hold the nail at a 45-degree angle near the cuticle and press down firmly, moving from the cuticle toward the free edge to squeeze out any air bubbles.
Hold each nail down for at least 30 seconds to ensure the glue sets properly. Avoid getting moisture on your hands for at least one hour after application, as this is the most critical window for the adhesive to cure completely to your natural nail. If you notice any excess glue, gently remove it with a nail file or a cotton swab dipped in acetone.
Troubleshooting and Pro Tips
Even with the best tutorials, you might encounter issues like lifting or chipping, but these can be managed with simple beauty hacks. If a nail feels loose, check if you have chosen the right size for your nail bed; if the tip is too small, it will put pressure on the sides and cause premature lifting. Always keep a spare nail file handy to smooth out any edges that might catch on clothing or hair, keeping your look chic and polished.
Learning how to make your press on nails last longer often comes down to protecting your hands during daily activities. Wear gloves when doing dishes or cleaning, as harsh chemicals and hot water can weaken the adhesive bond over time. Applying a thin layer of nail oil around your cuticle daily can also help keep your natural nails healthy and flexible beneath your press-ons.
Creative Design and Maintenance
Once you feel confident in how to put on press on nails, you can start experimenting with designs like art deco nails, cat eye nails polish, or even intricate nail designs with charms. The beauty of the press-on industry is the ability to customize your look with rhinestones, blooming gel, or chrome powder tutorials. For those interested in starting a nail business from home, understanding these design techniques is essential for creating high-demand products.
Don’t be afraid to mix and match sets to create unique, salon-style looks that reflect your personality. Whether you are aiming for pretty gel nails or bold, metallic designs, your press-ons are a canvas for your creativity. Keep practicing your nail techniques, and you will eventually find it easier to achieve flawless results consistently.
FAQ
What is the trick to getting press-on nails to stay on?
The secret is thorough preparation of the nail bed, including pushing back your cuticle and buffing the nail surface to remove all natural oils. Applying a high-quality nail glue evenly and holding the nail firmly against your finger for 30 seconds creates a secure, long-lasting bond.
What order for press on nails?
You should always start by prepping your nails, sizing each tip, and then laying them out in order. Apply the adhesive to your natural nail, then press the artificial nail at a 45-degree angle starting from the cuticle base, slowly lowering it to cover the entire nail bed.
How long to hold press on nails when applying?
You must hold each press-on nail down firmly for at least 30 seconds to ensure the glue bonds securely to your nail surface. If you are using adhesive tabs, press firmly for 15-20 seconds to ensure all air bubbles are removed from the adhesive layer.
What not to do after applying press on nails?
Avoid soaking your hands in hot water or using harsh cleaning chemicals for at least one hour after application. This allows the glue to cure properly, preventing the adhesive from softening or lifting early, which is essential for maintaining your manicure.
Conclusion
Mastering press on nails tutorials is a game changer for anyone who loves a professional manicure without the salon price tag or time commitment. By following these steps—from proper prep to choosing the right glue—you can achieve salon-style results that last. Whether you are a beginner or looking to advance your skills, start your press-on journey today and enjoy stunning, long-lasting nails that look like professional acrylics.
Leave a Reply