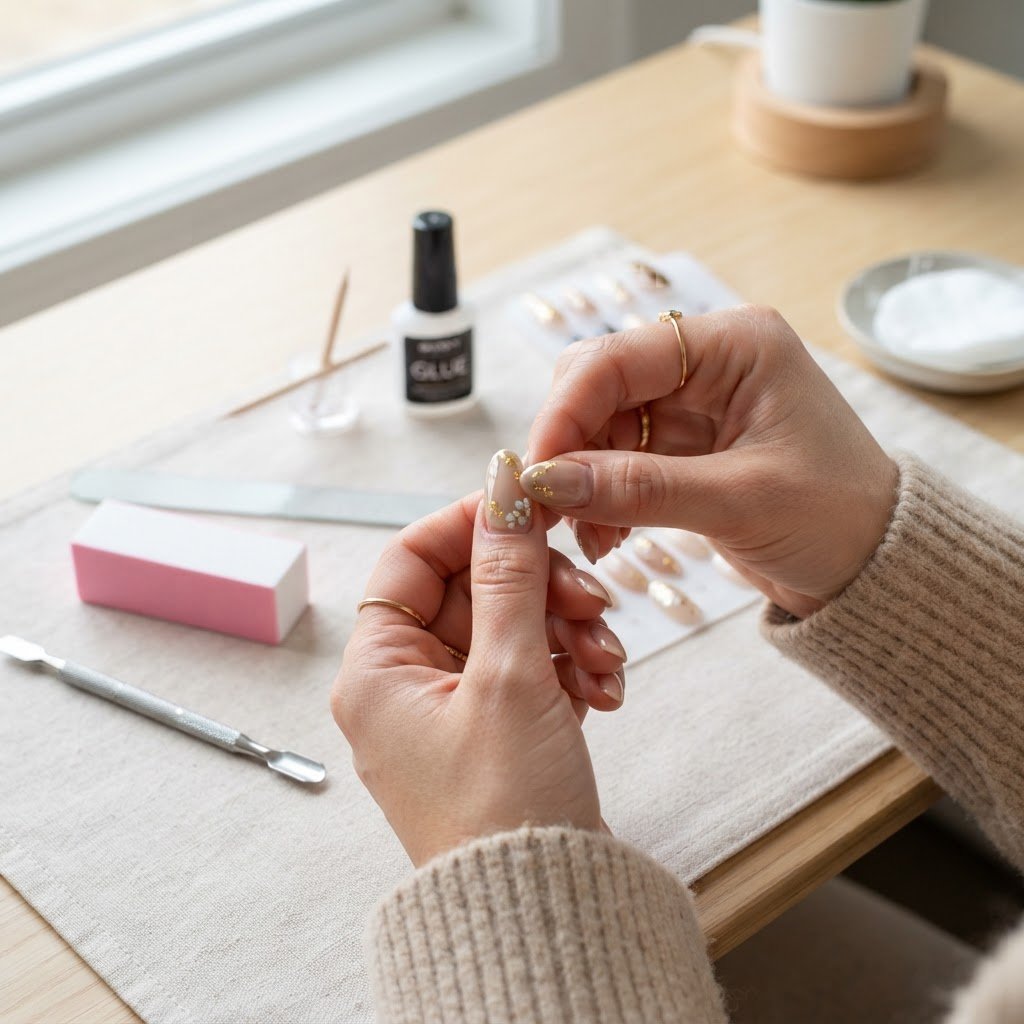
To keep your press-on nails surviving water and constant hand washing, the secret lies in impeccable nail preparation and using high-quality adhesives. By removing all natural oils, buffing the surface for better texture, and ensuring a dry, clean application, you can significantly extend your wear time even with frequent water exposure. Following professional press on nails tutorials ensures your manicure stays secure for days on end.
The Importance of Proper Nail Preparation
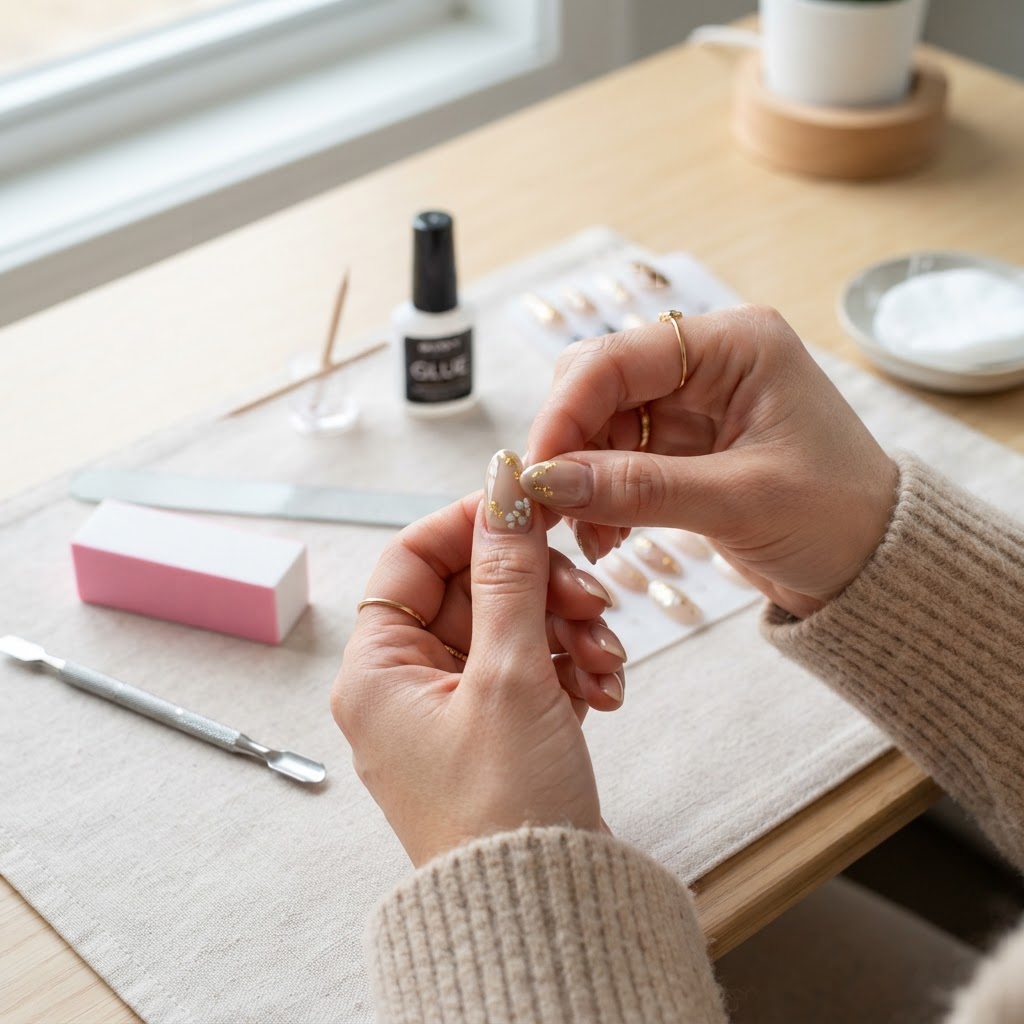
Nail prep for press on nails is the most critical step in ensuring your set stays put, regardless of how often your hands get wet. If you skip cleaning the surface area or fail to use a cuticle pusher, natural oils will compromise the bond of your press on nails glue. To start, gently trim your natural nails and use a nail file to roughen the surface slightly, which creates the perfect “grip” for the adhesive to latch onto.
Follow these steps for optimal prep: push back your cuticles, dehydrate the nail plate with alcohol or an acetone-based cleanser, and ensure you have chosen the correct sizing. Using a nail kit with professional-grade tools like a cuticle pusher and high-quality buffer ensures that you are following the standard salon style process. Many beginners fail because they rush this stage, leading to early lifting when exposed to water or heat.
Choosing the Right Adhesive for Longevity
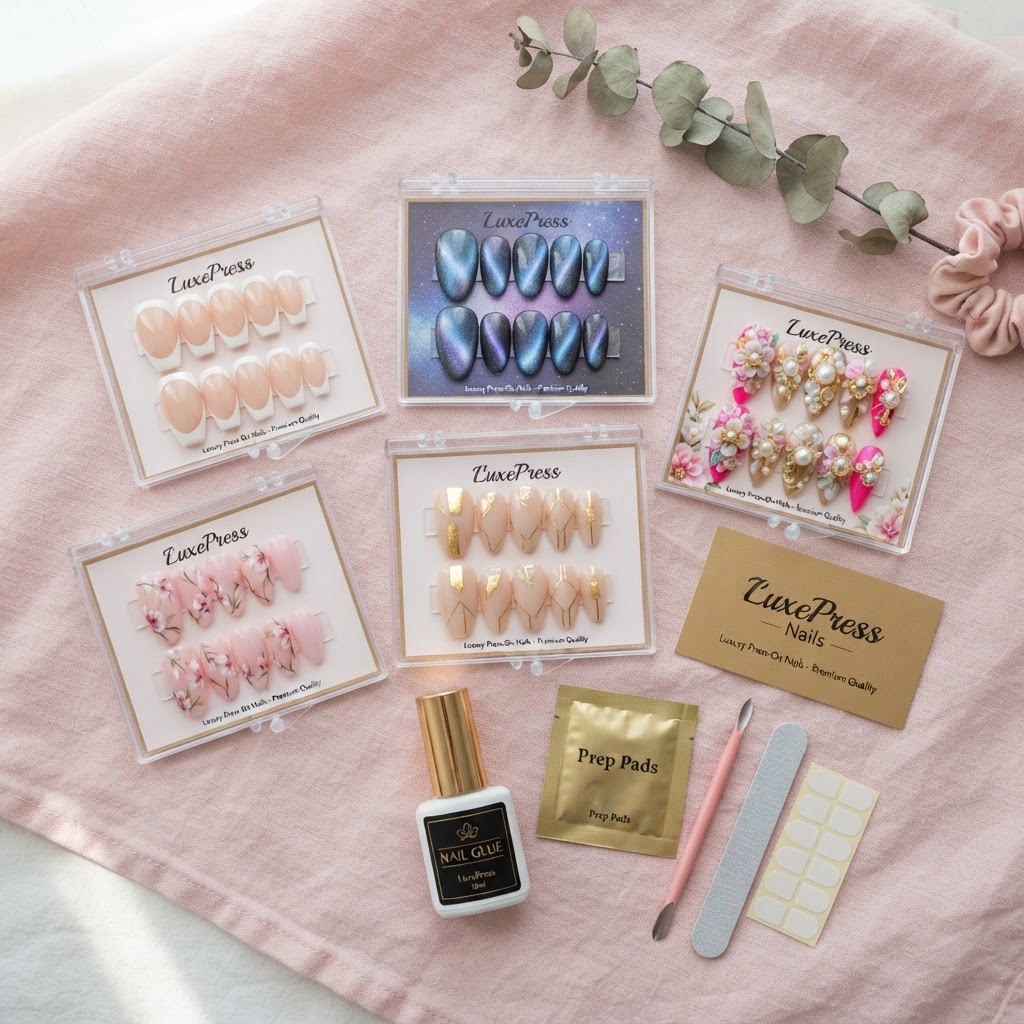
Not all glues are created equal, and selecting the best press on nails adhesive can transform your experience from a temporary fix to a long-lasting manicure. While sticky tabs are convenient for short-term wear, liquid glue provides the strongest hold against water. When you want to do my nails with me or learn how to apply nails for a vacation, using a hybrid method—combining a small amount of glue with a sticky tab—is one of those beauty hacks that offers both flexibility and incredible strength.
Understanding nail theory and nail education helps you recognize why some brands last longer than others. Long lasting nails are often the result of using a strong gel glue which, when cured under a lamp, creates a bond that is resistant to water and daily wear. Whether you are using almond nails at home or trendy press on nails, the adhesive choice dictates your daily routine.
Mastering the Application Technique
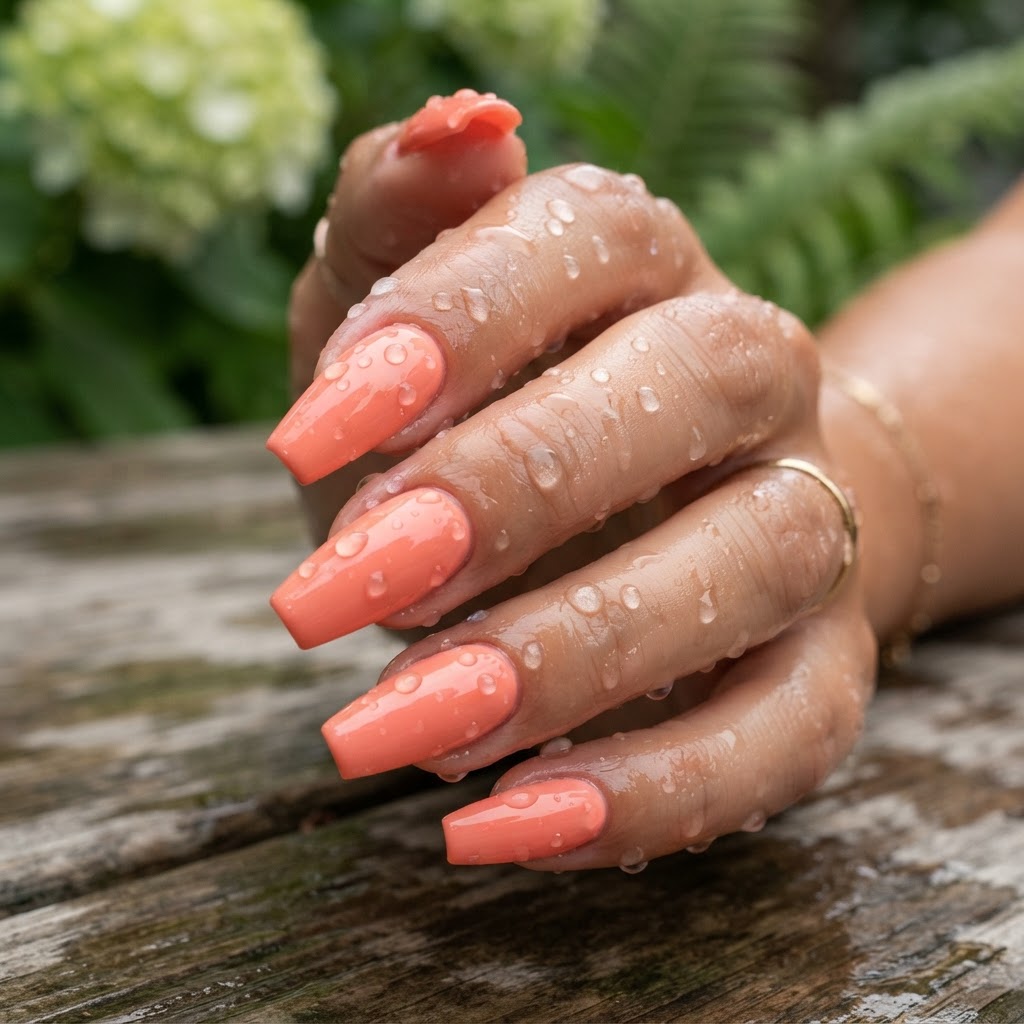
How to apply press on nails step by step is a skill that improves with practice, particularly when you aim for a professional look. The key is to apply pressure for at least 30 seconds on each nail, moving from the cuticle line toward the free edge to push out any air bubbles. These bubbles act as entry points for water, which will weaken the glue over time, so eliminating them is essential for press on nails application success.
If you are searching for nail videos that show this process, you will notice that experts always focus on the angle of application. By placing the nail at a 45-degree angle against the cuticle and rolling it down, you ensure a comfort fit that seals out moisture. This is how to get better at nail art and maintain a clean, salon-worthy aesthetic that lasts.
Protecting Your Manicure from Daily Exposure
Once your nails are applied, changing how you interact with water is the best way to make your press on nails last longer. While these nails are durable, soaking them in hot water for long periods or using harsh chemicals will inevitably break down the adhesive bond. Try wearing gloves when doing dishes or cleaning, and keep your hands hydrated with a quality nail oil to maintain the health of your natural nail underneath.
Many users find that beauty hacks like avoiding oily lotions near the cuticle line help preserve the seal. Whether you are rocking french nails coffin shape, cute simple nails, or intricate nail designs, protecting the seal is paramount. Treat your press on nails like fashion nails, avoiding using them as tools to open cans or boxes to prevent accidental lifting.
Exploring Design Trends and Customization
Customizing your manicure is a major part of the joy of DIY nails, and there are endless ways to express your personality. From no french tip nail designs and art deco nails to cat eye nails polish and pretty gel nails, the variety is staggering. If you want to know how to make press on nails look acrylic, consider using a clear top coat or even a light layer of builder gel over the top to add thickness and shine.
Learning how to design nails or how to make nail designs gives you the freedom to create unique looks, from kawaii nails to vintage looking nails. For those interested in a nail business from home, mastering these press on nails tutorials will allow you to offer high-quality sets to others. You can even experiment with 3d gel nail art design or marble nail design to elevate your style.
FAQ
How can I make my press-on nails stay on for two weeks?
You can make your press-on nails stay for two weeks by performing a thorough nail prep that includes dehydrating the nail plate and using a high-quality, professional-strength glue. Ensure you avoid water for the first few hours after application to allow the bond to fully set.
Can I shower with press-on nails immediately after application?
It is highly recommended to wait at least 3 to 6 hours before showering to ensure the press-on nails glue has fully cured and formed a waterproof seal. Introducing water too soon can cause the adhesive to weaken, leading to potential lifting or popping off.
Do I need to buff my natural nails before applying press-ons?
Yes, lightly buffing your natural nails is a crucial step that removes the surface shine and creates a rougher texture for the glue to adhere to securely. This simple step is one of the most effective press on nail tips and tricks for long-lasting results.
How do I remove press-on nails without damaging my natural nails?
To safely remove press-on nails without damage, soak your fingers in warm, soapy water mixed with a little oil for 15-20 minutes until the glue loosens naturally. Never force or pop them off, as this can strip layers from your natural nail plate.
Conclusion
Mastering your manicure is simple when you follow the right procedures, and with these press on nails tutorials, you are well on your way to success. From proper prep to choosing the right glue, consistency is the key to achieving long-lasting, salon-style results. Start your journey into better nail care today and enjoy the flexibility of a professional look at home. If you enjoyed these tips, share this guide with a friend or start your own collection of beautiful, reusable press-on sets!
Leave a Reply