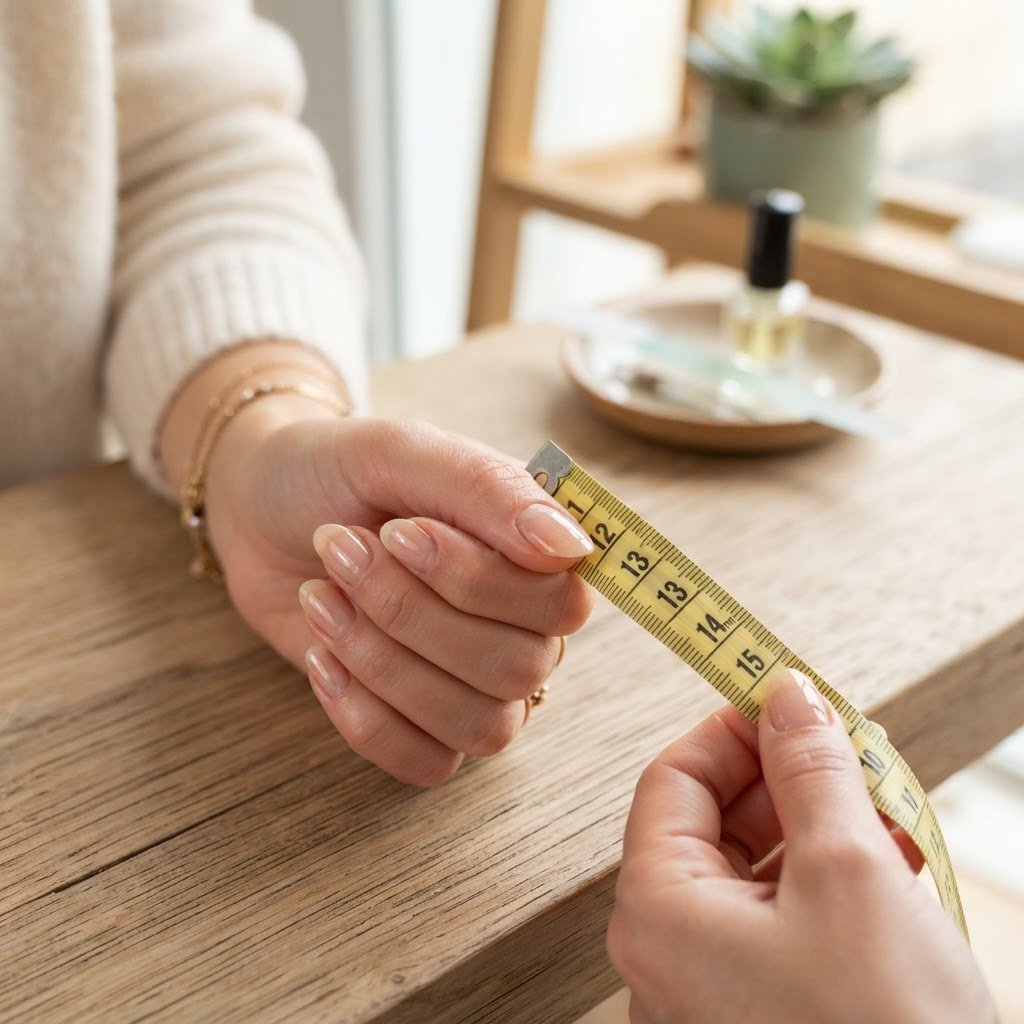
Finding the perfect fit for your manicure is simple when you follow reliable press on nails tutorials. To size your nails correctly, use a soft measuring tape across the widest part of your natural nail bed, then match that measurement to the corresponding nail tip number to ensure a comfortable and secure fit that lasts for weeks.
The Fundamentals of Nail Sizing and Measurement
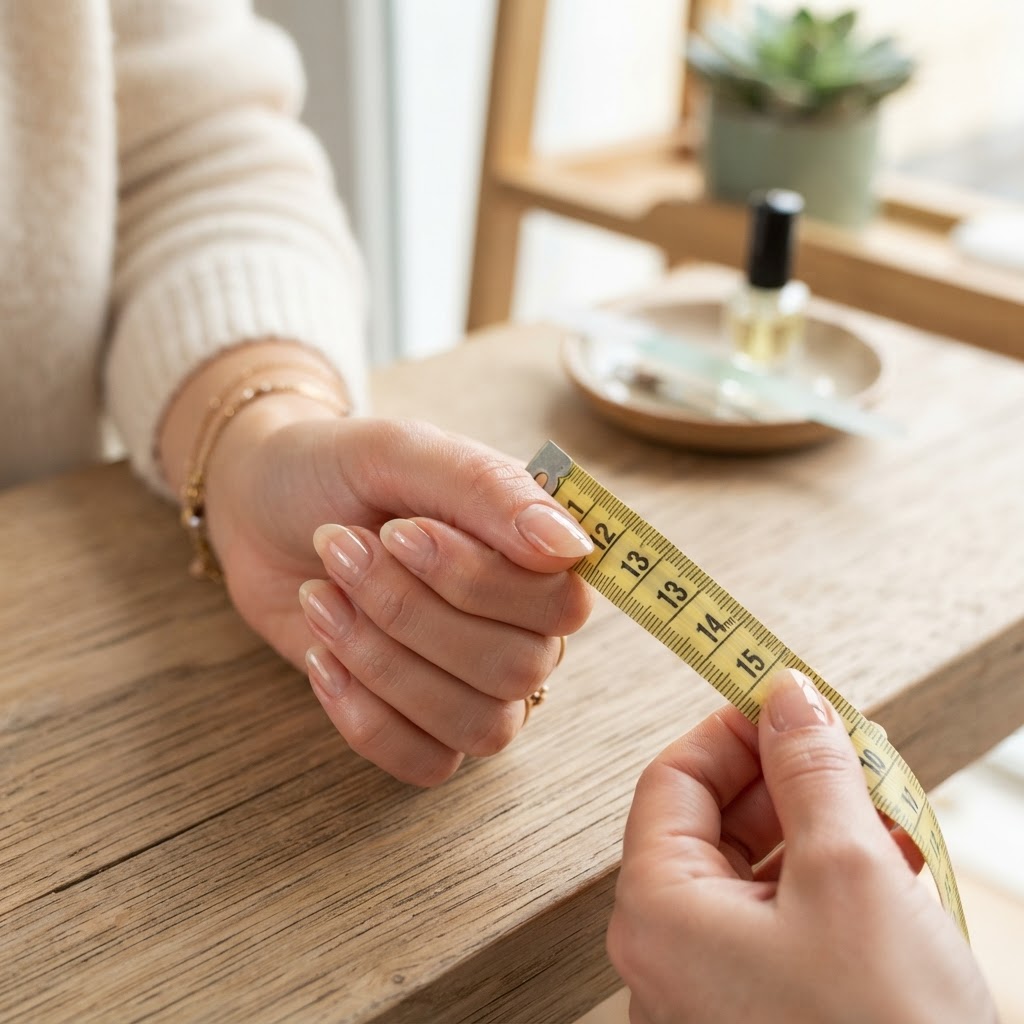
Accurate measurement is the foundation of any successful DIY manicure, as improper sizing is the primary cause of premature lifting. When you begin your press on nails tutorials journey, start by cleaning your hands thoroughly to remove oils. Use a soft tape measure or a piece of clear adhesive tape to trace the curve of your nail from sidewall to sidewall at the widest point. Mark the edges with a pen, then measure that distance in millimeters. This process ensures you are selecting the correct tip size for each finger, which is essential for a professional look.
It is common for beginners to feel overwhelmed by the variety of shapes available, such as coffin nails, almond nails, or short box nails designs. Always record your measurements in a dedicated nail notebook or note app for future reference. If your natural nail falls between two sizes, it is almost always better to size up and use a nail file to gently adjust the sides. This ensures you do not have gaps that might allow moisture to get under the press-on nail, which can weaken the bond and reduce longevity.
Expert Preparation for Long-Lasting Wear
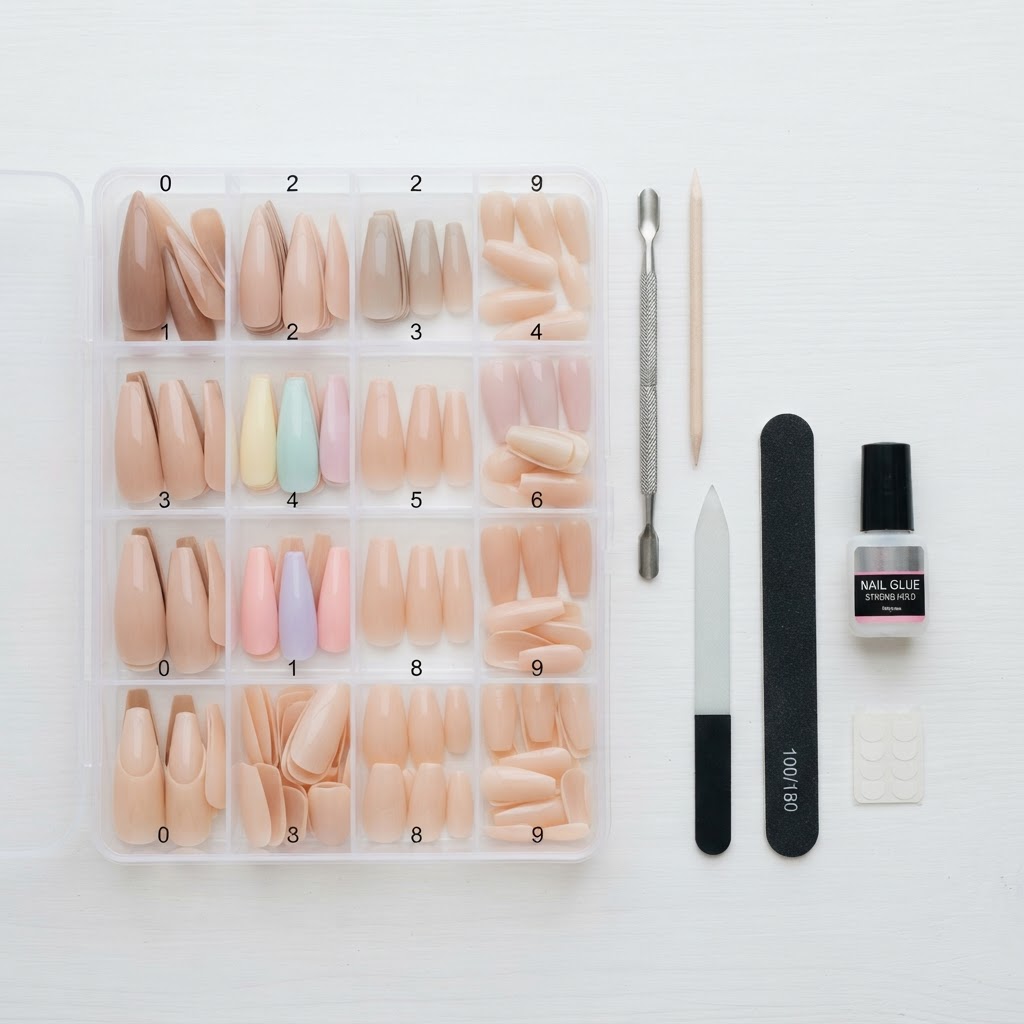
Proper nail prep for press on nails is the secret weapon used by professionals to make artificial nails last for weeks rather than days. Start by pushing back your cuticles with a high-quality cuticle pusher, as this exposes the maximum surface area for the adhesive to bond. Gently buff the surface of your natural nail to remove shine, which creates a textured base for the glue or gel tabs to grip. Failing to prep correctly is why many people struggle to keep their sets on, even when they have watched several press on nails tutorials.
Once the surface is prepared, use an alcohol wipe or acetone to dehydrate the nail plate. This step removes any remaining oils or dust that could compromise the glue bond. Whether you are using traditional glue or newer gel methods, a clean, dry surface is mandatory for success. Many beauty lovers prefer this approach because it mimics salon style results without the high cost or time commitment of a professional appointment.
Comparison of Attachment Methods
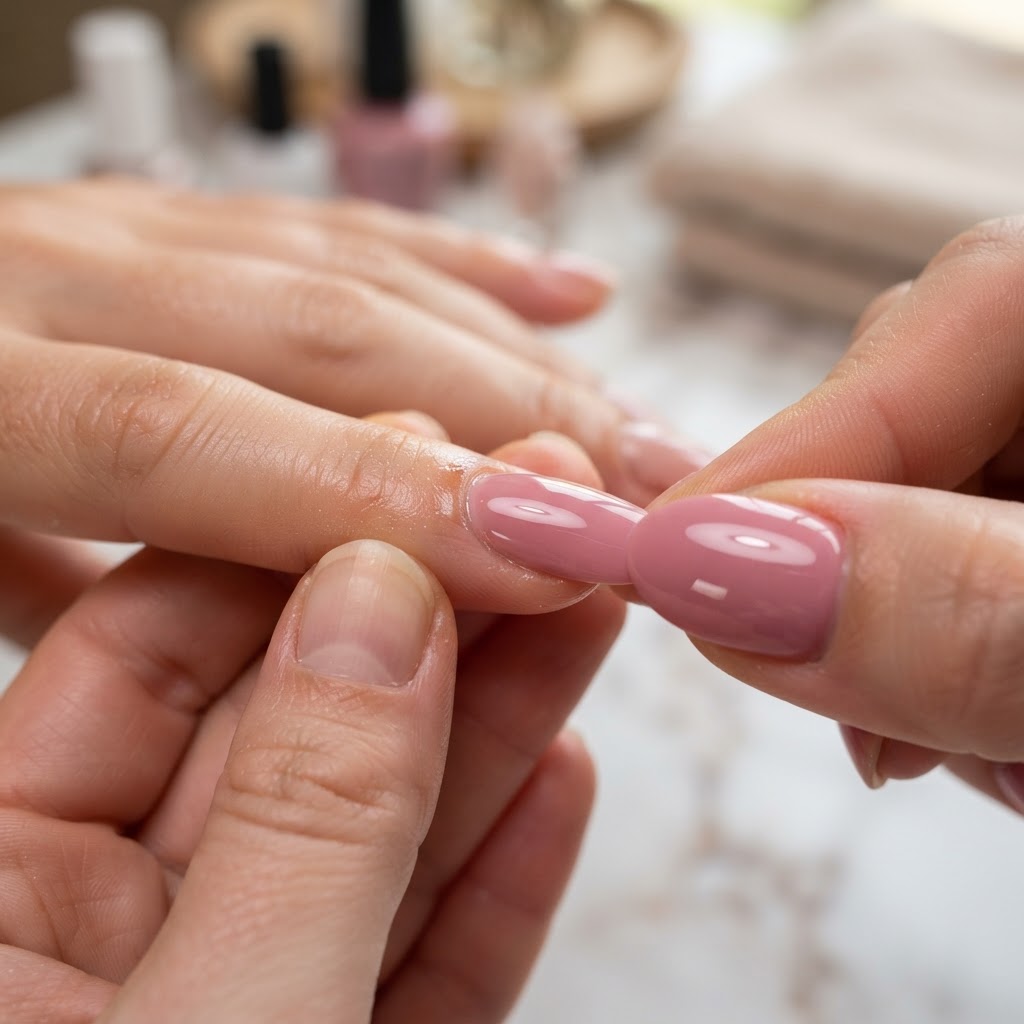
Choosing the right adhesive method depends on how long you want your set to last and your personal lifestyle needs. Use this table to decide which technique best fits your routine.
Regardless of your chosen method, applying enough pressure is critical. When you place the tip on your nail, hold it firmly for at least 30 seconds to allow the bond to set completely. This is a common tip found in many high-quality press on nails tutorials, ensuring the nail does not shift while drying.
Troubleshooting Common Fit Issues
Even with the best tools, you might encounter issues like tips that are slightly too wide or narrow for your natural shape. If you find a tip that is slightly too large, use a file to gently trim the side edges until it fits perfectly against your sidewall. Never force a press-on nail onto a bed that is too narrow, as this can cause discomfort or even damage your nail plate over time. For those with extremely small nail beds, seek out brands that specifically offer extra small press on nails to avoid heavy modifications.
If you are dealing with a recurring issue of nails popping off, evaluate your glue application technique. Ensure you apply a thin layer to both your natural nail and the back of the tip to maximize the adhesive surface area. If you are interested in making your own press on nails, practice on artificial practice hands first to get a feel for how different adhesives interact with various plastic surfaces. This practice is essential for anyone aiming to start a small nail business from home.
Styling and Customization Techniques
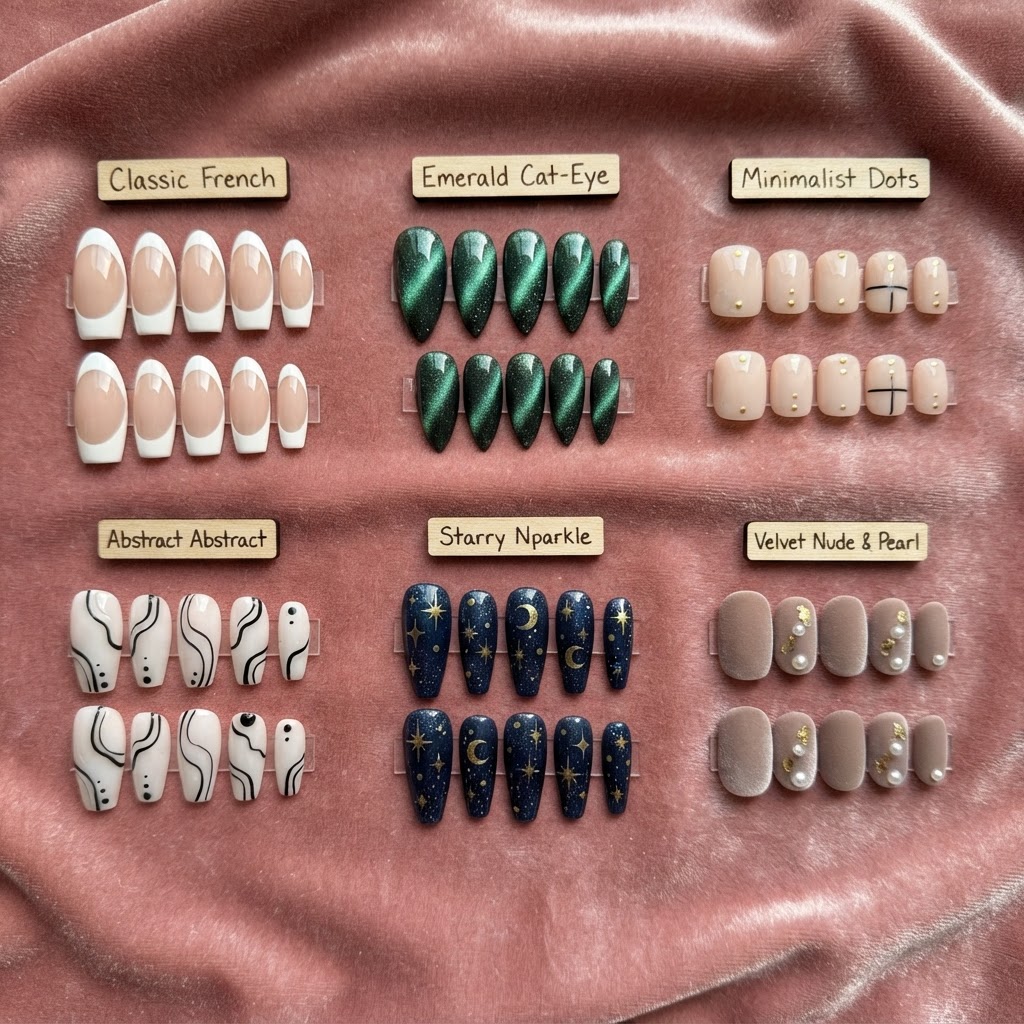
Customizing your look is the fun part of DIY nails, and there are endless ways to elevate a plain set. From cute simple nails with hand-painted details to intricate nail designs using blooming gel or 3D charms, the possibilities are endless. You can even try popular trends like tortoise shell nails tutorial looks or classic French nail art designs to keep your collection fresh. Many people find success by adding a layer of top coat over their press-ons to provide extra durability and a high-gloss finish.
Experimenting with cat eye nail polish or chrome powder can transform basic plastic tips into sophisticated works of art. If you feel stuck, search for nail inspo easy design content online to spark your creativity. Remember that as you get better, you can incorporate more advanced techniques like stamping or using magnetic nail art tools to create unique patterns that look professionally done.
FAQ
How do I know my size for press-on nails?
To determine your size, use a soft measuring tape across the widest part of your natural nail bed and record the width in millimeters for each finger. Compare these numbers to the size chart provided by the nail manufacturer, as sizing can vary slightly between different brands and shapes.
Do I size up or down for press-on nails?
It is generally recommended to size up if your measurement falls between two options. You can easily file the side edges of the press-on nail to achieve a custom fit, whereas a nail that is too small will not provide enough coverage and may lead to lifting.
How to get press-ons to fit nails when too big?
If a press-on nail is slightly too wide, use a nail file to carefully remove material from the side edges until it lines up perfectly with your cuticle and sidewalls. Take off small amounts at a time and test the fit frequently to ensure you do not file away too much plastic.
How to get press-on nails that fit?
Getting press-on nails that fit requires precise measurement and proper preparation of the natural nail bed. Always push back your cuticles, buff the surface to remove shine, and use a dehydrator to ensure the adhesive creates a strong, long-lasting bond from edge to edge.
Conclusion
Mastering press on nails tutorials opens up a world of creative possibilities, allowing you to achieve salon-quality manicures from the comfort of your own home. By taking the time to properly measure your nails, prep your surfaces, and choose the right adhesive, you can enjoy beautiful, durable nails that fit your lifestyle perfectly. Whether you are a beginner or looking to refine your technique, consistency and practice are key to achieving your dream nails. Start your journey today and share your favorite looks with the nail community!
Leave a Reply