Storing and reusing your artificial nails correctly is simple when you follow professional press on nails tutorials. To properly preserve your set, gently remove them using a cuticle oil soak, clean off any residual adhesive using a nail file or an electric buffer, and store the cleaned pieces in a cool, dry container specifically designed for organized nail tip storage. Following these steps ensures your manicure stays fresh and ready for your next event.
The Art of Preserving Your Favorite Manicure
Preserving your artificial nails effectively starts with the removal process, which is often detailed in our favorite press on nails tutorials. Instead of forcefully popping them off, which damages both the natural nail bed and the artificial set, you must use a gentle approach that respects the integrity of the plastic or gel material. Using an oil-based solvent helps dissolve the bond without causing the brittle cracks that make reuse impossible.
Once the set is removed, the next phase of maintenance involves cleaning the undersides. Many people treat press ons as disposable, but high-quality sets are designed for multiple wears. By removing old glue residue with a fine-grit nail file or an acetone-dampened cloth, you prepare the surface area for a seamless reapplication. Think of this as a DIY manicure ritual where you curate your own collection of reusable accessories.
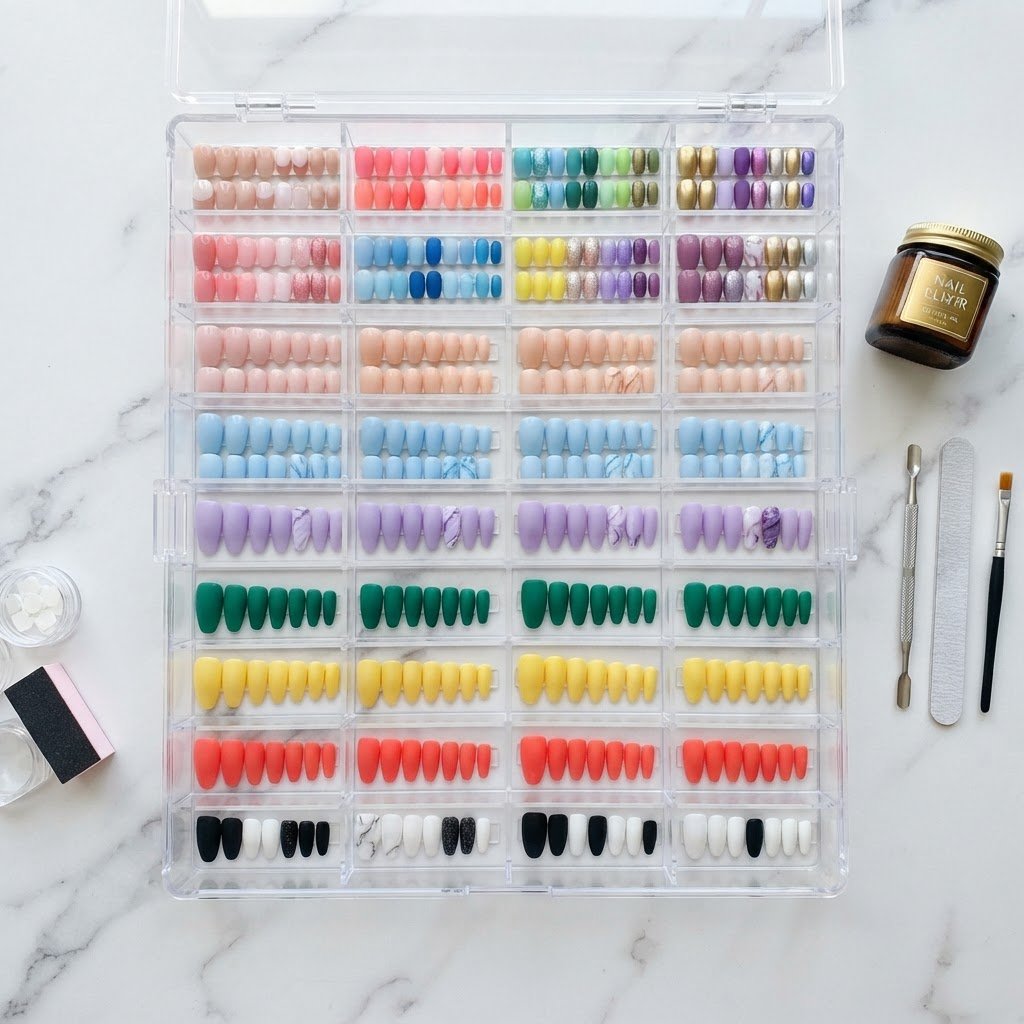
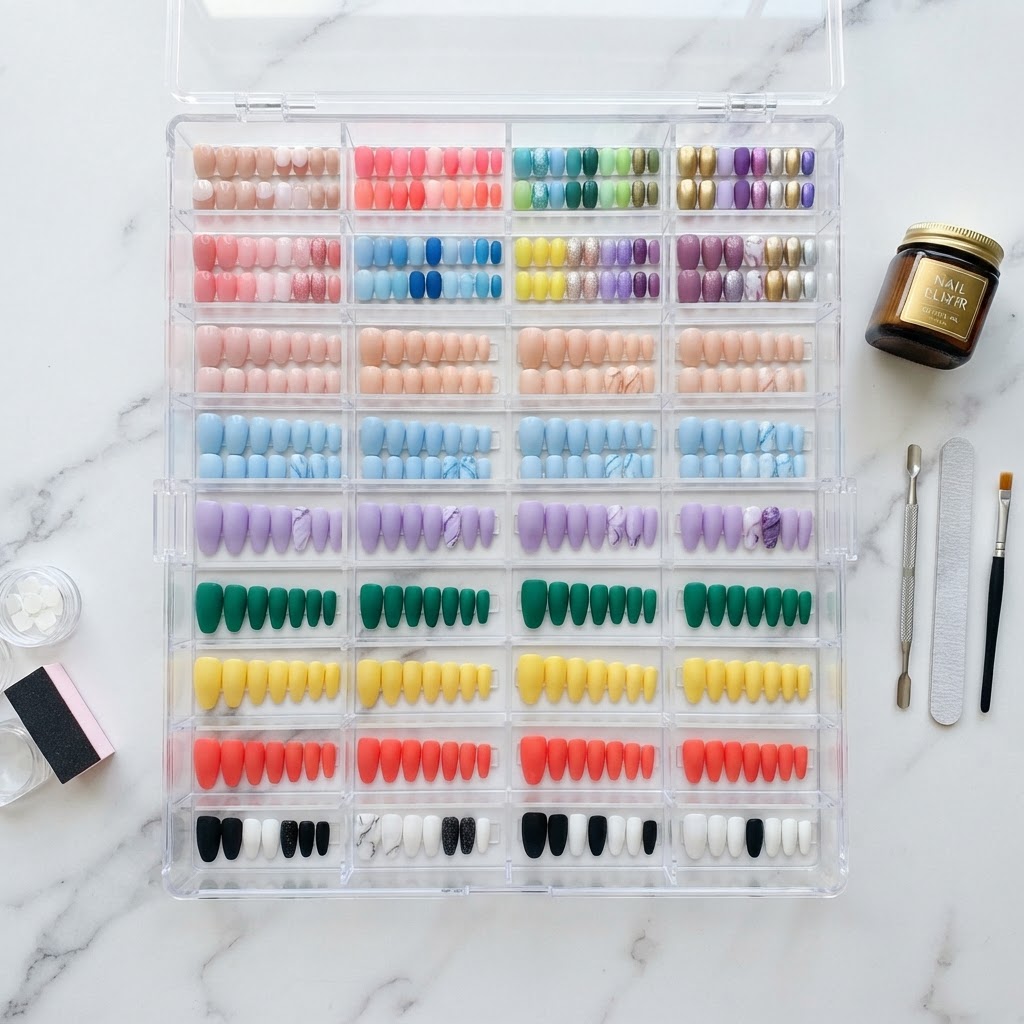
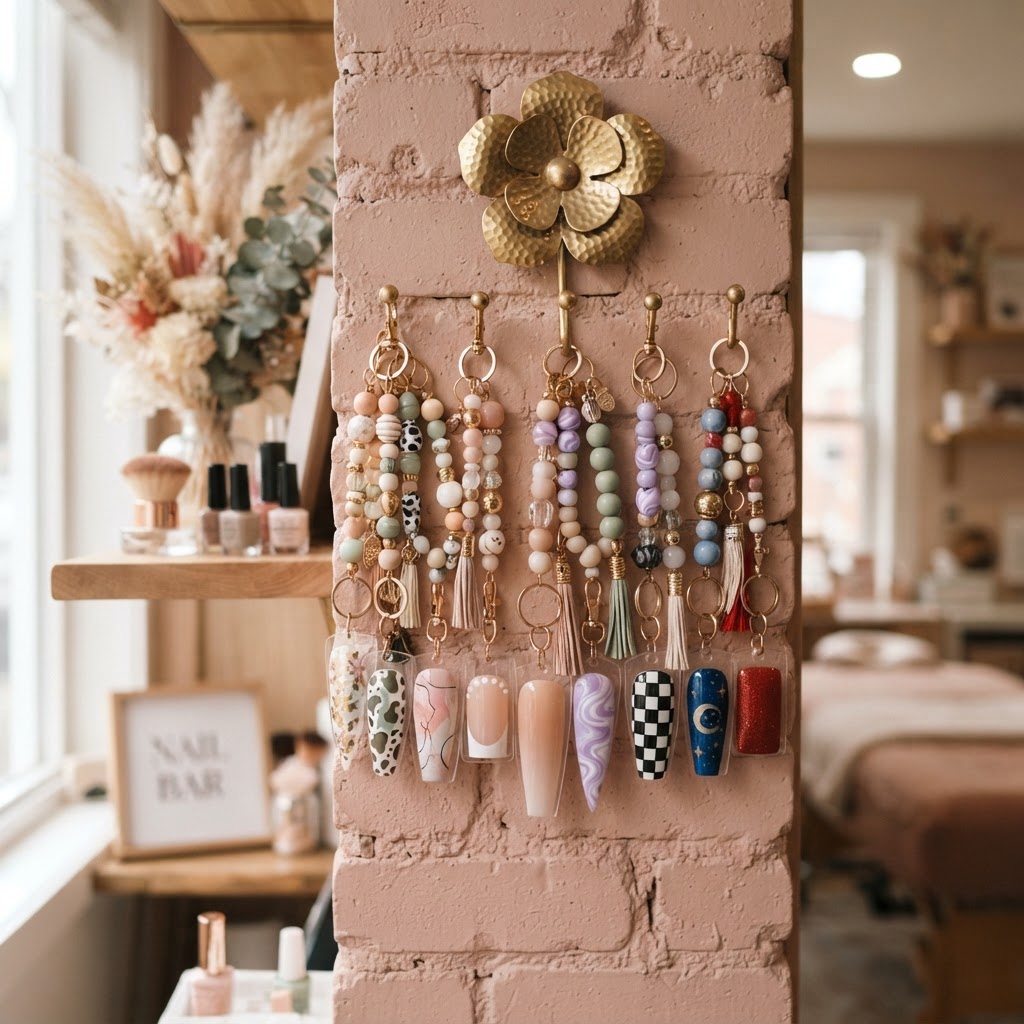
Your storage method dictates whether your nails will maintain their shape and structural integrity over time. Avoid throwing your press ons into a junk nail drawer where they can become bent, scratched, or lost. Instead, use a clear acrylic organizer with designated slots for each size, or create custom beaded keychains to display them decoratively while keeping them safe.
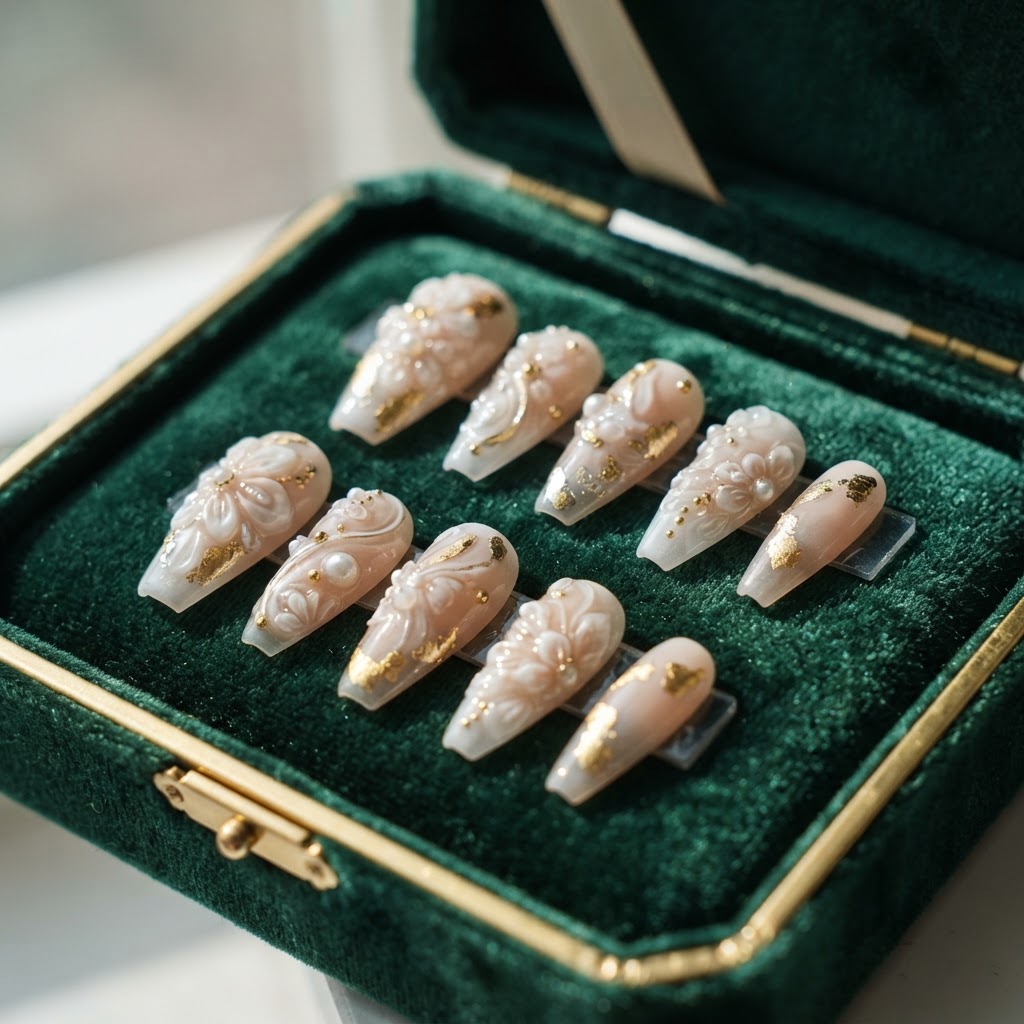
Temperature control is critical for long-lasting nails. Keep your collection away from direct heat sources and intense sunlight, which can cause the material to warp or the polish to fade. If you have clear gel nails designs or intricate 3d gel nail art design pieces, store them in a dark, velvet-lined box to protect the delicate details from dust and friction. A clean storage environment is the hallmark of a true beauty lover and organized technician.
Step-by-Step Guide to Cleaning and Prep
Properly cleaning your nails between uses is the most important step highlighted in professional press on nails tutorials. Start by placing your used nails in a bowl of warm, soapy water with a touch of cuticle oil to soften the remaining adhesive. Once the glue becomes pliable, use a cuticle pusher to gently scrape it away until the underside is completely smooth.
After cleaning, ensure each nail is fully dry before storing them. If you are preparing for a new application, perform a thorough nail prep for press on nails by buffing your natural nail surface and cleaning it with alcohol. This provides the ideal base for press on nails application tutorial steps, ensuring that the glue bonds effectively to your natural nail rather than the old residue.
Advanced Tips for Extending Nail Life
To ensure your investment lasts, focus on the quality of your application techniques and the durability of the nails themselves. When you are making your own press on nails or purchasing sets, look for those with a comfortable, durable finish. Using a high-quality press on nails glue or gel tabs will prevent premature lifting, keeping your salon style looking fresh for over two weeks.
When applying, pay close attention to your cuticle area. Applying the nails just slightly away from the cuticle line helps prevent hair snagging and allows for a more natural look. Use a nail file to trim any excess material if the shape does not perfectly match your natural nail bed, as this custom fit prevents pressure points that can snap the artificial nail during daily activities.
Organizing Your Nail Collection
As your collection grows, you might find yourself acting as your own nail technician, running a mini nail business from home. Use a labeling system to keep track of different sizes and designs, such as french nail art designs or cute simple nails, so you can grab exactly what you need for an impromptu manicure. This organizational strategy is a common hack for those who love doing their nails at home.
Consider categorizing by color, shape, or occasion. You could have a section for winter coffin nails, summer nails, or even specialized cat eye nails polish sets. By keeping your tools, such as your nail file, buffer, and cuticle oil, in the same station as your nail collection, you streamline the process of getting ready for your next event.
Troubleshooting Common Issues
Sometimes, even with the best press on nails tutorials, you might encounter issues like lifting or chipping. Lifting usually occurs due to improper prep, so remember to push back your cuticles and dehydrate your nail plate thoroughly before applying. If a nail feels loose, check the fit; if the plastic is too flat for your natural curve, it will fight against the glue, causing it to pop off.
If you accidentally crack a nail or lose a rhinestone, don’t panic. You can repair most minor damage using a small drop of strong glue or a bit of clear top coat. For more significant repairs, consider incorporating a new design element to mask the damage. This DIY spirit is what sets experienced press on users apart from beginners.
FAQ
Can you reuse press on nails more than once?
Yes, you can reuse press on nails multiple times if they are removed gently and cleaned thoroughly. By using an oil soak during removal and buffing away old adhesive, you keep the nails in like-new condition for your next application.
What is the best way to clean old glue off press on nails?
Soaking the nails in warm water mixed with cuticle oil is the best way to safely soften old glue. Once the glue is soft, you can easily scrape it off with a cuticle pusher without damaging the material.
How do I store press on nails to keep them from breaking?
Store your press on nails in a sturdy, compartmentalized container away from direct sunlight or extreme heat. Using individual slots prevents the nails from rubbing against each other and becoming scratched or warped.
Do I need special tools to make my press on nails last longer?
Yes, essential tools for a long-lasting manicure include a high-quality nail file, a cuticle pusher, a dehydrator or rubbing alcohol, and a strong professional nail glue. Proper prep of the natural nail bed is the secret to a secure fit.
Can I paint my own designs on reused press on nails?
You can absolutely customize your reused press on nails by adding new polish, stickers, or rhinestones. Because you have already cleaned the old adhesive off, the surface is perfectly primed for a fresh set of art, allowing you to create trendy designs whenever you like.
Conclusion
Mastering the art of storing and reusing your nails turns a simple beauty purchase into a versatile, long-term accessory collection. By following professional press on nails tutorials and maintaining a dedicated organizational system, you can ensure that your manicure remains in pristine condition for multiple wears. Whether you are rocking chic french designs or bold cat-eye looks, proper care is the key to maintaining a salon-quality appearance at home. Start building your organized collection today and enjoy the flexibility, cost-savings, and creativity of a perfectly managed nail rotation.
Leave a Reply