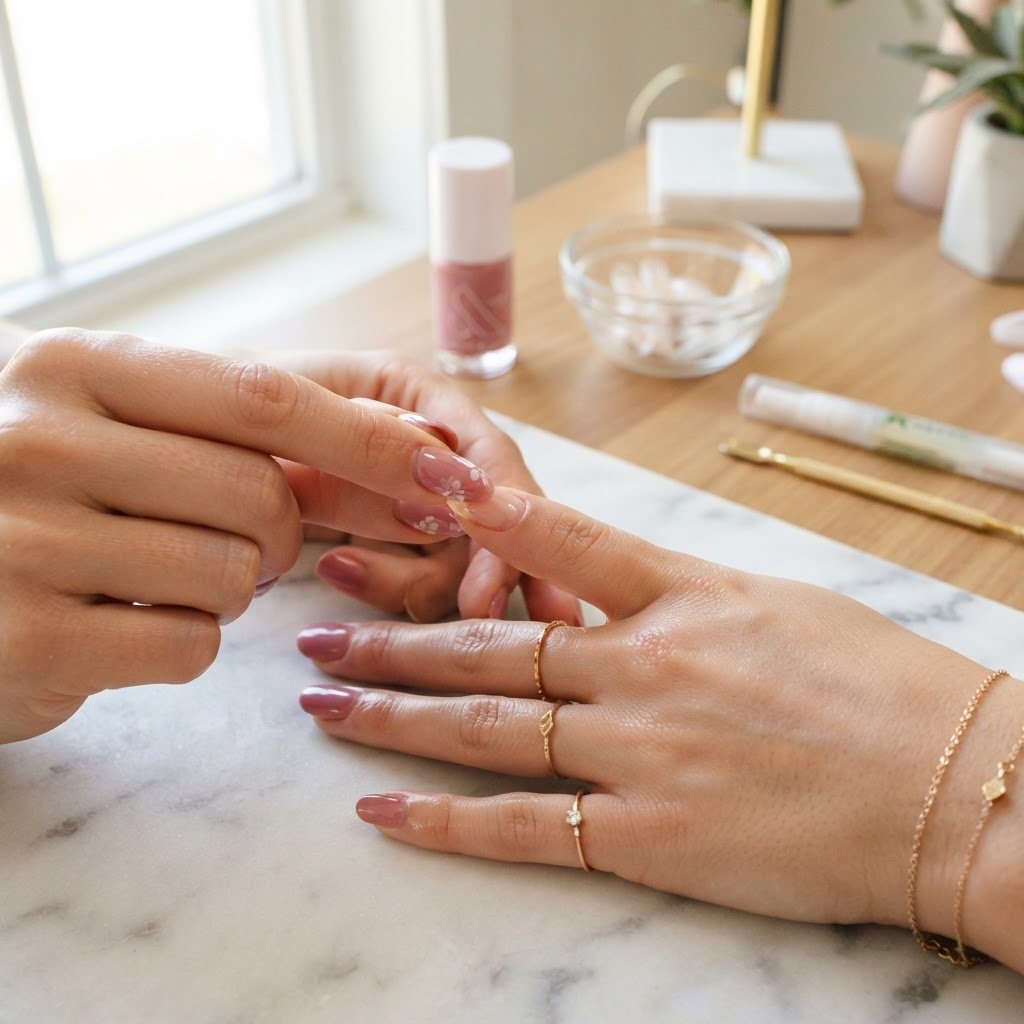
To prevent your press-on nails from popping off, focus on rigorous preparation of your nail bed and choosing high-quality adhesives. The secret lies in removing all natural oils using acetone, pushing back the cuticle, and selecting the perfect size for each finger before securing the press-on nail firmly. Following these expert press on nails tutorials will ensure your manicure stays intact for weeks instead of days. Mastering this process is essentially a form of female alchemy, turning a simple beauty routine into a professional-grade salon experience you can achieve right in your own home.
Perfecting Your Nail Prep Strategy
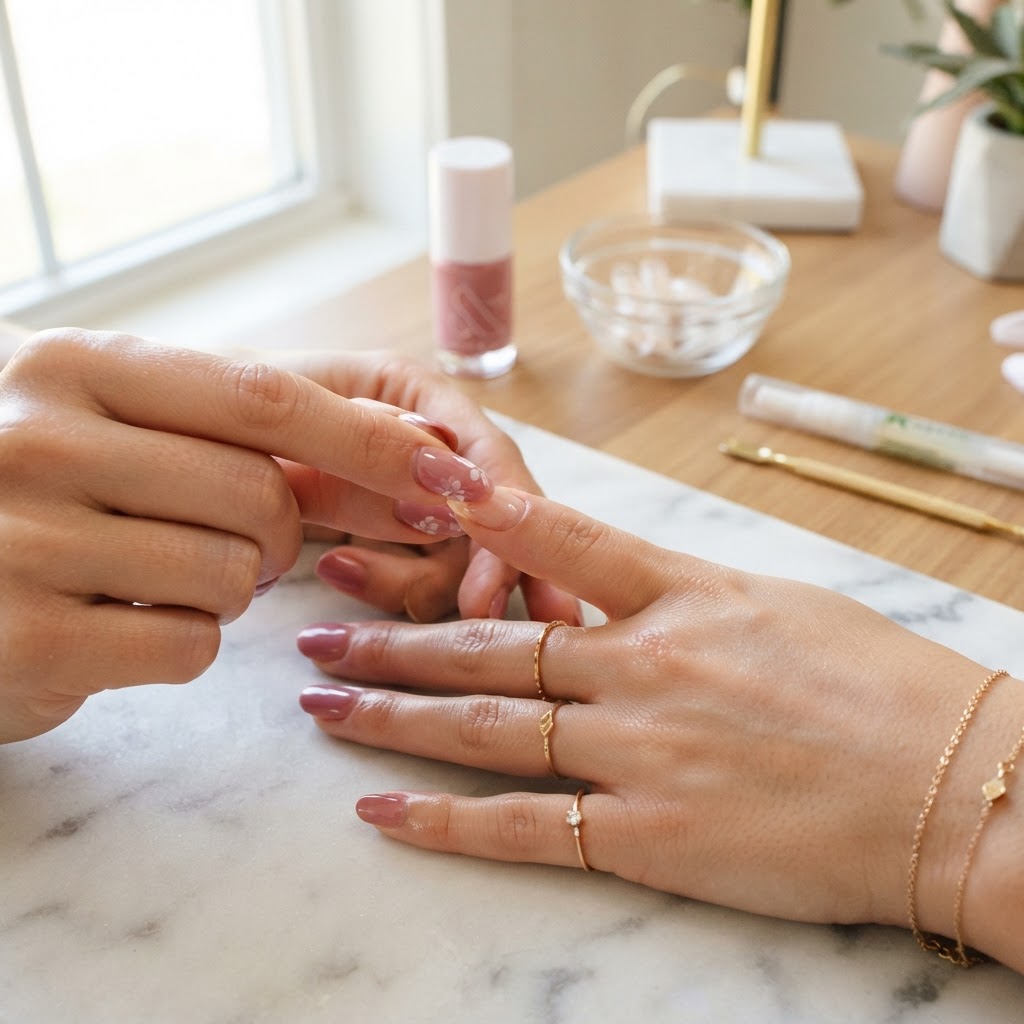
Nail prep for press on nails is the single most important step in ensuring a long-lasting manicure. If your natural nail surface has oils, dust, or dead skin, the glue simply cannot create a strong bond, leading to premature lifting or popping off. Start by using a cuticle pusher to gently clear away any debris around your nail bed. You must also buff the surface of your natural nail lightly to create a rough texture that allows the adhesive to grip effectively.
Once the surface is textured, cleaning is essential. Wipe each nail thoroughly with an alcohol pad or pure acetone to strip away every trace of oil. If you skip this step, your nails will inevitably fail within twenty-four hours. For those interested in the business side, this prep stage is what separates a amateur DIY manicure from a professional nail business from home. Think of this as the foundation of a building; if the base is weak, the entire structure will collapse regardless of how expensive your nails are.
Choosing the Right Adhesive and Sizing
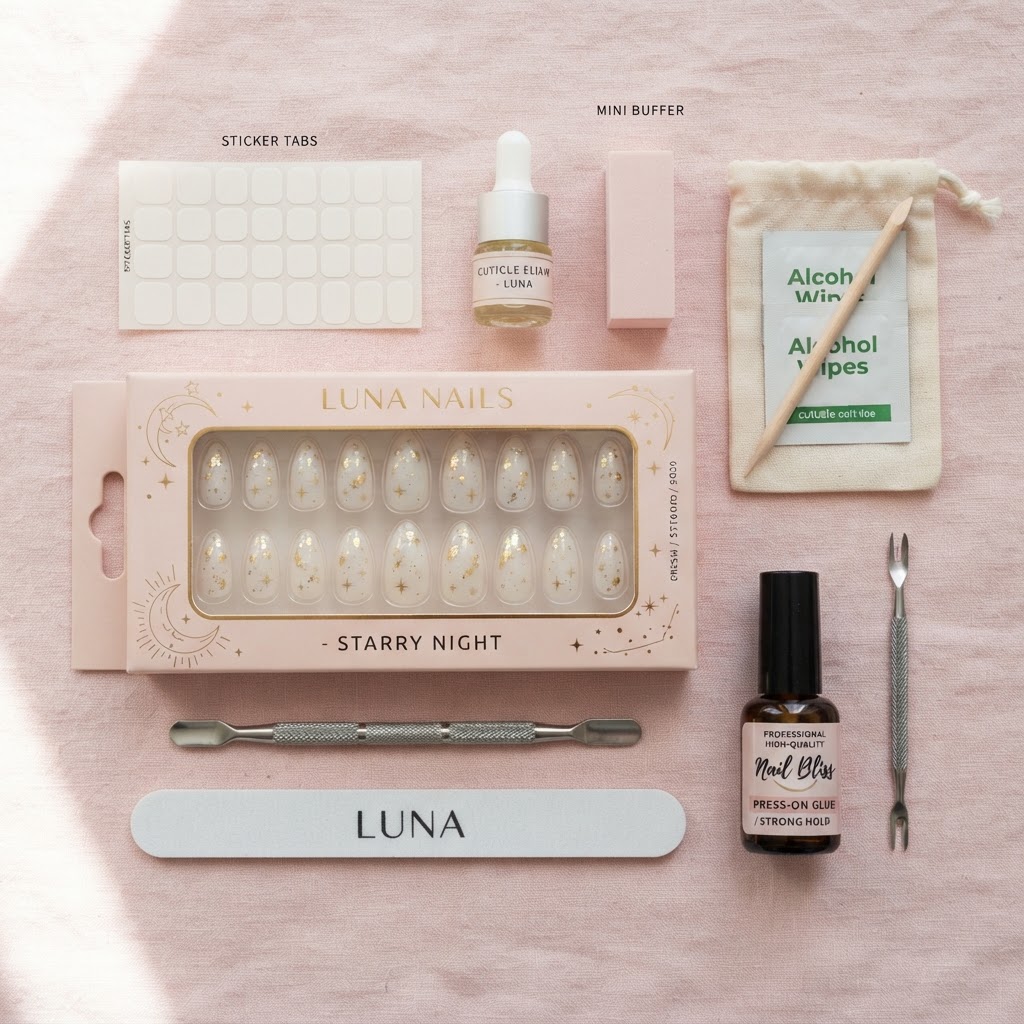
Selecting the correct size and type of glue is the difference between a manicure that lasts three days and one that lasts three weeks. Many beginners pick a press-on nail that is slightly too small, which creates tension and forces the nail to lift as your finger moves. Always choose a size that fits comfortably from sidewall to sidewall without touching your skin, as overlapping onto the cuticle will cause the seal to break.
Using high-quality press on nails glue is vital. Avoid using super glue or household adhesives, as these can damage your natural nail plates. Instead, look for brush-on glues or professional-grade gel adhesives that provide a slight cushion. If you are learning how to put on press on nails, start with a high-quality kit that includes various sizes to ensure a perfect comfort fit.
The Professional Application Method

Applying your press-on nails requires a steady hand and a “press and hold” technique that maximizes bonding time. Once you have applied your adhesive to the back of the press-on nail and your natural nail, place the tip at a forty-five-degree angle against your cuticle. Slowly lower it down, ensuring there are no air bubbles trapped underneath, as air pockets are the primary reason for early detachment.
Apply consistent, firm pressure for at least thirty seconds per finger to allow the glue to cure properly. It is often helpful to have your nail kit organized beforehand. If you are doing this for the first time, watch several nail tutorial videos to visualize the angle and pressure required. Remember that nail techniques vary; some pros recommend a “sliding” motion to push the air out, while others prefer a direct vertical press.
Maintaining Your Manicure for Longevity
Even after a flawless application, your daily habits play a major role in how long your press-ons last. Avoid submerging your hands in hot water for extended periods, such as long soaks in the bathtub or washing dishes without gloves. Excessive moisture can weaken the adhesive bond, making the nails feel loose and prone to popping.
If you find yourself asking how to make your press on nails last longer, consider wearing gloves during heavy-duty chores. Additionally, treat your new nails like jewels, not tools. Avoid using them to pry open soda cans or packages, as this adds unnecessary stress to the tip. If you notice a tiny gap, a quick dot of glue can often save the set before it completely detaches.
Understanding Nail Art and Design Trends
Beyond just keeping your nails on, part of the fun of DIY nails is experimenting with cute simple nails or intricate art. Whether you are aiming for trendy press on nails like chrome finish or classic French nails coffin shape, the application process remains the same. You can easily elevate your press-on look by adding your own flair, such as cat eye nails polish or 3d gel nail art design, once they are secure.
For those interested in how to start press on nail business or how to make press on nails look acrylic, practice is key. Try your hand at easy nails to make or follow a tortoise shell nails tutorial to create salon-style results. Remember, the best press on nails look just as good as a professional gel manicure when applied with care, patience, and the right tools.
FAQ
Why are my press-on nails popping off?
Your press-on nails are likely popping off because the natural nail surface wasn’t properly prepped, leaving behind oils that prevent the glue from bonding. It is also common to choose the wrong size or fail to hold the nail down long enough during the initial application. Ensure you buff your nails and use alcohol to dehydrate the surface before every attempt.
Why won’t my fake nails stay glued on?
Fake nails often fail to stay on because of trapped air bubbles or moisture inside the bond. Make sure you apply the glue evenly over both your natural nail and the back of the press-on. If you used adhesive tabs instead of liquid glue, the longevity will be significantly lower, as tabs are designed for temporary wear.
How do I get press-on nails to stay on?
To get your press-on nails to stay on for weeks, you must commit to a thorough prep routine including cuticle care, light buffing, and using professional-grade nail glue. Hold each nail firmly for at least thirty seconds to ensure a vacuum-sealed bond. Finally, avoid contact with water for at least an hour after application to allow the glue to fully set.
How to prevent press on nails from lifting?
Prevent lifting by ensuring your press-on is not touching your cuticle or skin, as that will cause the seal to lift prematurely. Size your nails carefully so they sit just above the cuticle line. Additionally, avoid picking at the edges of your nails, as even tiny disturbances can grow into larger lifted areas over time.
Conclusion
Achieving a salon-quality manicure at home is entirely possible when you follow the right steps. From mastering the initial prep work to choosing the best adhesive for your lifestyle, you now have the tools to keep your nails secure and beautiful. Don’t be afraid to experiment with different shapes, colors, and art techniques to find your unique style. Ready to elevate your nail game? Start your journey toward perfect, long-lasting press-ons today!
Leave a Reply