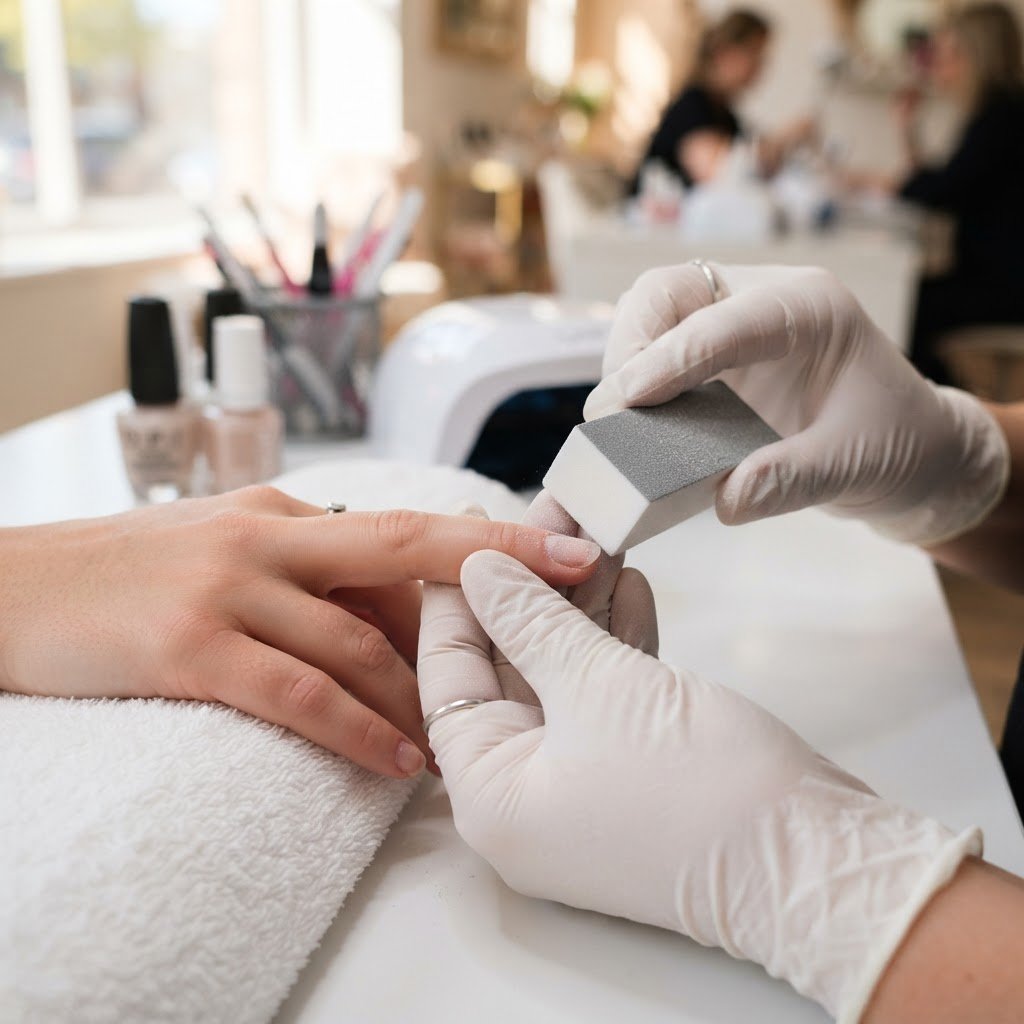
Preparing your natural nail bed is the most critical step in ensuring your manicure lasts. To prevent premature lifting, you must remove all oils, push your cuticles back, and lightly buff the nail surface to create an ideal bond for your adhesive. Following professional press on nails tutorials will help you achieve a salon-quality result at home.
The Importance of Proper Nail Surface Preparation
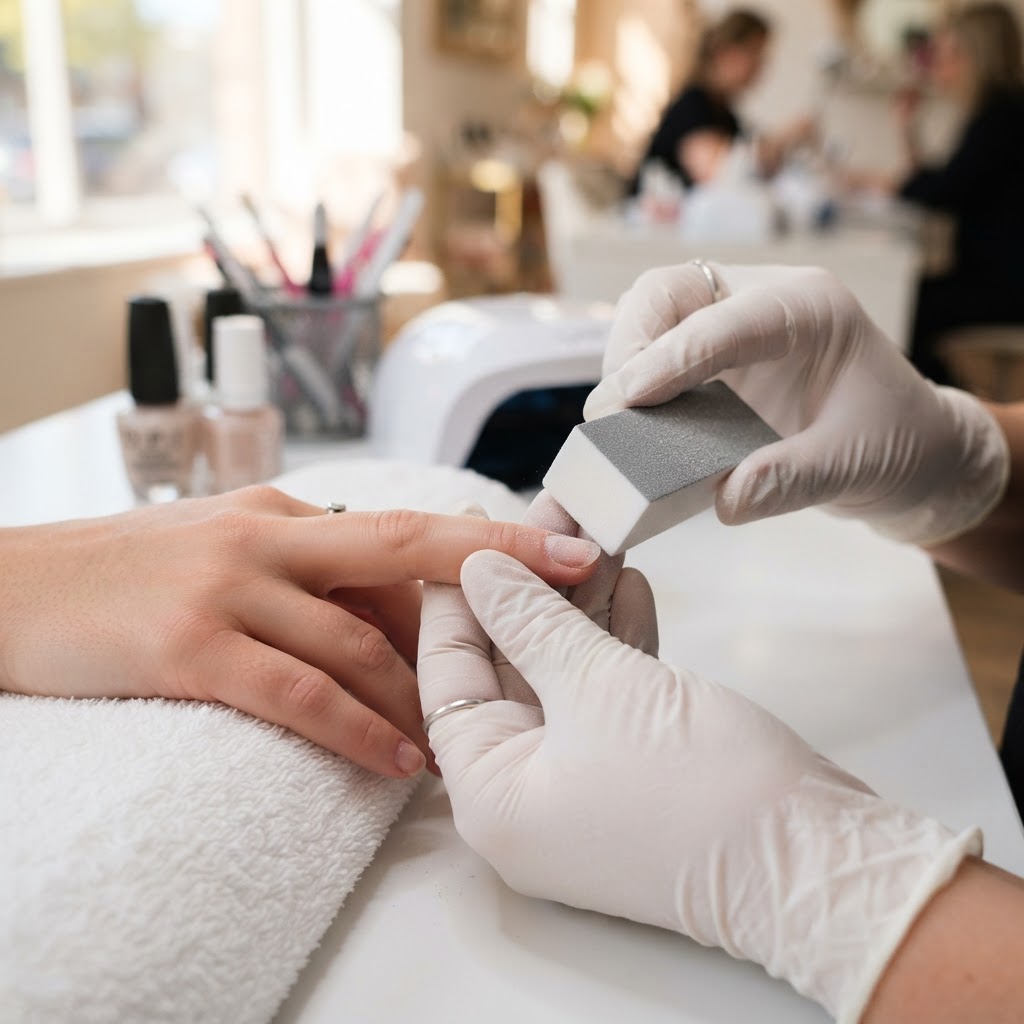
Properly preparing your natural nail is the secret to a manicure that survives daily wear and tear. When you ignore the surface prep, residual oils and dead skin act as a barrier, preventing the nail glue from making a true connection with your nail bed. By focusing on deep cleaning and texture creation, you effectively increase the surface area for the adhesive to grip.
Effective prep begins with selecting the right tools. A high-quality cuticle pusher is essential to clear the area, while a professional nail file helps shape your tips for a comfort fit. Many people skip the buffing stage, but this step is vital for removing the natural shine that causes press-ons to slide off. Think of this as the foundation phase in our press on nails tutorials, ensuring that every layer is optimized for maximum adherence.
Deep Cleaning for Maximum Adhesive Bond
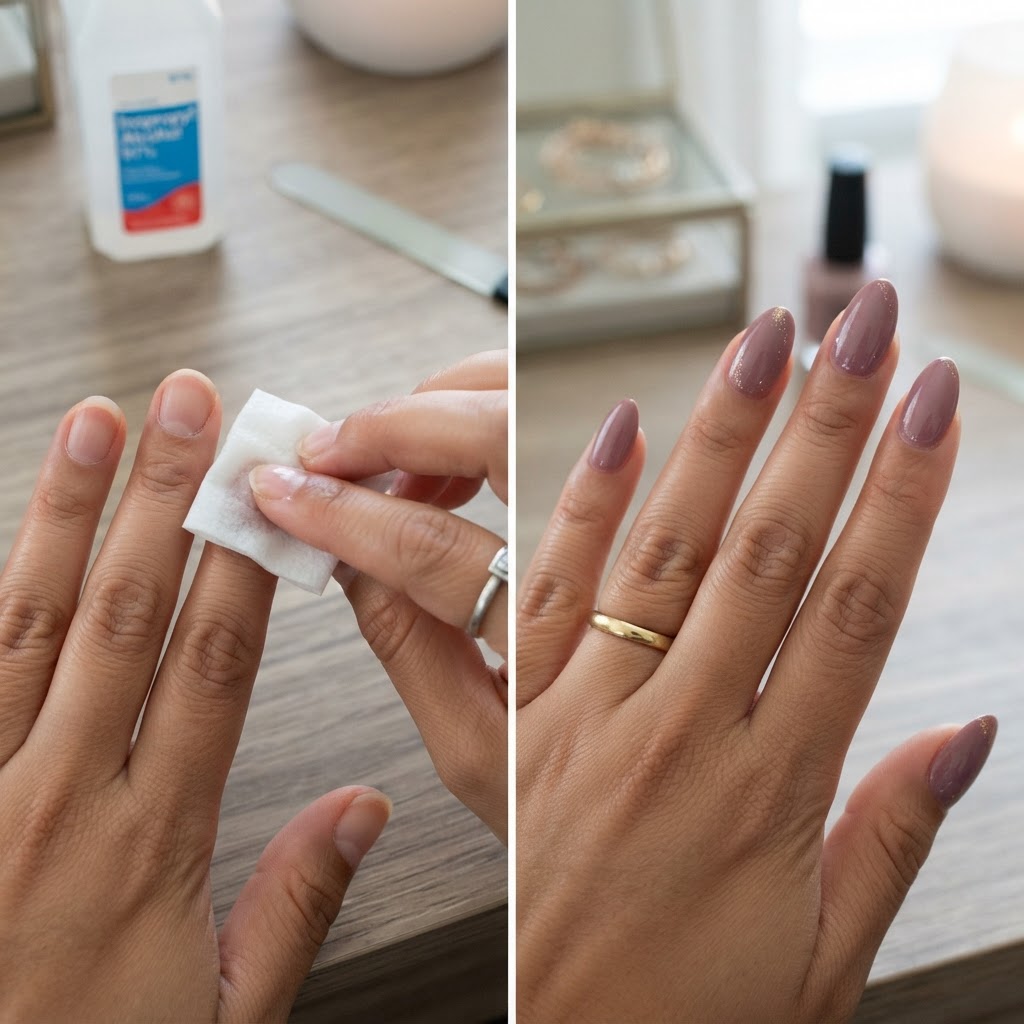
Achieving a long-lasting hold starts with a perfectly clean canvas. After pushing your cuticles back, you must cleanse the nail bed using rubbing alcohol or an acetone-based dehydrator to strip away hidden oils. If your nails have any lingering lotion or natural sebum, the adhesive will fail within hours, regardless of how good the product quality is.
Once the nail is dehydrated, avoid touching the nail surface with your fingers. Even a quick brush against your hair or face can transfer natural oils back onto the nail. Using gloves during this process or simply being mindful of your movements will ensure the bond remains pristine. This level of attention is what separates a amateur attempt from a successful DIY manicure that mimics professional acrylic nail designs classy looks.
Choosing the Right Adhesive and Sizing
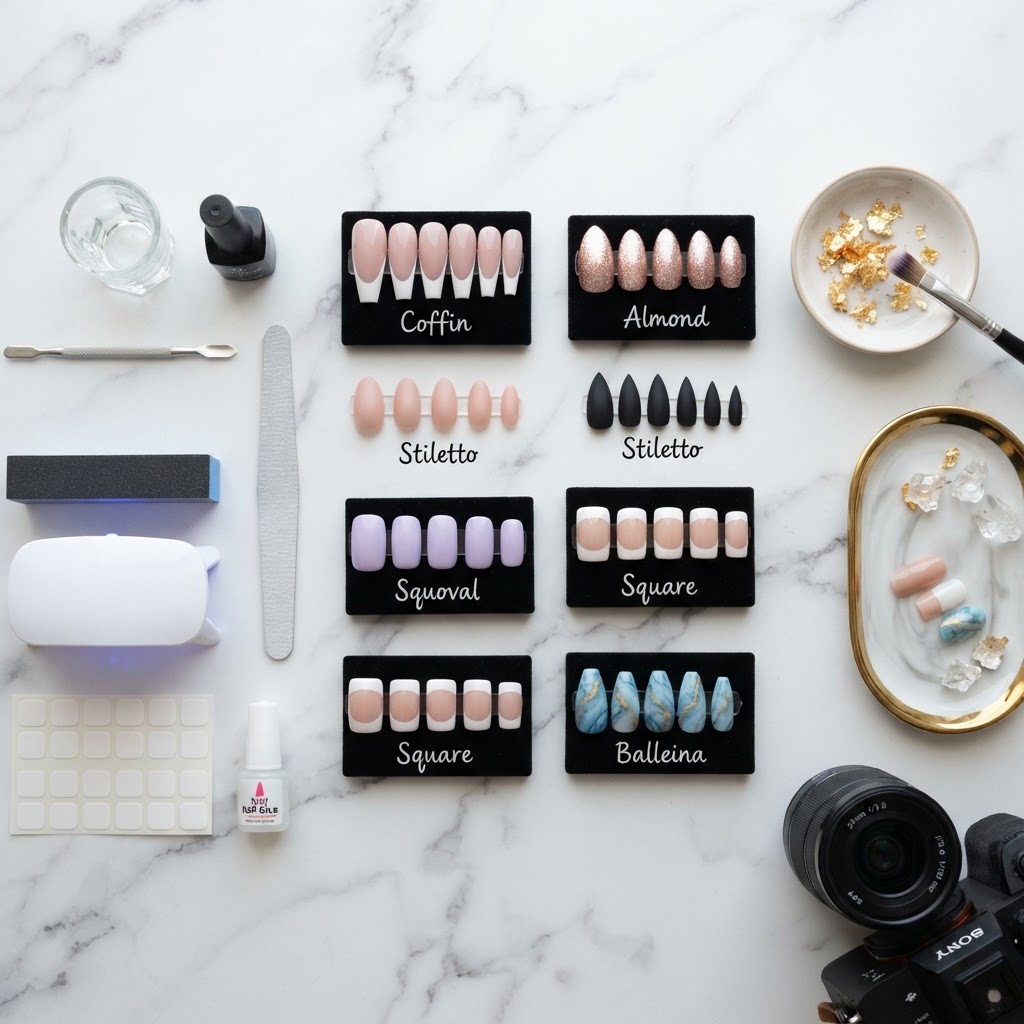
Selecting the correct size of your press-ons is just as important as the glue you choose. If your press-on is too wide, it will overlap onto your skin and eventually lift at the edges; if it is too small, it won’t cover the full width of your nail bed, which is a common cause of breakage. Always aim for a size that fits comfortably wall-to-wall without needing excessive pressure.
When applying your glue, avoid over-saturation. A single dot or a thin line across the nail is usually sufficient to create a strong, secure connection without causing an overflow that ruins your cuticle area. Applying too much glue can lead to a messy, unattractive finish, so keep it precise and controlled.
Step-by-Step Application Guide
Following a systematic approach is the best way to master press on nails tutorials. Begin by applying glue to both your natural nail and the back of the press-on to create a dual-surface bond that is incredibly resistant to lifting. Hold the nail firmly against your finger for at least thirty seconds to ensure no air bubbles are trapped underneath.
Air bubbles are the primary culprit behind moisture ingress, which can damage your natural nails and cause the press-on to pop off. By using a firm, even pressure from the cuticle toward the free edge, you can push out excess glue and air simultaneously. This simple trick is a cornerstone of professional nail techniques, ensuring that your cute simple nails or trendy press on nails stay put through anything.
Exploring Styles and Trends
Once you have mastered the application, you can experiment with various aesthetics, from french nails coffin shape to intricate nail designs and vibrant chrome nails. The beauty of DIY press-ons is the ability to change your look weekly, whether you want pretty gel nails, cat eye nails, or even baddie nails square long. Keeping your kit updated with the best press on nails and a variety of nail art tools will keep your creativity flowing.
Don’t be afraid to try specific trends like tortoise shell nails tutorial looks or even beginner 3d nail art for special occasions. Many users enjoy making a nail business from home, selling their custom creations to friends. As you learn, you will find that understanding nail theory and different nail art techniques, such as blooming nails tutorial or chrome nail art, makes the process much more rewarding.
Troubleshooting Common Issues
If you find your nails lifting, revisit your routine. Often, the issue isn’t the product, but the moisture level on the nail plate. Ensure you are using a quality nail file to lightly roughen the surface, and always use a dehydrator before applying your adhesive. If you notice lifting at the corners, use a cuticle trimmer to carefully clear away any excess dead skin that may have been overlooked during the prep phase.
Another common mistake is applying the nails too close to the cuticle. There should be a tiny gap—about 1mm—between the press-on and your skin. If the plastic touches your cuticle, it will inevitably snag on your hair or clothing, leading to premature lifting and discomfort. Proper nail placement is a simple but life-changing tweak to your routine.
FAQ
How to prevent press on nails from lifting?
To prevent lifting, you must ensure your nail bed is completely dry and free of oil before application by using an alcohol-based cleanser. Avoid getting glue on your cuticles, and press firmly for at least 30 seconds to eliminate air bubbles that compromise the adhesive seal.
How to prep nails before putting press-ons?
Start by pushing back your cuticles and gently buffing the surface of your nails to remove shine, which creates a better texture for the glue. Follow this by cleaning the nail with rubbing alcohol to dehydrate the surface, ensuring a long-lasting, sturdy application.
Why do my fake nails keep lifting?
Your nails may keep lifting because of residual natural oils on the nail plate or because the press-on is too large and is touching your skin. Always check your sizing and ensure you have properly dehydrated the surface with alcohol before applying the glue.
Should I put primer on my nails before press-ons?
Using a dehydrator or a pH-balancing primer is highly recommended as it removes lingering moisture and oils that prevent a strong bond. This step is essential in professional-level press on nails tutorials for ensuring your set lasts for two weeks or more.
Conclusion
Mastering your nail game is all about the prep. By dedicating time to cleaning, buffing, and properly applying your press-ons, you can enjoy a salon-quality manicure for a fraction of the cost. Start practicing these techniques today, explore your favorite styles, and enjoy the freedom of beautiful, long-lasting nails. Why wait for a salon appointment when you can achieve perfect results from home right now?
Leave a Reply