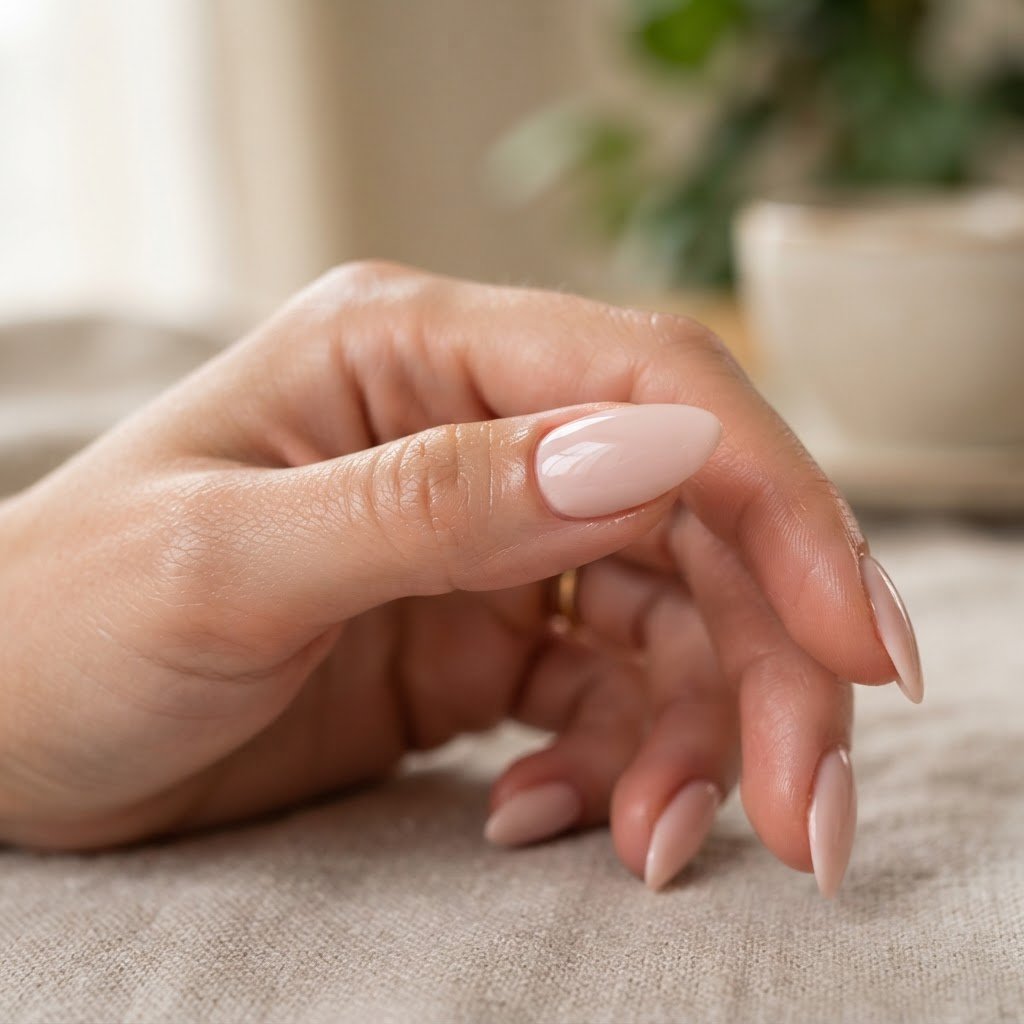
To ensure your manicure stays flawless, master these press on nails tutorials by focusing on deep nail prep and using high-quality adhesives. The secret to making press-ons last involves removing all natural oils, selecting the right size, and avoiding water exposure for several hours after application. With these steps, you can achieve salon-grade durability at home every single time.
Perfecting Your Nail Prep Routine
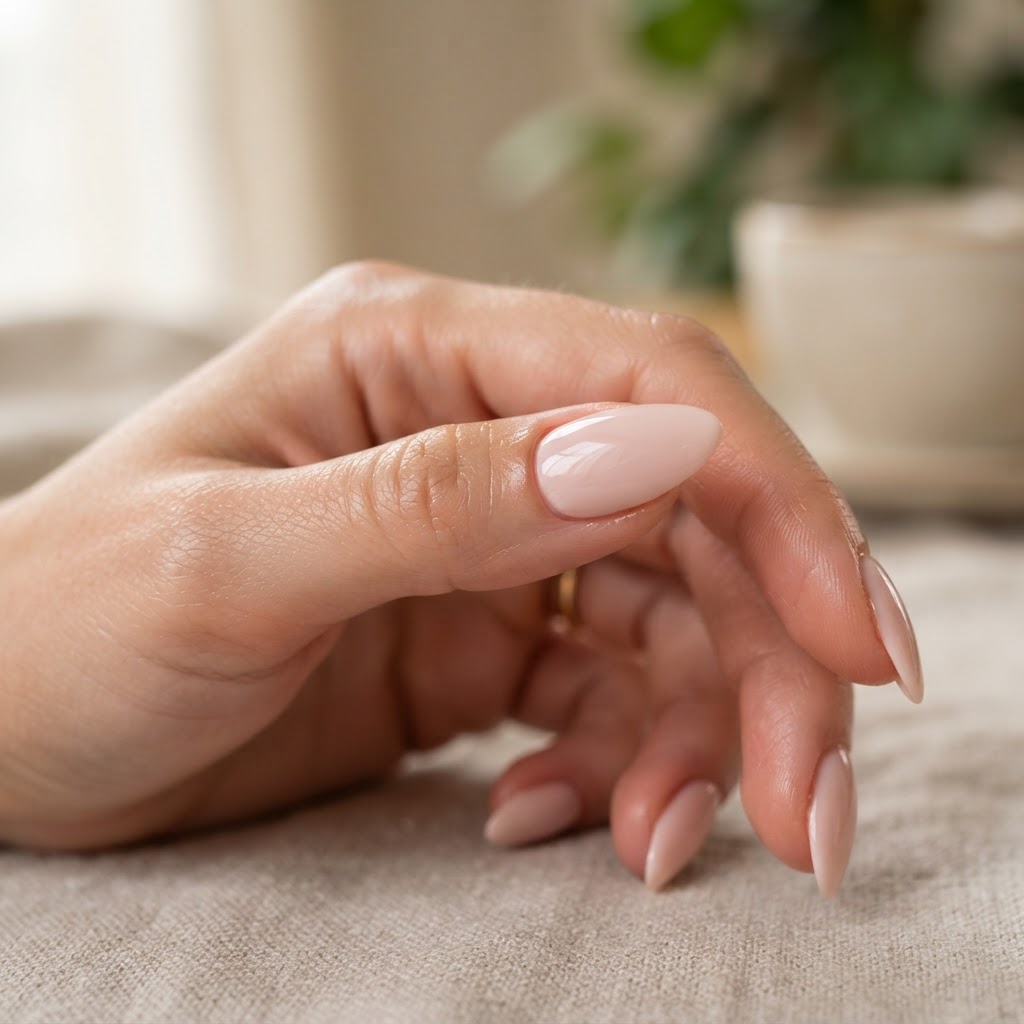
Properly preparing your nail bed is the most important step in any successful manicure. Begin by pushing back the cuticle with a cuticle pusher to create a clean canvas, which ensures your press-ons sit flush against the nail bed. Use a nail file to gently buff the surface area of each natural nail to remove shine, as this texture helps the nail glue grip significantly better. Cleaning the nails with alcohol is a vital nail prep for press on nails technique that removes any lingering oils that might cause premature lifting.
Many beginners skip the buffing stage, but this simple action is essential for long lasting nails. Whether you are doing gel nails diy or simply applying store-bought sets, a rougher surface provides better adhesion. Take your time during this phase, as rushing your nail prep for press ons often leads to a shorter wear time and a less realistic look.
Choosing the Right Adhesive and Sizing
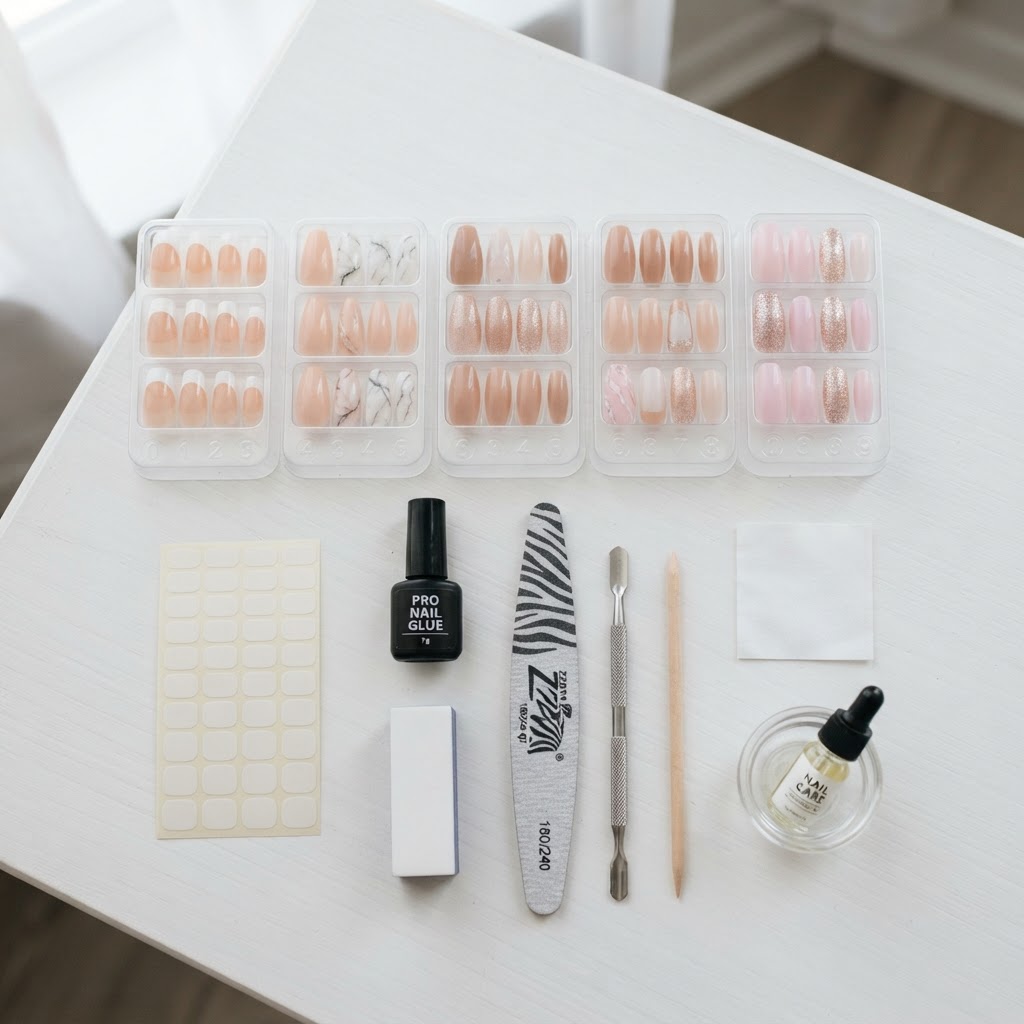
Selecting the correct size for your nails is as crucial as the glue you choose. If your tips are too large, they will overlap onto the skin, leading to easy snagging and early detachment. Conversely, tips that are too small leave your natural nail exposed and compromise the overall structure. Always measure carefully before finalizing your press on nails application steps to ensure a perfect comfort fit.
Once you have the perfect size, the choice of press on nails glue matters immensely. While sticky tabs are great for short-term wear, high-quality liquid nail glue is your best friend for a lasting manicure. Applying a thin, even layer of glue to both your natural nail and the back of the press-on tip ensures a strong bond. Remember that professional nail technicians always advocate for precision over quantity when it comes to glue application.
Masterclass in Application Techniques
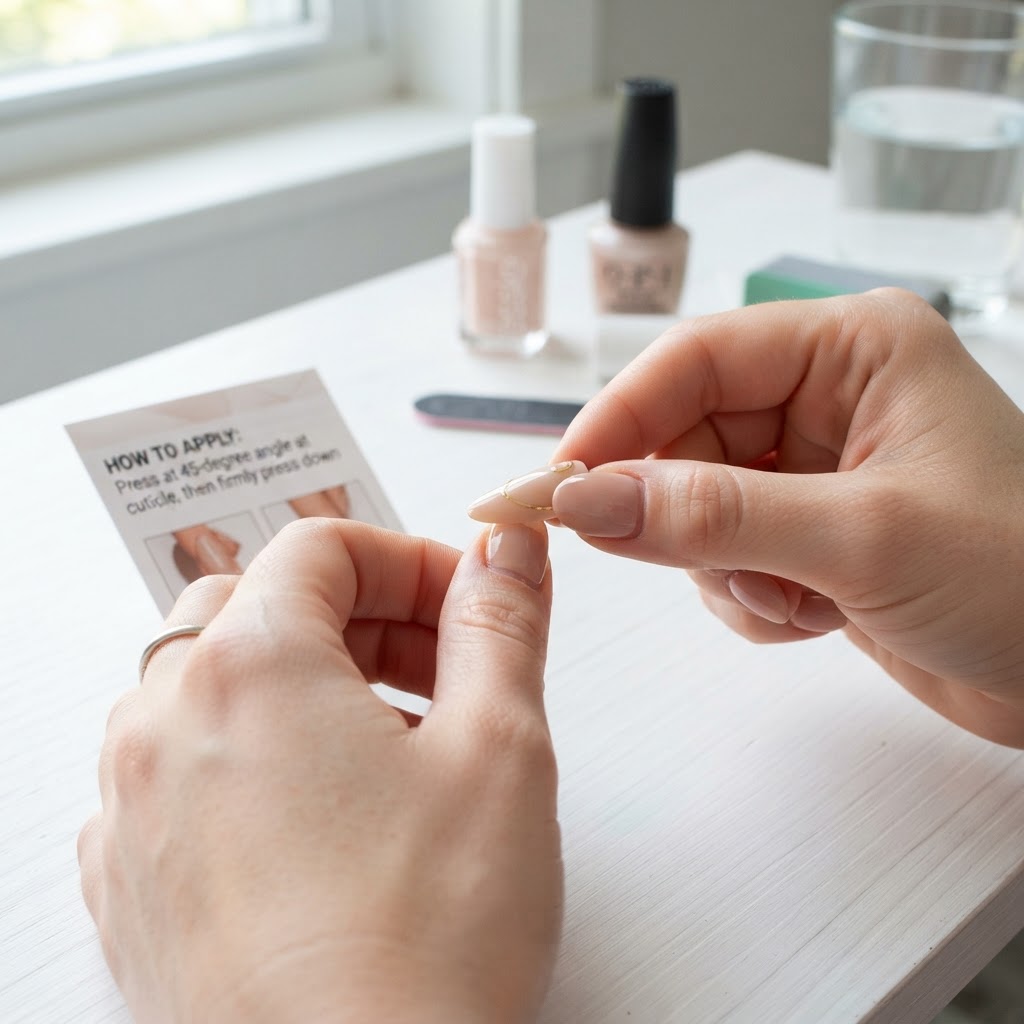
Learning how to apply press on nails step by step ensures that no air bubbles get trapped between the layers. Apply your nails at a 45-degree angle starting near the cuticle, then slowly press down toward the free edge to push out any air pockets. Holding the nail firmly in place for at least 30 seconds is a classic nail technique that guarantees a secure attachment. This method helps the glue set perfectly across the entire nail plate, preventing the common lifting issues that many beginners face.
For those who love fancy nails designs or intricate nail designs, adding a layer of top coat can protect the art and add extra shine. If you are practicing DIY nails for beginners, start with simple solid colors before moving on to complex 3d gel nail art design or marble nail design. Keeping your designs simple helps you practice the application process without the added stress of delicate embellishments or charms.
Maintenance and Removal Strategies
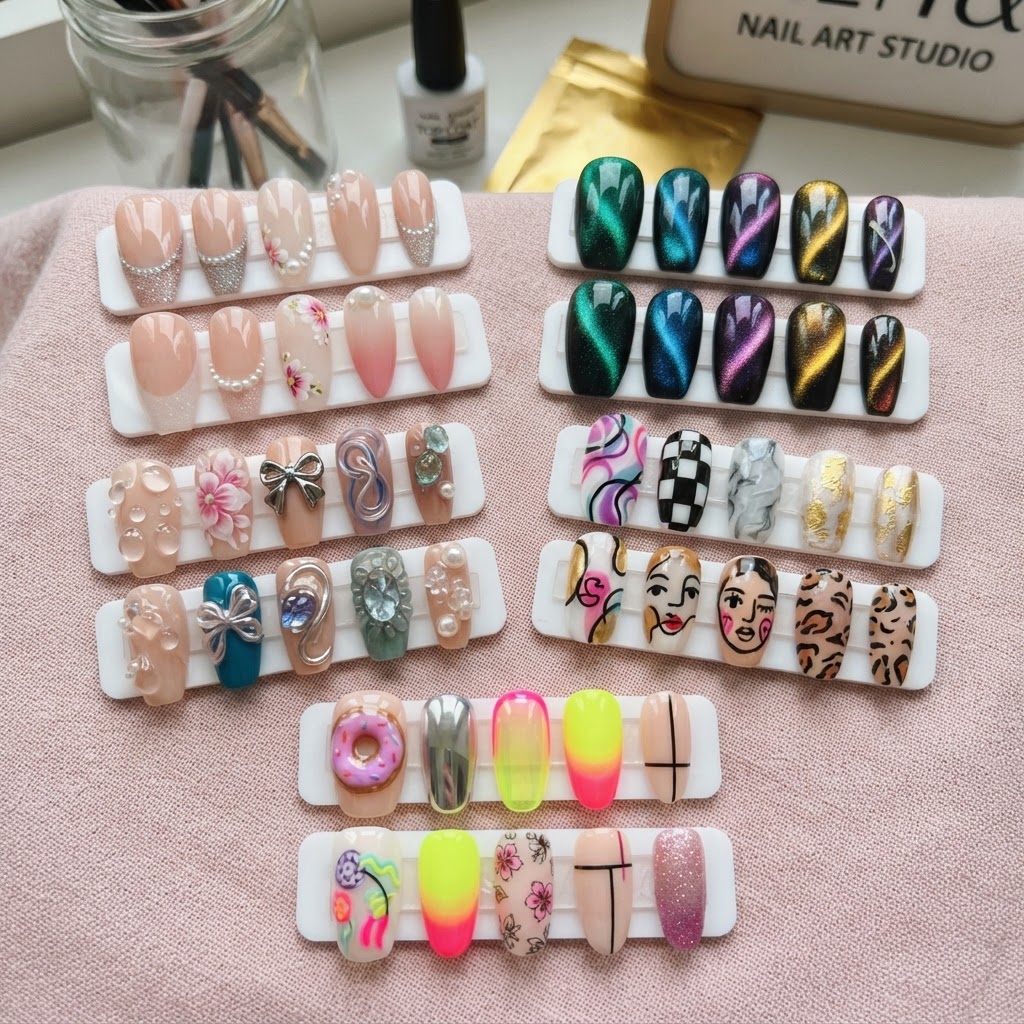
Knowing how to make your press on nails last is as much about maintenance as it is about initial application. Wear gloves while performing chores like washing dishes or using harsh cleaning chemicals to prevent the adhesive from dissolving prematurely. Avoid excessive soaking in water, as moisture can weaken the bond of the nail glue over time. If you notice a tiny gap, a small drop of nail glue can act as a quick fix to extend the life of your press-ons.
When it is finally time for a change, prioritize the safety of your natural nails by using a gentle removal guide. Never pull or rip the nails off, as this can take layers of your nail plate with it. Soaking your nails in warm soapy water and cuticle oil allows the glue to soften gradually. This careful removal process is a hallmark of a true beauty lover who prioritizes long-term nail health.
Creative Trends and Practice Ideas
There is an endless world of nail inspo for you to explore once you have mastered the basics. Whether you enjoy french nails coffin shape, cute simple nails, or even daring art deco nails, the possibilities are infinite. If you want to start a nail business from home, learning how to make press on nails look acrylic is a valuable skill that will set your work apart. You can practice on practice hand nails to perfect your painting techniques before applying them to your own hands.
Exploring new trends like cat eye nails polish or rain drop nails adds excitement to your routine. Don’t be afraid to try different nail shapes like almond nails or square long baddie nails to see what suits your lifestyle best. Consistent practice is the secret to moving from beginner level to creating pretty gel nails or complex stained glass nails tutorial styles.
FAQ
What are some tips to make press-on nails last longer?
To make your press-on nails last longer, focus on thorough nail prep by buffing the surface and cleansing with alcohol to remove natural oils. Avoid water exposure for at least two hours after application and always use a high-quality nail glue for maximum hold.
What fake press-on nails lasts the longest?
Fake press-on nails that are made from high-quality ABS plastic and applied with professional-grade nail glue tend to last the longest. Ensure you select the correct size and follow a strict application process to achieve a wear time of up to two weeks.
How to make press-ons last 3 weeks?
Making press-ons last 3 weeks requires perfect prep, including pushing back the cuticles and removing all surface oils before applying the glue. You must also maintain the nails by avoiding harsh chemicals and keeping your hands dry whenever possible to prevent the adhesive from breaking down.
What are the best nail tips for press-on nails?
Some of the best nail tips for press-on nails involve applying the glue to both the natural nail and the artificial tip for a superior bond. Always hold each nail in place for at least 30 seconds and ensure no air bubbles are trapped, as these are the main culprits for early lifting.
Conclusion
Mastering these techniques takes practice, but the ability to create salon-style nails from home is a rewarding journey. From choosing the best press on nails to learning professional removal methods, you now have the knowledge to keep your manicure looking fresh for weeks. Start your own DIY journey today by picking out a set and practicing the steps outlined in this guide. Don’t forget to experiment with new nail designs and share your progress with the community!
Join our newsletter to receive exclusive nail tips and tricks, seasonal design inspiration, and early access to our upcoming press on nails tutorials video series. Your journey to perfect nails starts right here, right now.
Leave a Reply