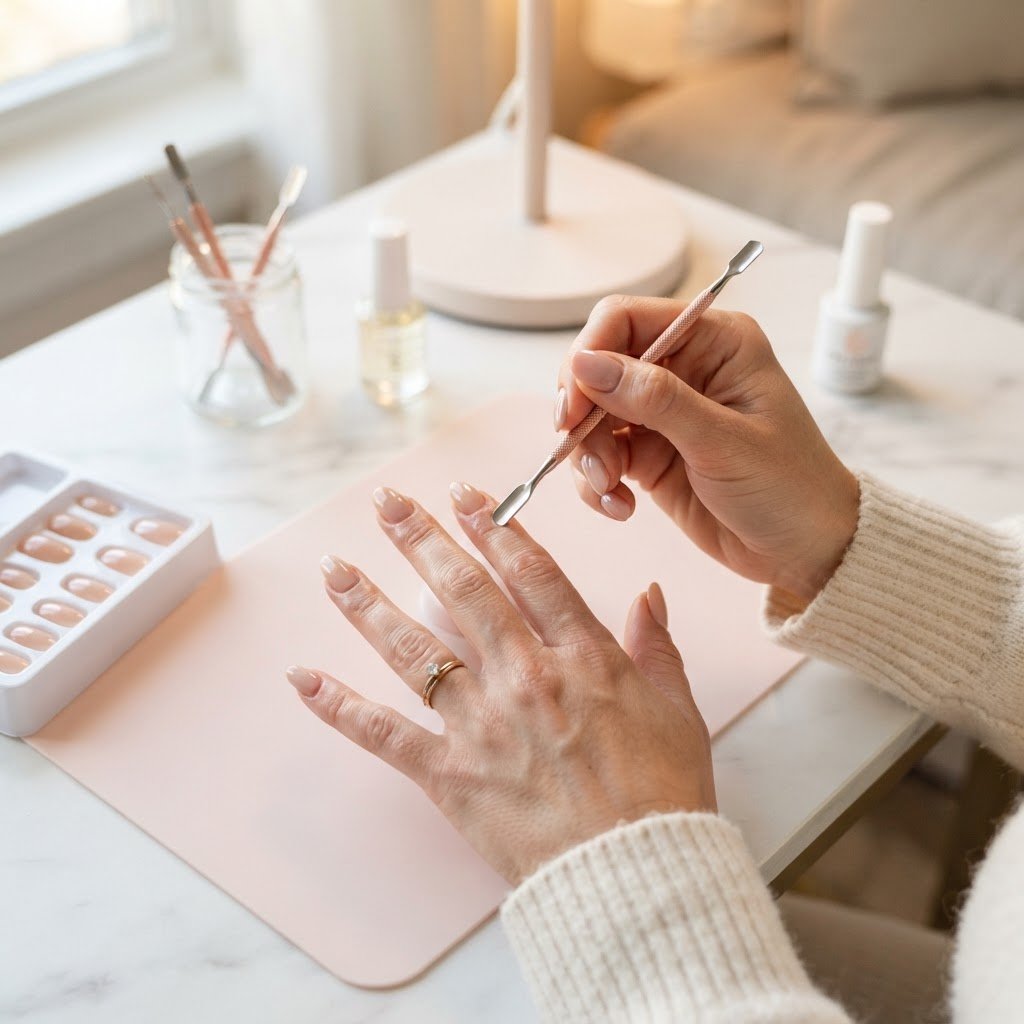
Mastering the perfect at-home manicure starts with high-quality press on nails tutorials that teach you the essential steps for professional results. By focusing on proper cuticle preparation, selecting the right nail glue, and avoiding moisture immediately after application, you can significantly extend the lifespan of your set. These beauty hacks nails strategies ensure your manicure remains flawless, comfortable, and chip-free for up to two weeks of wear.
Master the Foundation with Prep
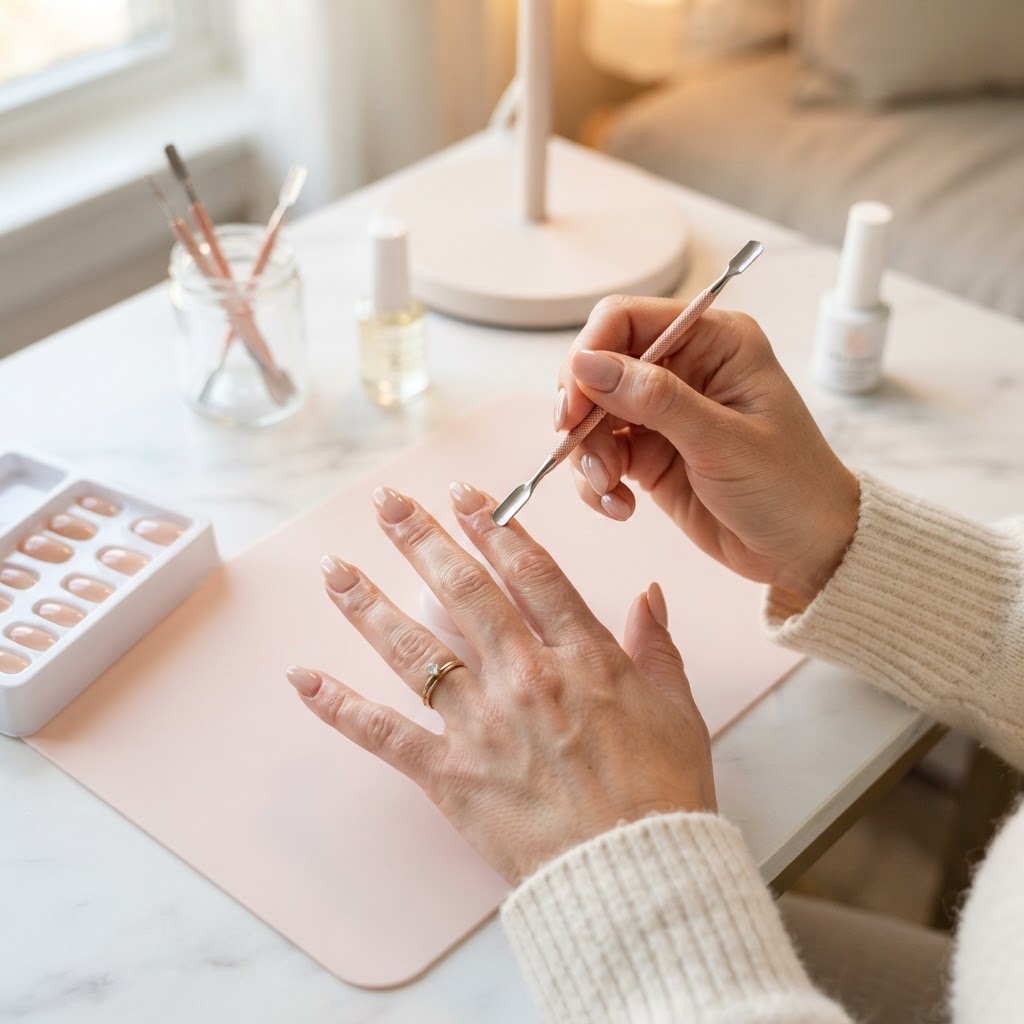
The secret to a long-lasting manicure is impeccable prep, as any residue on your natural nail will cause lifting. Before you even think about applying your stick on nails, you must push back the cuticle and buff the surface area of your nail bed to create a slightly rough texture that helps the adhesive grip. Think of this as the equivalent of priming a wall before painting; it is the most critical step in all press on nails tutorials.
Once you have filed your nails, use an alcohol wipe or dehydrator to remove natural oils. Even a tiny bit of moisture or sebum will compromise the bond of the nail glue. Many beginners skip the nail tech level of care, but taking those extra minutes to clean the sides of the nail ensures that your press-ons look like high-quality salon style work rather than just temporary additions to your hands.
Perfecting Your Application Technique
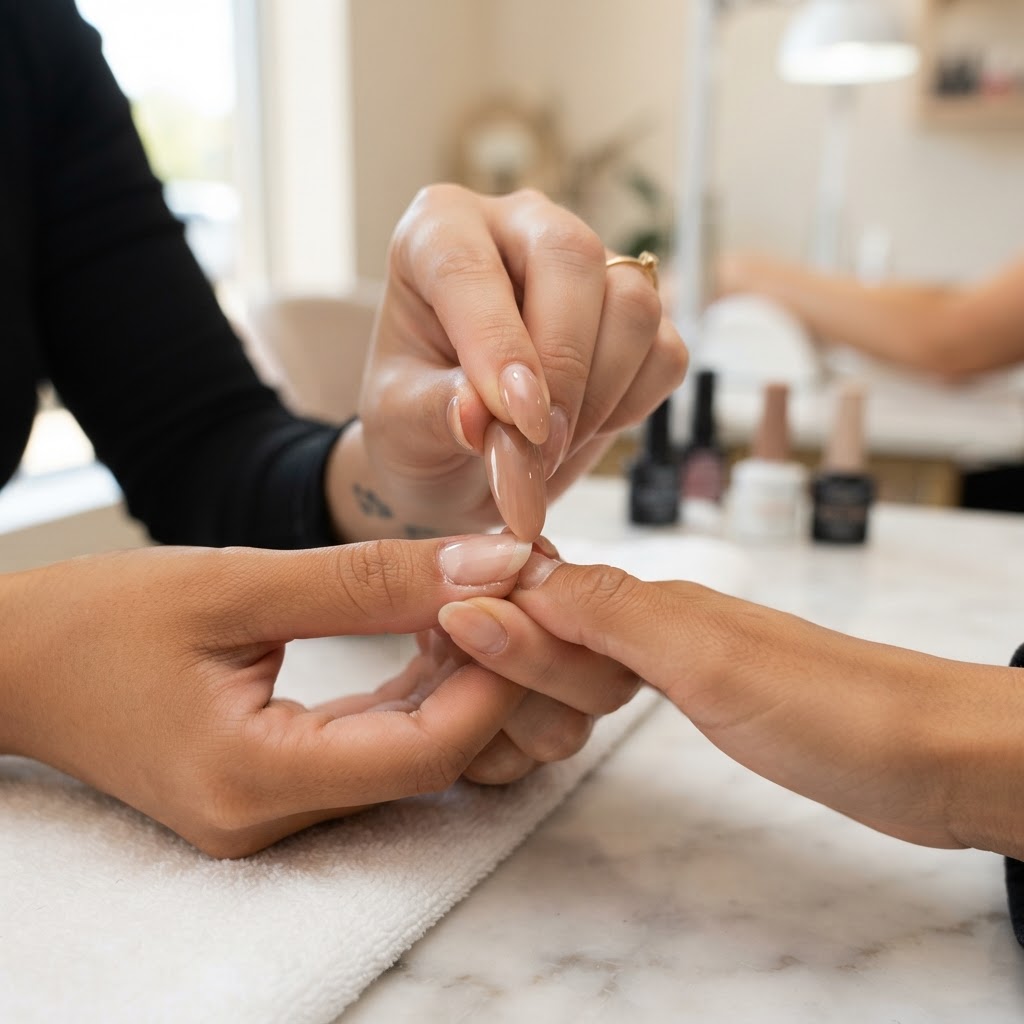
When applying your press on nails, the angle and pressure you use during the first ten seconds are vital for achieving a bubble-free bond. Place the artificial nail at a 45-degree angle against your cuticle line and slowly lower it, pushing out any trapped air as you press firmly down. This simple nail tip prevents water from getting trapped under the nail, which is the leading cause of premature lifting and damage to the natural nail underneath.
If you want to know how to make your press on nails last, avoid soaking your hands in hot water for at least four hours post-application. While you might be tempted to jump into a shower or wash dishes immediately, giving the adhesive time to fully cure is essential. This is one of the most effective beauty hacks that separates those with fleeting, flimsy nails from those who enjoy long-lasting, sturdy acrylic-style manicures.
Comparing Adhesive Methods
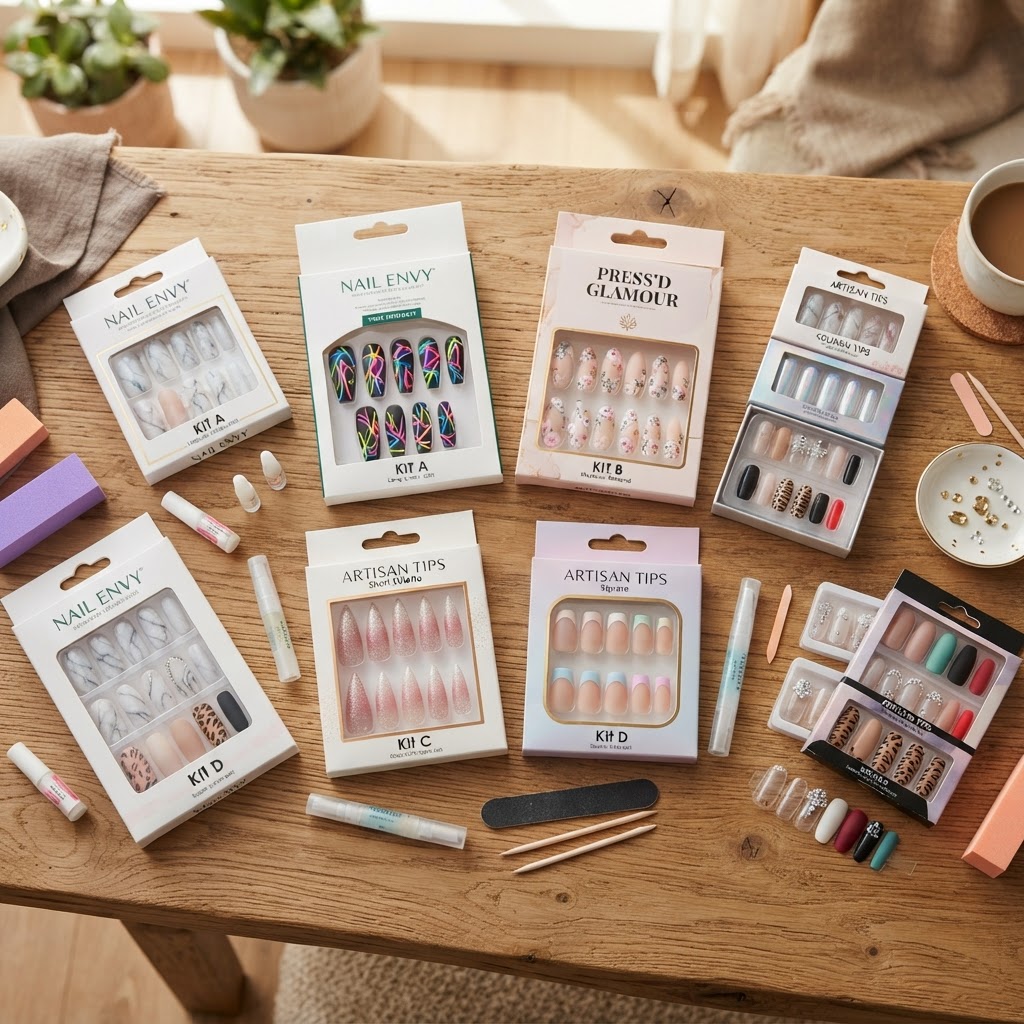
Choosing between liquid nail glue and adhesive tabs depends on whether you value longevity or reusability. Glue provides a stronger, more permanent hold, while tabs are better for those who like to change their look daily. Referencing various nail art techniques, here is a quick breakdown to help you decide which method suits your lifestyle.
Exploring Trending Styles and Designs
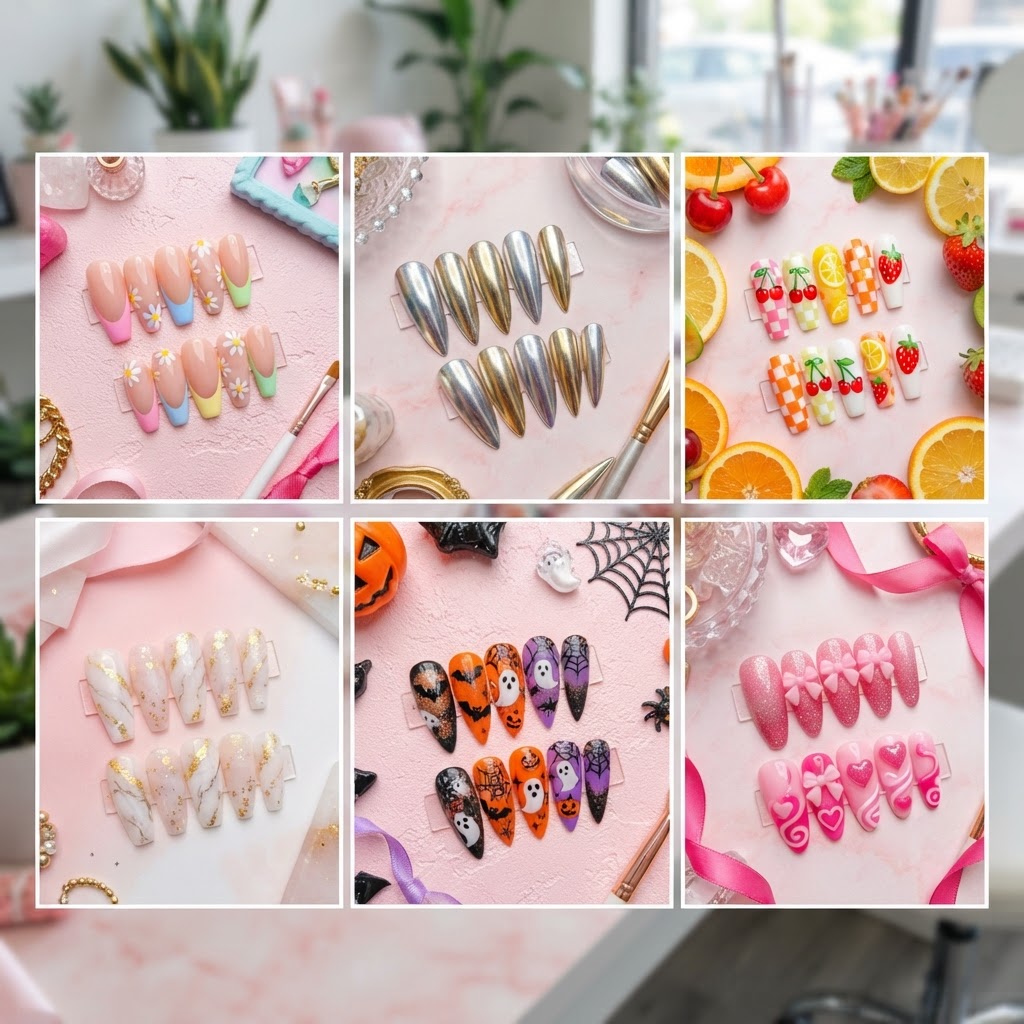
Once your foundation is solid, you can experiment with trendy looks like french nails coffin shape, cute simple nails, or even intricate art deco nails. Modern press on nails tutorials demonstrate how to elevate basic tips using chrome powder, cat eye nails polish, or 3d gel nail art design. Whether you prefer short box nails designs or long, dramatic girly acrylic nails, the secret to looking like you just left a high-end salon is ensuring a perfect comfort fit at the cuticle.
Don’t be afraid to mix and match styles. You can incorporate marble nail design, tortoise shell nails tutorial elements, or even seasonal fall nail designs to keep your look fresh. If you are into creative expression, try learning how to do a bow on a nail or exploring beginner 3d nail art for a textured finish. The versatility of press-ons allows for constant change without the commitment of traditional salon services.
Scaling Your Home Nail Business
If you have become proficient at creating your own custom sets, you might consider starting a nail business from home. Many aspiring nail technicians begin by making press on nails for friends before branching out to selling online. Focus on perfecting your craft, documenting your process through nail videos, and learning the fundamentals of nail anatomy to ensure your clients’ nail health is protected.
Success in this niche requires more than just artistic talent; it requires a deep understanding of nail theory and marketing. Create content that showcases your unique style, whether it is kawaii nails, chic nails, or minimalist designs. Engage with the beauty community by sharing your step-by-step process, from the initial cuticle prep to the final chrome finish. By consistently providing value and tips, you will build a loyal customer base eager for your unique creations.
Advanced Nail Artistry and Techniques
Taking your skills to the next level involves mastering complex techniques like blooming nails tutorial, galaxy marble patterns, or even intricate lace designs. Practice makes perfect, so don’t hesitate to use practice hand nails or even just tips on a display board to refine your lines and blending skills. Learning how to use blooming gel properly can turn a plain manicure into a masterpiece that looks like it took hours of salon work.
Explore how to do different nail designs that incorporate metallic accents, glitter, or matte top coats to provide variety in your portfolio. You can also experiment with nail effect powders that shift colors depending on the light. The more techniques you add to your repertoire, the more professional your finished sets will look. Remember that every detail, from the symmetry of a french design nails to the precision of a button nail design, contributes to the overall appearance of quality.
FAQ
What is the trick to making press-on nails last longer?
The most important trick is thorough nail bed preparation, which includes buffing the surface and dehydrating your natural nails with alcohol to remove oils. Proper prep, combined with applying your press-ons at a 45-degree angle to eliminate air bubbles, creates a vacuum-like bond that prevents early lifting.
Which press-on nails stay on the longest?
Generally, high-quality, pre-buffed plastic tips used in conjunction with professional-grade brush-on nail glue offer the longest wear. When applied to clean, prepped nails, these systems can easily last for two weeks or more without losing their bond.
What to use on press-on nails to make them last longer?
Using a high-quality dehydrator or a simple isopropyl alcohol wipe is the most essential product to use before application to ensure the adhesive sticks. Additionally, applying a thin layer of top coat over the base of the nail can help seal the edges against moisture.
What is the most highly rated press-on nails?
The best press on nails are those that offer a variety of sizes for a custom fit, such as high-end brands that provide ‘comfort fit’ options for the cuticle area. Look for sets that are made of durable, slightly flexible material which conforms better to the natural curve of your finger.
Conclusion
Achieving salon-quality results at home is easier than ever when you follow these proven press on nails tutorials and care tips. By focusing on detailed preparation, precise application, and high-quality supplies, you can enjoy a flawless manicure that lasts through your busiest weeks. Whether you are a beginner looking to experiment with easy nail designs or an aspiring entrepreneur building your own nail business, the potential for creativity is endless. Start practicing these methods today, and don’t forget to share your favorite looks with the beauty community!
Leave a Reply