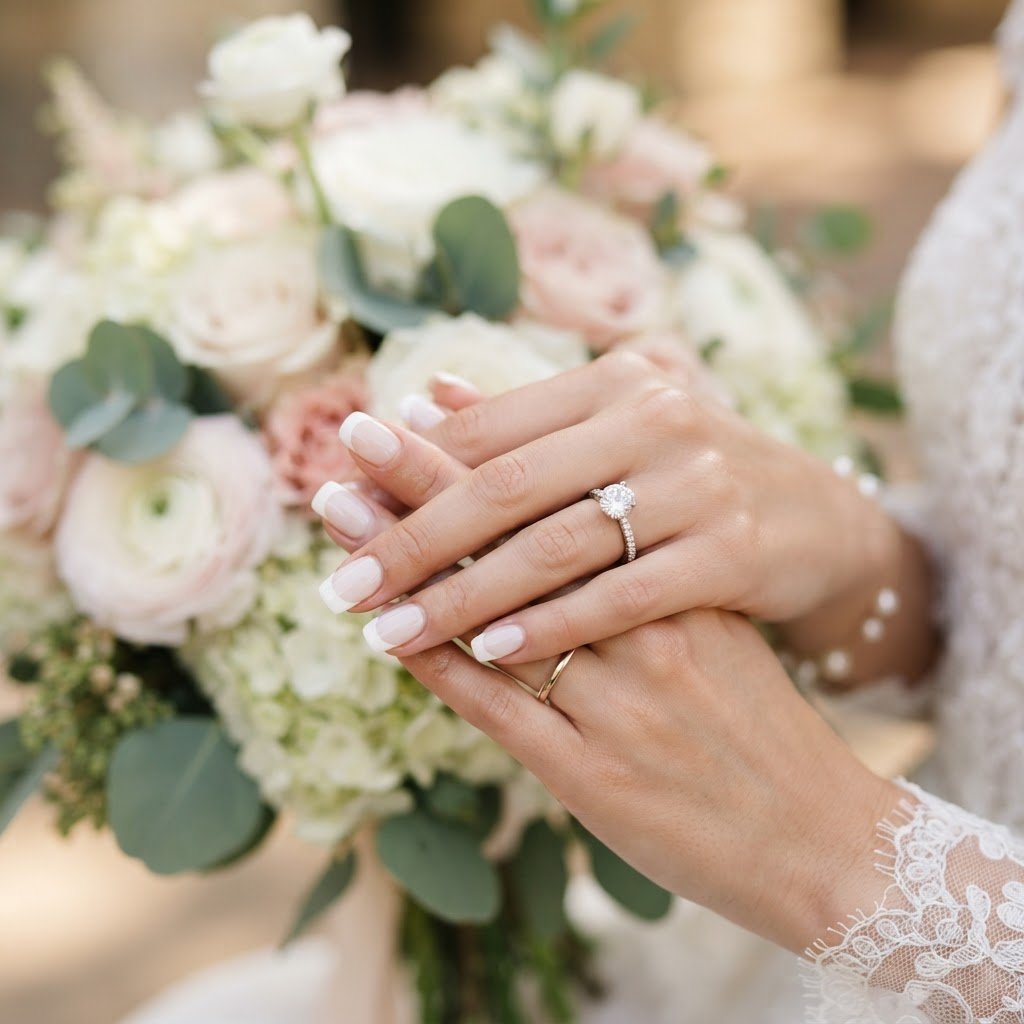
Achieving a flawless, salon-quality look for your big day has never been easier thanks to comprehensive press on nails tutorials. By properly prepping your natural nail, selecting the right size, and using high-quality adhesive, you can create a beautiful manicure that rivals any professional salon service. This guide covers everything from initial preparation to expert tips for maintaining a long-lasting finish that survives the entire event.
The Ultimate Preparation for Your Wedding Day
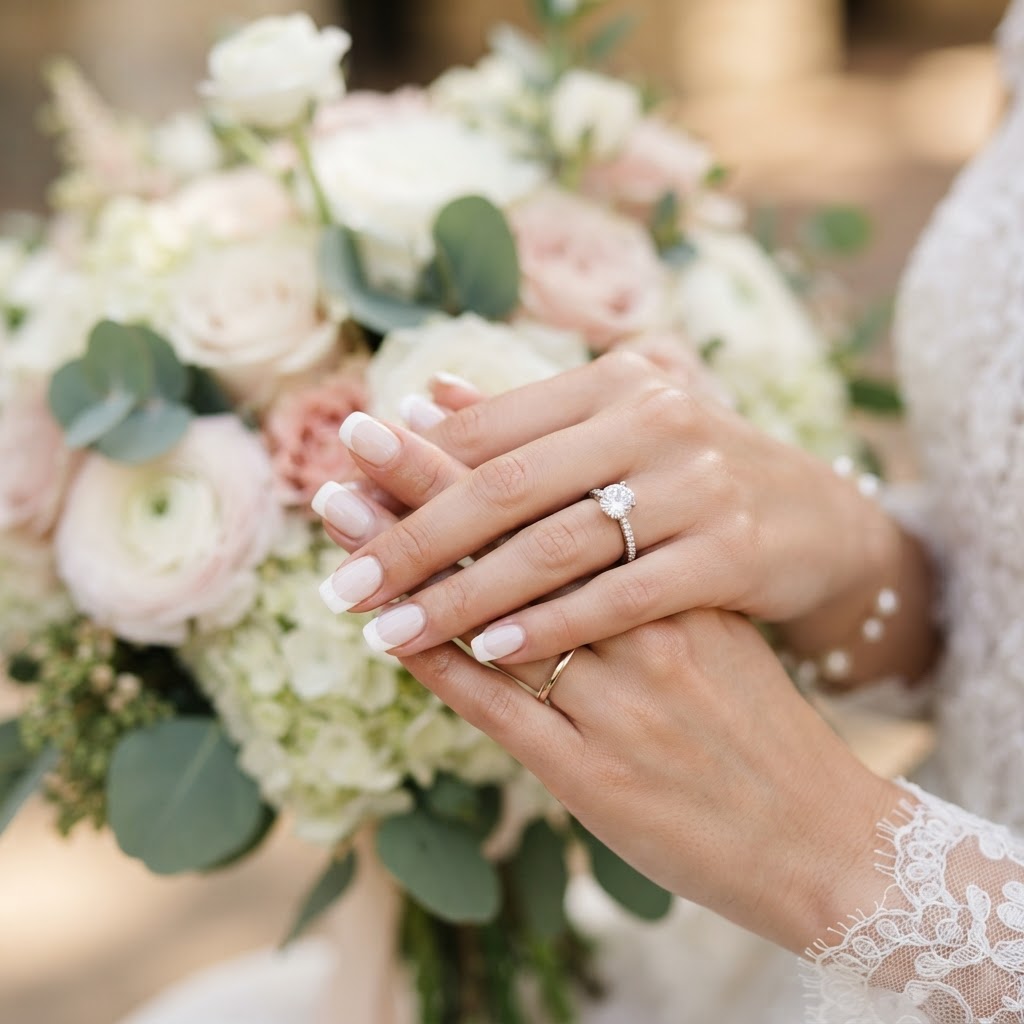
Proper prep is the most critical step in ensuring your press on nails look professional and last through your entire celebration. Start by performing a standard manicure: use a cuticle pusher to gently push back your cuticles and clear the surface area of your natural nail of any debris or oils. Once the cuticles are managed, use a medium-grit nail file to lightly buff the surface of your nail plate, which improves the bond between the nail glue and your natural bed.
Essential Tools for Success
To begin, ensure you have a complete nail kit containing a cuticle pusher, nail file, nail buffer, alcohol prep pads, and high-quality nail glue or adhesive tabs. For those who want to learn how to make press on nails last longer, always remember that oil is the enemy of adhesion. After buffing, wipe each nail thoroughly with an alcohol pad to dehydrate the nail surface. This ensures your stick on nails stay securely in place, even if you are dancing the night away as a bride or bridesmaid.
Selecting the Perfect Press On Style
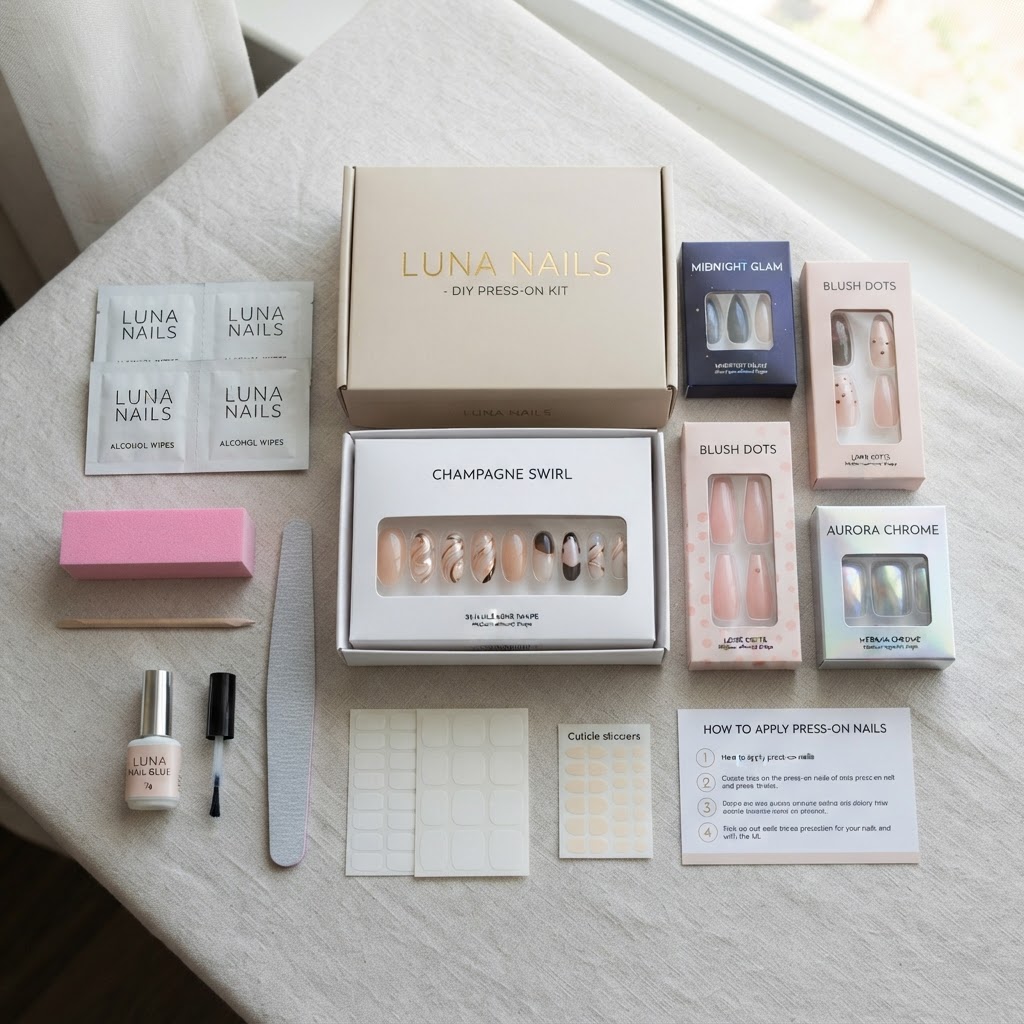
When it comes to wedding day aesthetics, you have endless options ranging from press on nails french tips to intricate 3d gel nail art designs. If you prefer a clean, classic look, french nails coffin shape are consistently trending for their ability to elongate the fingers. Alternatively, you can explore no french tip nail designs or even cute simple nails if your style is more understated. Regardless of the design, always opt for a comfort fit tip that mirrors your natural cuticle shape.
Expert Application Techniques for Longevity
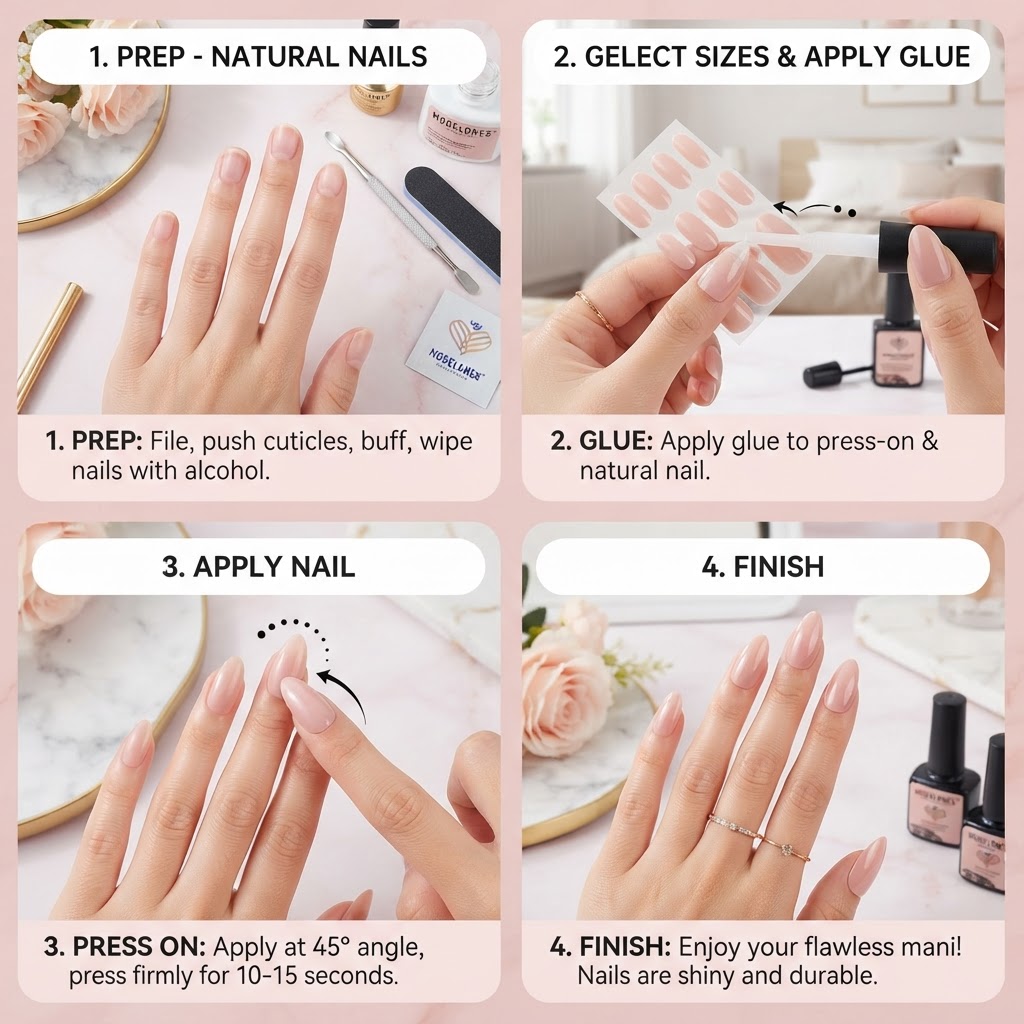
Learning how to apply press on nails step by step is the secret to a high-end, salon style finish that won’t lift at the edges. Apply a small dot of glue to the center of your natural nail and a thin line on the back of the press-on. Press the tip down at a 45-degree angle near the cuticle and hold firmly for at least 30 seconds to push out any air bubbles. Using this method effectively mimics the look of gel nails diy, providing that realistic press on nails appearance everyone desires.
Creative Design Ideas and Inspiration
If you want to customize your look, you can experiment with how to design nails using various embellishments or chrome powders. For instance, learn how to do gold chrome nails or explore tortoise shell nails tutorial videos to add depth to your manicure. Whether you are interested in blooming nails tutorial techniques or simple beginner nails, these skills allow you to create unique designs. Remember that press on nail tips and tricks often involve using top-quality supplies, so invest in good brushes and top coats.
Expanding Your Nail Knowledge
For those interested in a nail business from home, understanding nail art theory and different nail techniques is essential. You can study nail tutorials, watch nail art videos, and practice with affordable practice nail sets for beginners to refine your craft. Many beauty lovers enjoy learning how to make press on nails look acrylic by using thicker, sculpted tips or adding layers of builder gel. This level of dedication can eventually lead to professional-grade results.
Troubleshooting and Removal Guide
Even with the best preparation, you might encounter issues like peeling or lifting, which is why knowing how to make your press on nails last is crucial. If a nail pops off, have your nail kit handy for immediate touch-ups. When your wedding festivities are over, never rip your nails off; instead, soak them in warm soapy water with a bit of cuticle oil to dissolve the adhesive safely. This preserves your natural nail health and allows you to potentially reuse press on nails if they were kept in good condition.
FAQ
Are press-on nails good for a wedding?
Yes, press-on nails are an excellent choice for weddings because they offer a durable, salon-quality look at a fraction of the cost. They are versatile, easy to apply, and can be customized to match your theme, making them a popular option for any bride or guest.
How to make press on nails look professional?
To make your press-ons look professional, prioritize thorough cuticle prep and ensure you select the correct size for your nail bed. Applying the tips at a 45-degree angle to eliminate air bubbles and using a high-quality, long-lasting glue are key steps in achieving a seamless, realistic finish.
What not to do with press on nails?
Avoid forcing the nails into place, skipping the alcohol wipe step, or soaking your hands in hot water immediately after application. Additionally, never rip or pry the nails off when it is time to remove them, as this can damage your natural nail plate and cuticle area.
What are the best fake nails for a wedding?
For a wedding, the best fake nails are those with a high-quality comfort fit, such as gel-based press-ons or pre-designed luxury sets. Look for durable, long-lasting materials and designs that complement your dress, such as french tips, chrome finishes, or subtle 3d nail art.
Conclusion
Mastering these press on nails tutorials will ensure you feel confident and beautiful on your wedding day without the stress of an expensive salon appointment. By following the steps provided—from careful prep to precise application—you can enjoy a stunning, long-lasting manicure that captures your unique style. Start practicing your technique today, experiment with different nail ideas, and enjoy the process of your DIY beauty journey. Ready to get started? Grab your favorite kit, follow these tips, and shine with confidence at your next special event!
Leave a Reply