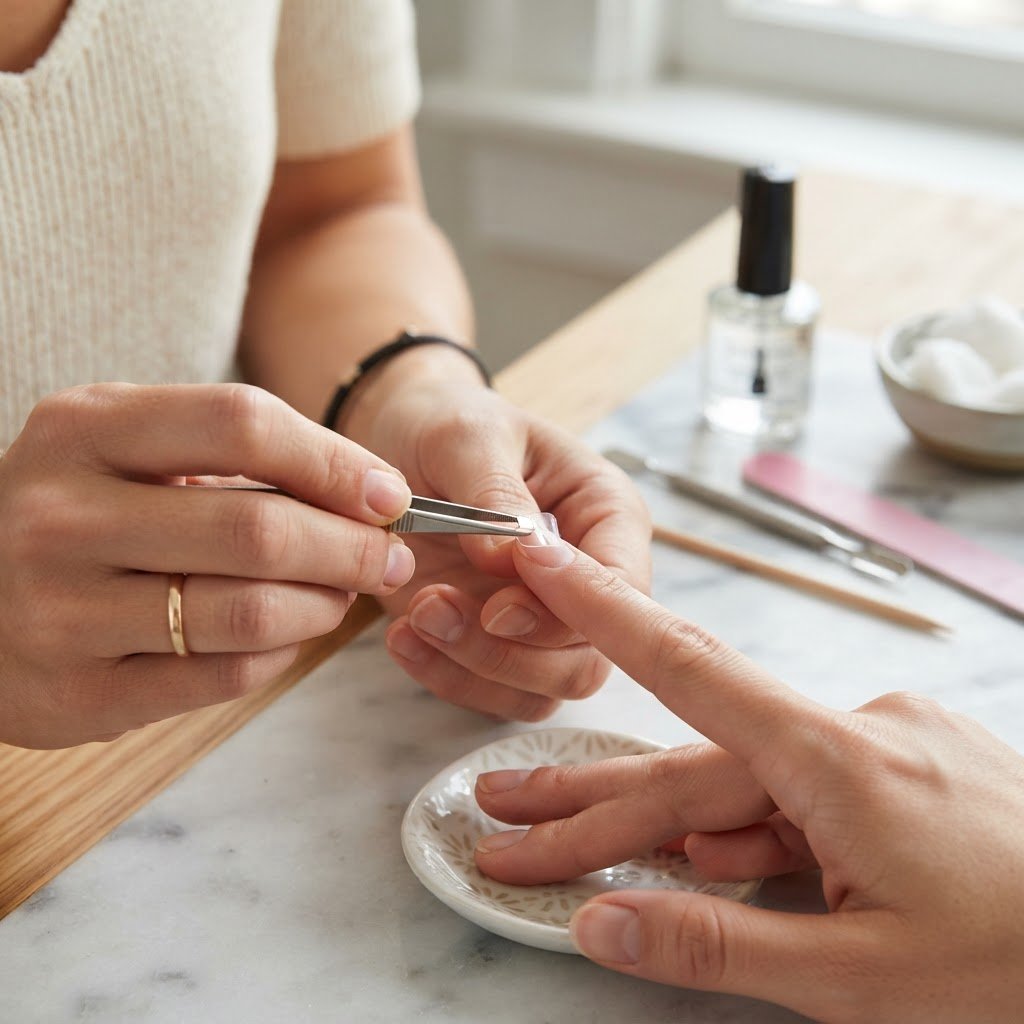
Using adhesive tabs is a game-changer for anyone searching for press on nails tutorials that prioritize both longevity and nail health. By selecting the correct size tab for each natural nail, cleaning the surface area thoroughly, and applying even pressure for thirty seconds, you can achieve a salon-quality manicure that is completely reusable and free from harsh glues. This method allows you to change your style daily, making it perfect for beauty lovers who enjoy versatility without damaging their own nails.
The Benefits of Using Adhesive Tabs for Your Manicure
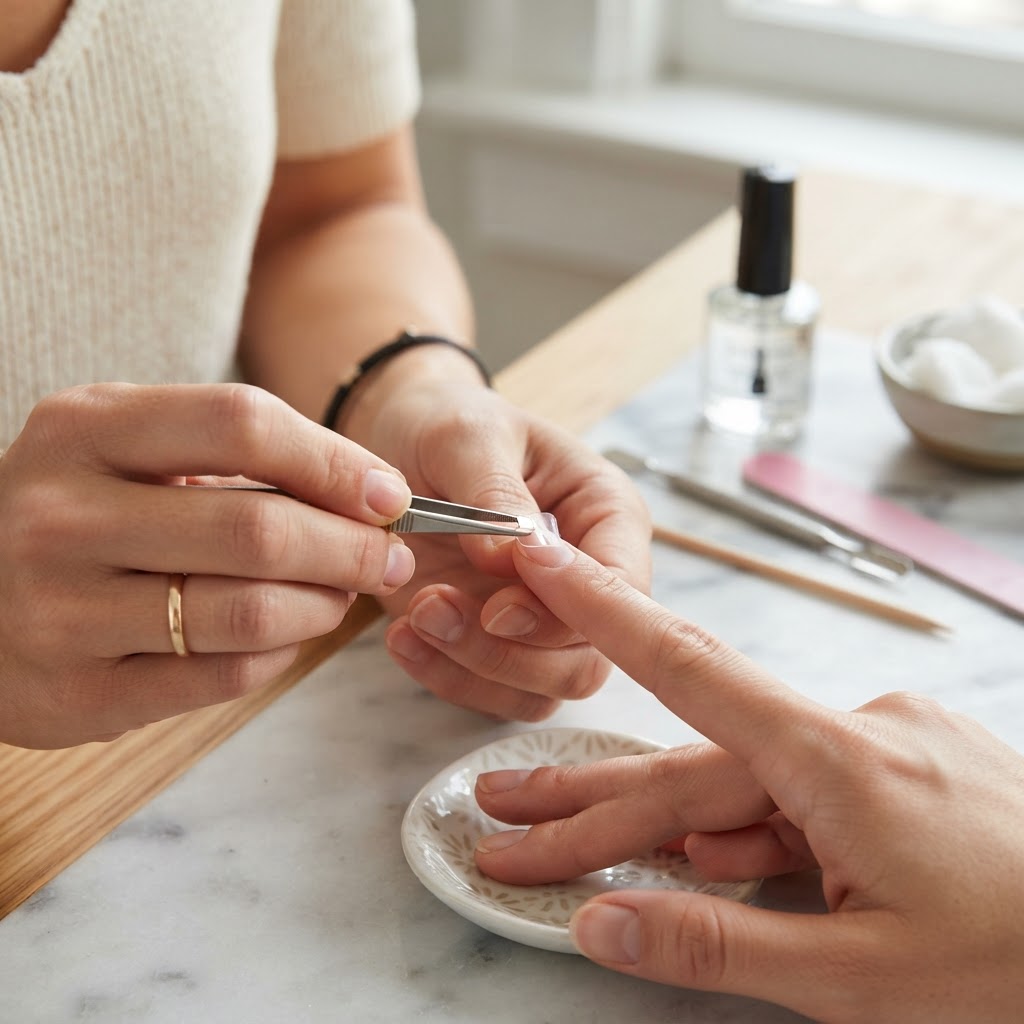
Choosing adhesive tabs over traditional liquid glue is the smartest move for your nail health and long-term manicure success. When you follow reliable press on nails tutorials, you learn that tabs allow for multiple uses of the same set, effectively turning a single purchase into a long-lasting collection. Unlike glue, which can be messy and damaging, tabs offer a clean, peel-off removal process that keeps your natural nail beds smooth and healthy. Many beauty lovers prefer this technique because it acts like a temporary bond, perfect for temporary events or switching up your look for work, dates, or parties.
Why Adhesive Tabs Are the Secret to Reusable Press On Nails
Adhesive tabs work by creating a secure, cushion-like bond between your nail and the press-on. This cushion fit ensures that the artificial nail adheres smoothly to the natural curve of your nail bed. Because they are not permanent, they offer a level of convenience that traditional salon styles simply cannot match. If you are learning how to start a press on nail business, mastering this application method is essential, as clients increasingly demand damage-free options. Whether you are aiming for short box nails designs or something more intricate like art deco nails, tabs provide the base you need.
Proper Nail Prep for Press On Nails
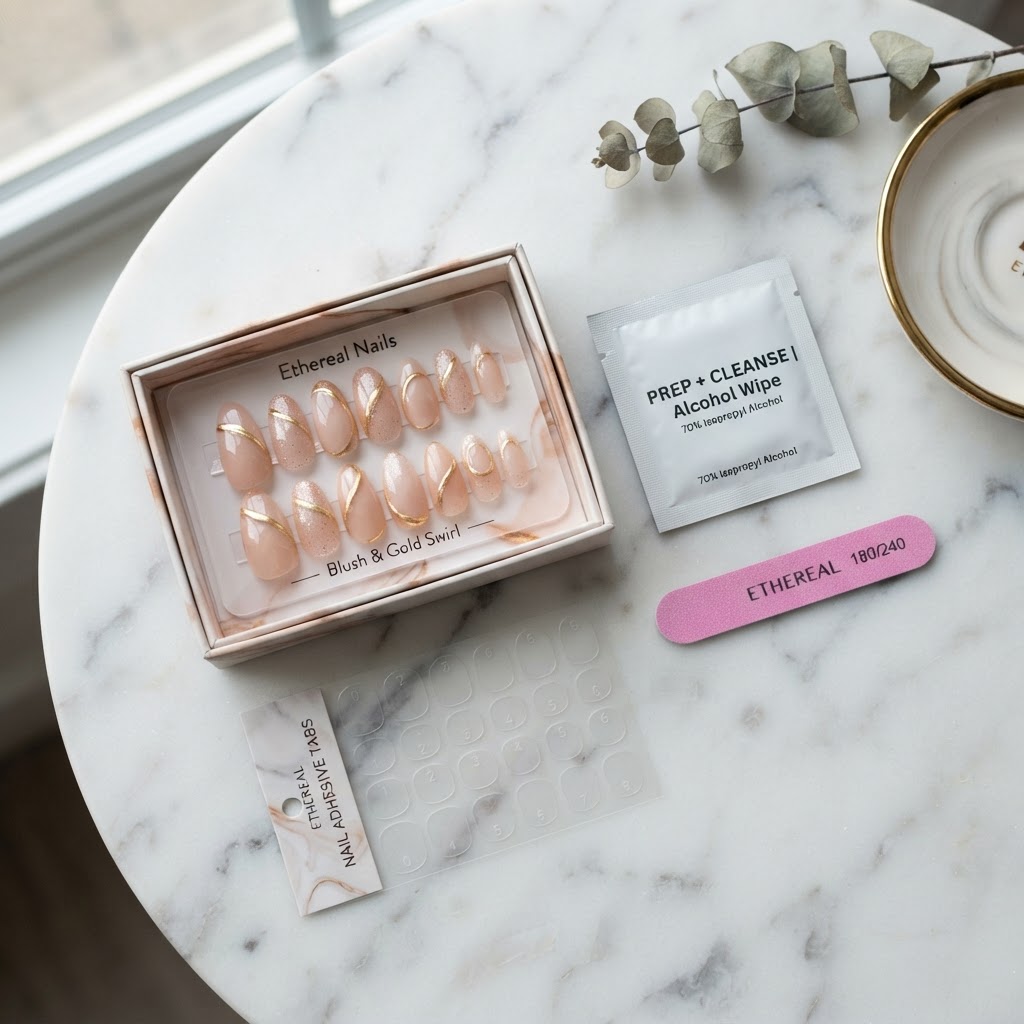
Preparing your nails is the most critical step in any of our press on nails tutorials, as it dictates how long your set will stay on. You must start by pushing back your cuticles with a cuticle pusher to expand the surface area of your nail plate for better adhesion. Use a nail file to gently buff the surface of your nails to remove shine and oils, which creates a grippy texture for the sticky tab to grab onto. Skipping this step often leads to nails popping off prematurely, so be thorough in your preparation process to ensure maximum wear.
Checklist for Perfect Prep
- Push back cuticles for a clean look.
- Lightly buff the surface area of the natural nail.
- Cleanse thoroughly with alcohol to remove natural oils.
- Select the right size tab before removing the protective film.
Step-by-Step Guide: How to Apply Press On Nails
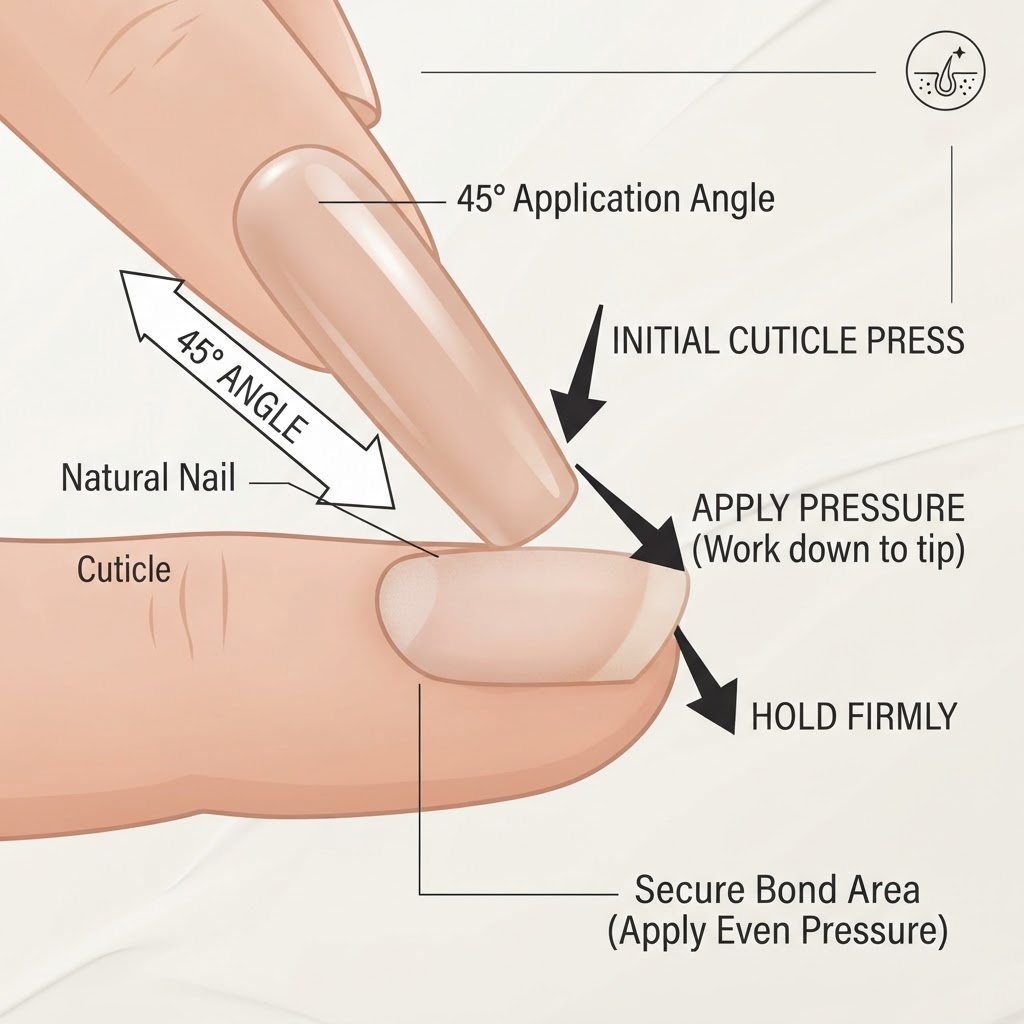
Applying your press-ons correctly ensures they look like professional gel nails DIY-style rather than a messy craft project. First, choose the correct size tab that matches your nail width without overlapping onto your skin. Peel the back of the tab, place it firmly on your natural nail, and smooth it out to remove any air bubbles. Then, peel off the top protective layer and align the press-on at a 45-degree angle against your cuticle line before pressing it down firmly. This technique ensures a secure seal that lasts for days.
Nail Techniques for a Flawless Finish
Beyond just applying the nails, achieving a high-end look requires attention to detail, whether you are trying french nails coffin shape, cute simple nails, or even summer nails. If your press-ons feel too flat, try trimming the sides with a clipper or nail file to achieve a better comfort fit. For those interested in how to design nails, you can add crystals or stickers to your press-ons before application to elevate your style. Remember, the key to better nail art is practice, so don’t be afraid to try different shapes or mix and match sets to create your own unique nail inspiration.
Troubleshooting: How to Make Press On Nails Last Longer
If you find your nails are lifting, you may need to adjust your techniques to ensure better durability. Many common issues, such as moisture entrapment or improper sizing, can be avoided by ensuring your nails are completely dry after cleaning with alcohol. If you want your press-ons to last for a week or more, avoid soaking your hands in hot water for long periods immediately after application. Using a high-quality sticky tab designed for extended wear can also make a significant difference, especially if you have an active lifestyle.
Common Mistakes to Avoid
- Sizing up too large (the tab should not touch your skin).
- Failing to buff the natural nail surface.
- Using hand lotion right before application (oils prevent sticking).
- Applying too much pressure at the wrong angle.
FAQ
Do adhesive tabs work for press on nails?
Yes, adhesive tabs are highly effective for press on nails, especially for those looking to keep their natural nails healthy and intact. They provide a sturdy, non-damaging bond that allows you to easily remove and reuse your nail sets multiple times, making them a favorite for beginners and seasoned enthusiasts alike.
Why won’t my press-on nails with adhesive tabs stay on?
Your nails might not be staying on because the surface of your natural nail was not properly cleaned or buffed before application. Natural oils are the enemy of adhesion, so ensure you use an alcohol wipe to dehydrate the nail surface thoroughly before placing the tab. Additionally, ensure the tab is not touching your cuticles or skin, as that will cause premature lifting.
How to put on reusable press on nails?
To put on reusable press-ons, start by sizing your tabs to your nails, peeling the back, and pressing them onto your clean, buffed natural nail. Once the tab is secure, peel off the top film, align the artificial nail with your cuticle at a slight angle, and apply firm, consistent pressure across the entire surface for at least thirty seconds.
Are adhesive tabs better than glue for nails?
Adhesive tabs are often considered better for anyone who values nail health and reusability, as they do not require harsh chemicals for removal. While traditional glue provides a more permanent, long-term bond, tabs are the superior choice for people who enjoy changing their nail designs frequently or who want to avoid the potential damage associated with traditional glue-on methods.
Conclusion
Mastering these techniques will transform your home manicure routine, giving you the freedom to experiment with trendy nails, cute gel nails, or even artistic designs like tortoise shell nail tutorials without a trip to the salon. Whether you are a beginner or a seasoned pro, the secret to success lies in the quality of your prep and the precision of your application. Start practicing today, build your collection, and enjoy the endless possibilities of your own press on nail sets. If you enjoyed this guide, share it with your favorite beauty lover and start your journey to better nails today!
Leave a Reply