Achieving a professional-looking gel manicure is simpler than you might think when you have the right nail tips and a bit of patience. By preparing your nails properly, applying thin coats of gel polish, and ensuring you cure each layer under a UV lamp, you can enjoy long-lasting, pretty nails while saving money. This guide walks you through the essential steps to master your at-home beauty routine.
Essential Supplies for Your At-Home Manicure
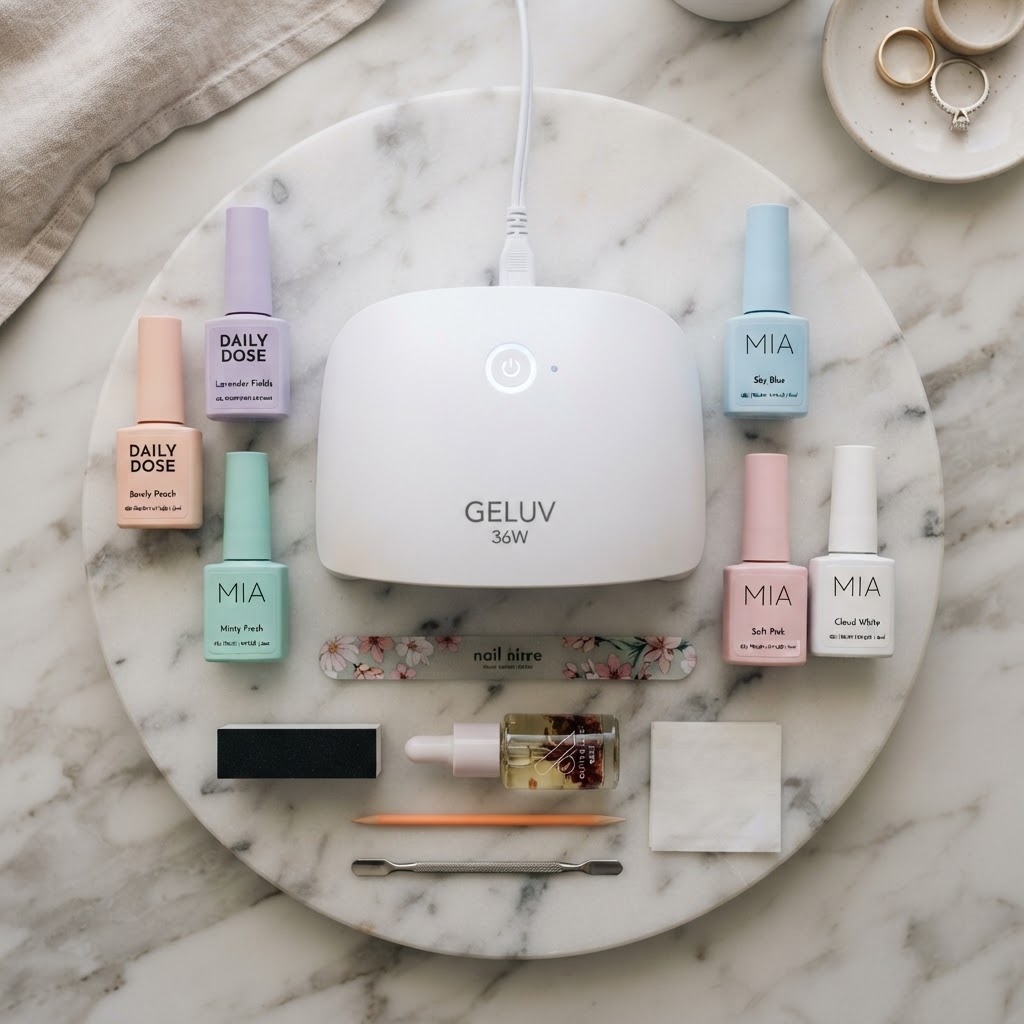
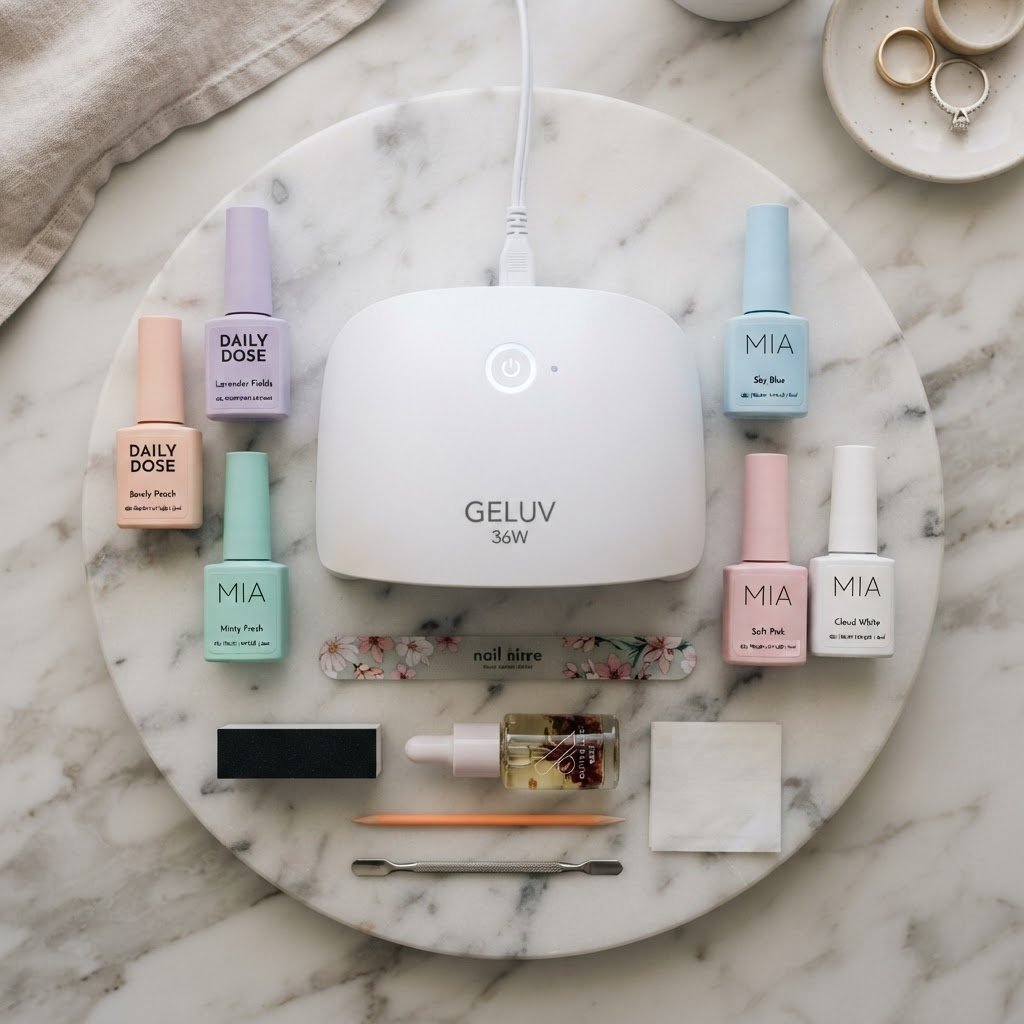
Starting your journey into DIY nails requires a few basic tools to ensure safety and longevity. To replicate the experience of a professional nail salon, gather items like a nail file, a cuticle pusher, an acetone-based remover, a high-quality base coat, your chosen gel polish, and a reliable UV lamp. Investing in these art essentials helps you maintain a healthy nail routine while avoiding the costs of constant salon visits.
Preparing Your Natural Nails
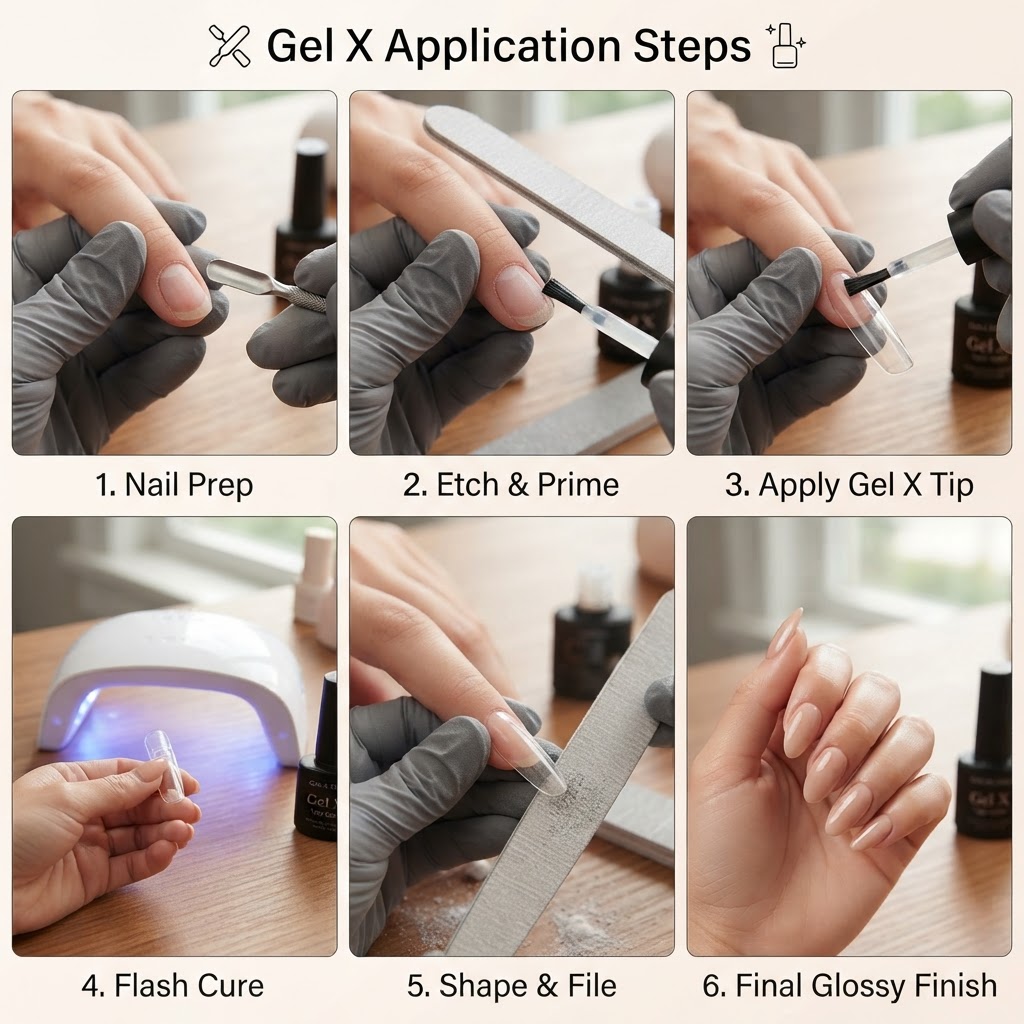
Proper preparation is the foundation of any long-lasting manicure. Start by cleaning your hands and pushing back the cuticle area gently using a sanitized cuticle pusher. Buff the surface of the natural nail to remove shine, which helps the gel adhere to the nail plate effectively. Always cleanse the free edge of your nail with a bit of acetone to remove oils, as this is one of the most important nail tips for preventing premature lifting.
Step-by-Step Gel Application Tutorial
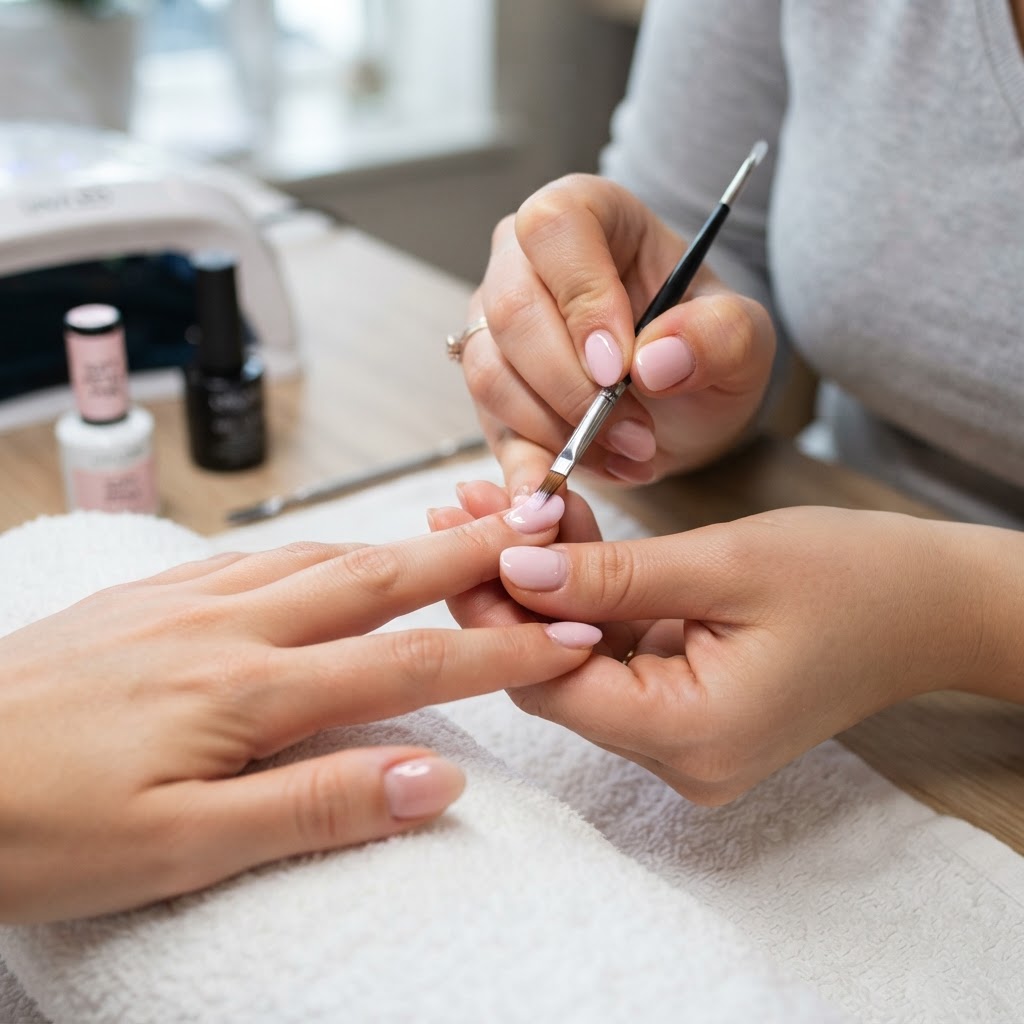
Once your nails are prepped, the actual application begins with a thin layer of base coat. It is crucial to apply a very thin coat to avoid flooding the cuticles, which is a common cause of lifting. Cure this layer under your UV lamp according to the product manufacturer’s instructions. Following this, apply your color gel polish in thin, even strokes, curing between every single layer until you achieve the desired opacity.
Why Thin Coats Matter
Many beginners struggle with gel nails at home because they apply the polish too thickly. Applying thin coats ensures that the UV light can penetrate through the entire product layer during the cure phase. If the polish is too thick, the inner layers may remain soft or gooey, leading to a weak manicure that peels within days. Remember that consistency is key to achieving those beautiful nails you see on social media.
Understanding Different Nail Shapes and Extensions
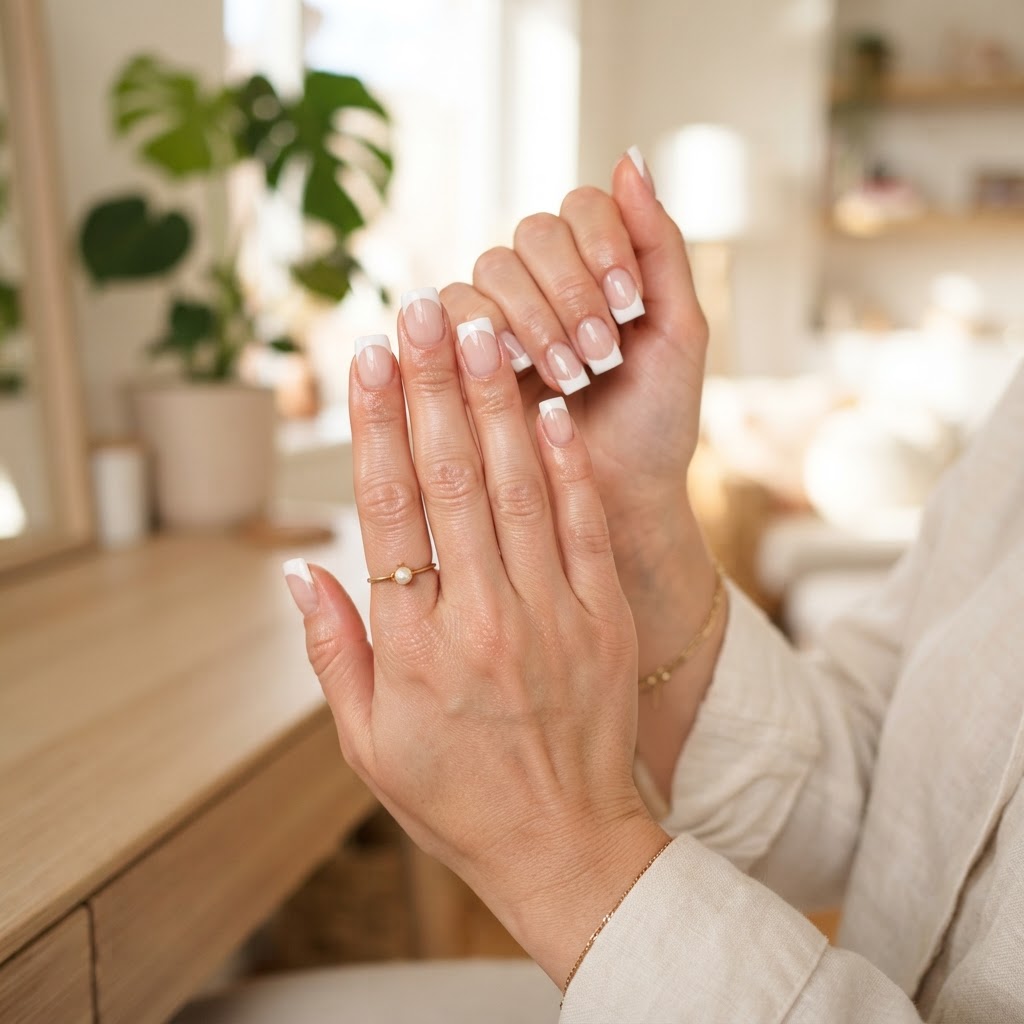
Exploring different types of nails allows you to customize your look, whether you prefer short ballerina shape nails or elegant almond nails. If you have limited natural growth, you might consider using gel extensions or an acrylic overlay to achieve a longer look. Understanding your specific nail sizes and using the correct nail tips ensures that your extensions fit your nail bed comfortably and stay secure for weeks.
Caring for Your Nails and Cuticles
Maintaining strong nails involves more than just a fresh coat of color; it requires a consistent nail care routine at home. Using a high-quality cuticle oil daily helps keep the skin around your nail hydrated and prevents dry cuticles. If you find your nails feeling brittle, consider using a nail strengthener between manicures to improve overall nail health and resilience against damage.
Daily Nail Maintenance Tips
Always wear gloves when cleaning or handling harsh chemicals to protect your manicure from chipping. Applying a good moisturizer cream to your hands every night keeps your skin soft and prevents the cuticles from becoming cracked. If you notice a small chip, don’t panic; follow simple nail maintenance tips by gently filing the snag and adding a small dab of top coat to seal it until your next session.
Mastering Easy Nail Art Designs
Once you feel confident in your basic application, you can experiment with easy nail art like french tips on square nails or creative, simple beginner nail designs. You don’t need a degree from nail tech school to create fancy nails designs; often, minimalist styles like white french tip or chic design accents look the most professional. These small details add a sense of luxury to your nails without requiring extensive technical skills.
FAQ
How to do gel nails at-home step by step for beginners?
Start by prepping your nails with a file and cuticle pusher, then apply a thin base coat and cure it under a UV lamp. Follow with thin layers of gel polish, curing between each application, and finish with a top coat to seal the color for a lasting, shiny result.
Is it worth doing your own gel nails at-home?
Doing your own gel nails at home is incredibly cost-effective and convenient, allowing you to save money while developing a relaxing hobby. With practice, you can achieve professional-looking results that last just as long as a salon manicure without the constraints of booking appointments.
What are common mistakes when applying gel polish?
Common mistakes include applying the gel polish in layers that are too thick, failing to cap the free edge of the nail, and neglecting to prep the natural nail surface properly. These errors can lead to premature peeling, flooding of the cuticle area, and poor curing under the UV lamp.
What are some easy gel nail designs for beginners?
Beginners can start with simple designs like classic french tips, solid neutral colors, or simple dots and stripes using a toothpick. Utilizing nail stickers or press-on designs can also help you achieve a high-fashion look with minimal effort as you build your confidence.
Conclusion
Mastering your own nails at home is a rewarding journey that blends self-care with artistic expression. By using these nail tips to guide your practice, you can keep your nails strong, healthy, and perfectly styled. Start small, stay patient with your technique, and enjoy the confidence that comes with knowing you created your own gorgeous look. Start your DIY nail journey today and elevate your beauty routine!
Remember, whether you are trying french nails for the first time or perfecting your chrome nails, the key is the preparation of the nail bed. Always prioritize your nail health, use your cuticle oil, and you will find yourself achieving that salon-worthy glow up in no time. You nailed it!
Leave a Reply