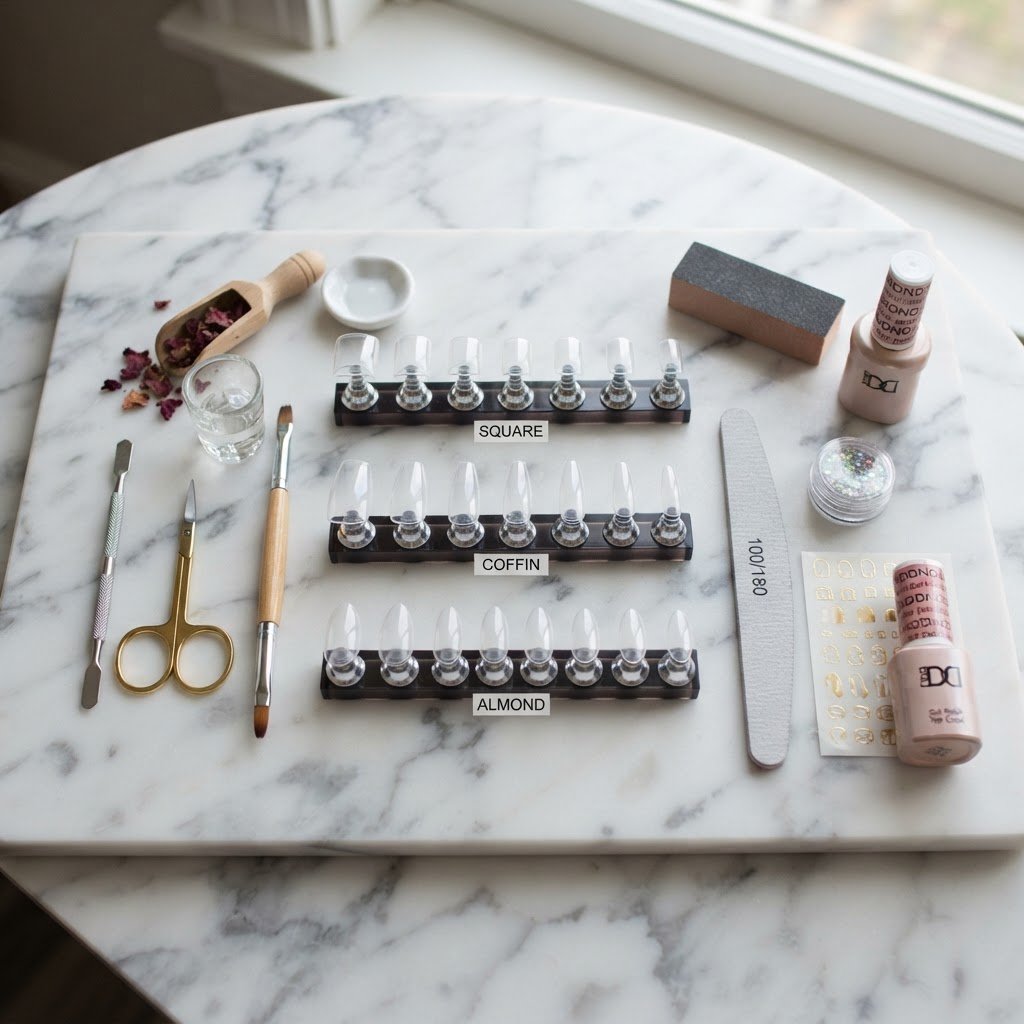
Selecting the right nail tips is essential for achieving a durable, professional-looking DIY manicure. Whether you prefer full coverage or traditional extension styles, choosing the correct size, shape, and material ensures your nails look stunning while maintaining natural nail health. This guide explores everything you need to know about nail tips to elevate your nail game today.
Understanding Different Nail Tip Materials
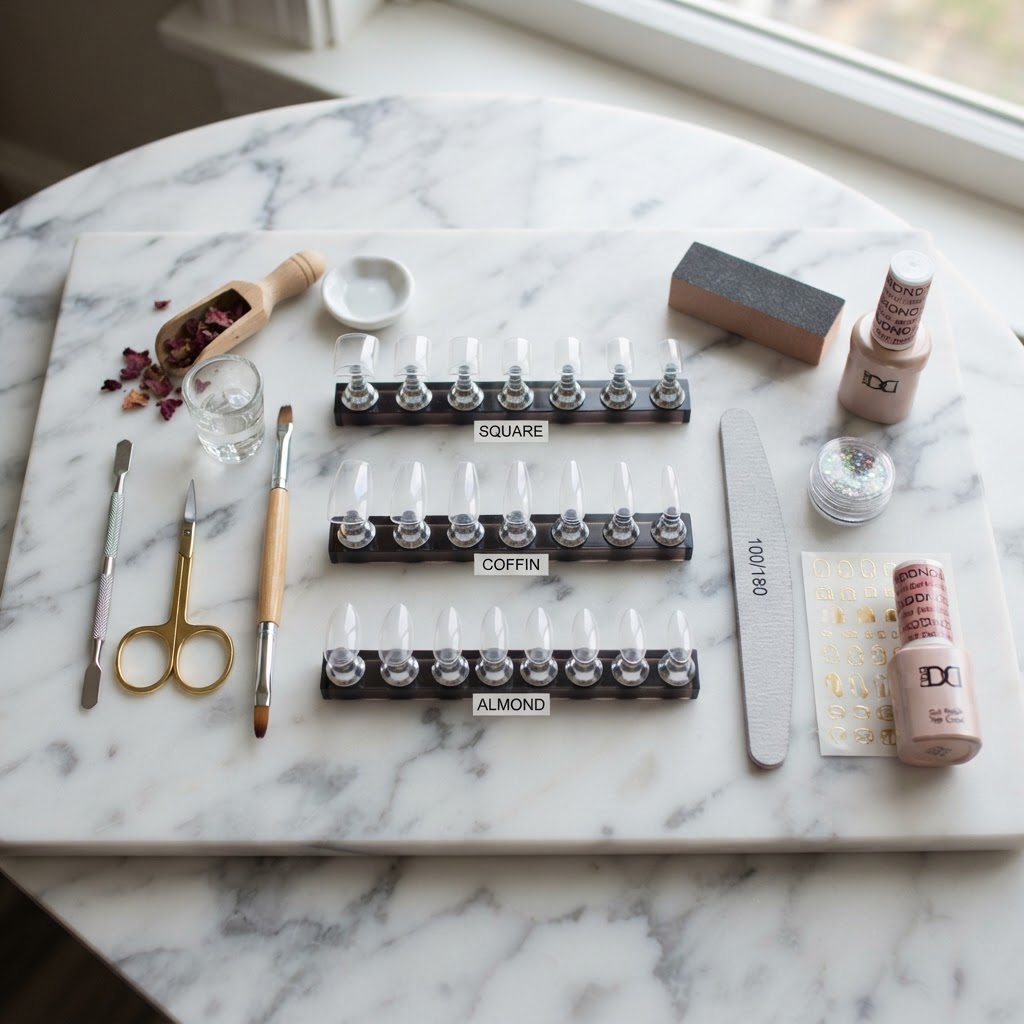
Nail tips are primarily made from high-quality ABS plastic, which offers the perfect balance of flexibility and strength. Unlike cheap store-bought options that crack easily, professional nail tips are designed to withstand daily wear while conforming to the natural curvature of your nail bed. When shopping for these products, consider how the material reacts to acetone during removal and how well it adheres to base coats or glue.
Comparing ABS Plastic vs. Gel-Based Tips
While traditional ABS plastic tips have been the industry standard for decades, pre-shaped gel nail tips have revolutionized the DIY manicure space. Gel tips are made from soft gel material, meaning they behave exactly like a sculpted extension. They are significantly more flexible than plastic, reducing the risk of splitting at the stress points. However, they require a UV/LED lamp for curing, whereas plastic tips typically rely on chemical adhesives.
Choosing the Right Shape and Length
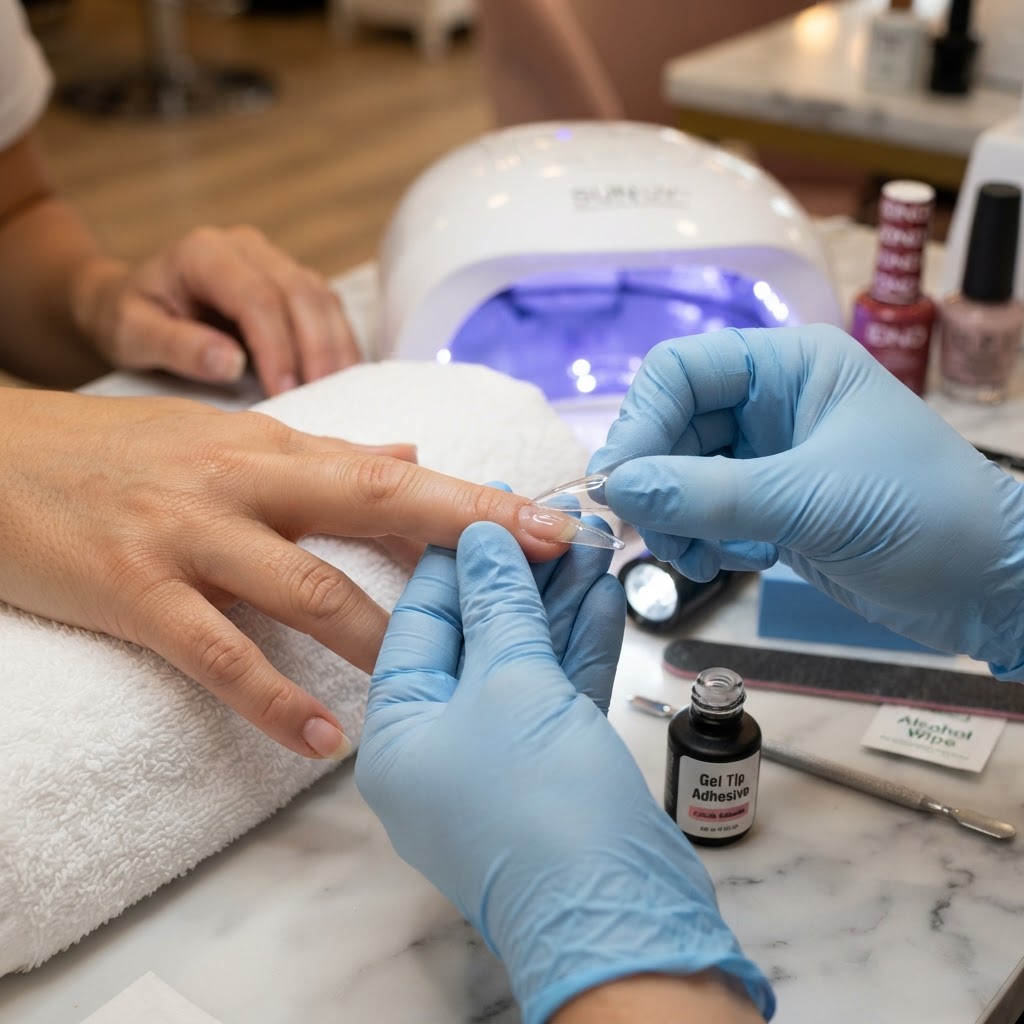
The shape of your nail tips should reflect both your personal style and the demands of your daily routine. Longer lengths like stiletto or coffin shapes provide a dramatic look but require more maintenance and a higher tolerance for reduced finger mobility. Conversely, shorter almond or square shapes are highly functional for professionals who type frequently or work with their hands, offering elegance without sacrificing utility.
When choosing your tips, always measure the width of your nail bed at the widest point. If you fall between two sizes, it is almost always better to choose the larger size and file the sides down to fit. Selecting a tip that is too small can cause significant discomfort and damage to your natural nail sidewalls, often leading to lifting after just a few days of wear.
Comparison: Choosing Your Ideal Tip Type
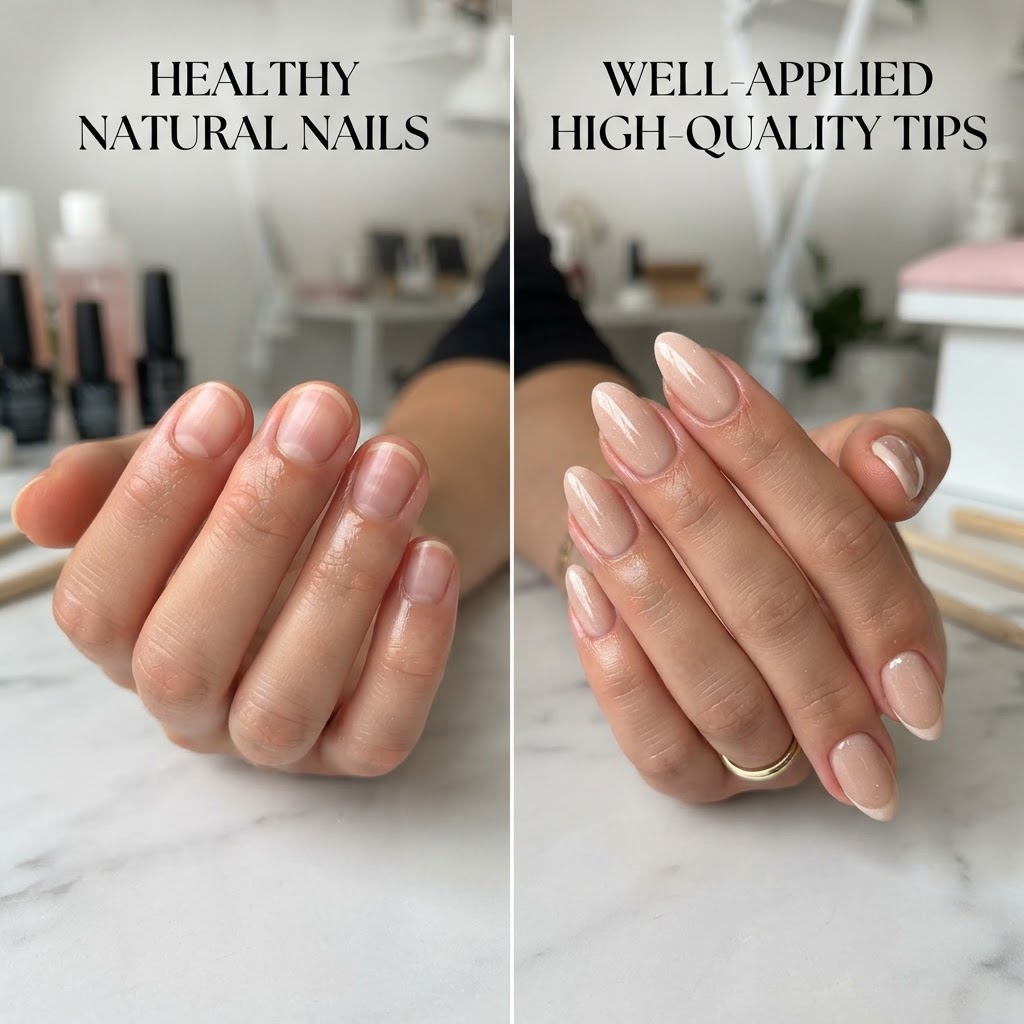
To help you decide, consider this original comparison table covering durability, application difficulty, and ease of removal for common nail extension types:
How to Apply Nail Tips Successfully
Proper preparation is the secret to a manicure that lasts beyond a week. Start by pushing back your cuticles and removing the natural shine from your nail plate with a fine-grit buffer. Clean the surface thoroughly with 90% isopropyl alcohol to remove oils that prevent adhesion. Once clean, select your size, apply a thin layer of glue or gel base, and press at a 45-degree angle to avoid trapping air bubbles.
Follow these essential steps for a long-lasting set:
- Buff the natural nail surface lightly to create texture.
- Apply a dehydrator and primer for maximum bond.
- Hold the tip firmly for 10 seconds to ensure the glue sets.
- Gently file the transition zone so the tip blends seamlessly with the nail.
- Finish with a high-quality top coat to protect the surface.
Managing Manicure Maintenance
Maintaining your nails after applying nail tips requires consistent care to ensure they remain strong and lift-free. Avoid using your nails as tools to open cans or peel stickers, as this places undue pressure on the stress points of the extension. We recommend applying cuticle oil twice daily to keep the natural nail underneath flexible and hydrated, which prevents the nail bed from becoming brittle and prone to breakage.
Professional Removal Techniques
Removing nail tips safely is just as important as the application process. Never force or pop off your extensions, as this removes layers of your natural nail plate, leading to thinning and peeling. Instead, gently trim down the excess length and use a coarse file to break the seal of the top coat. Soak your nails in pure acetone for 15-20 minutes, using a gentle wooden pusher to remove the softened product. If the material does not lift easily, continue soaking rather than scraping.
FAQ
How long do professional nail tips typically last?
Most high-quality nail tips will remain intact for two to three weeks with proper application and maintenance. Factors such as nail growth rate, activity level, and the quality of the adhesive used will dictate the longevity of your set.
Can I reuse nail tips after removing them?
It is not recommended to reuse nail tips. Once they have been filed, glued, and cured, the structure of the plastic or gel is compromised, and the fit will no longer be precise, increasing the likelihood of infection or lifting.
What should I do if a tip lifts prematurely?
If you notice a small area of lifting, it is best to gently file down the lifted edge and seal it with a bit of nail glue or top coat. If the lift is significant, you should remove the tip entirely to prevent moisture from getting trapped, which can lead to fungal growth.
Are full coverage tips better for beginners?
Yes, full coverage tips are generally considered the best starting point for beginners because they cover the entire nail bed and are designed to be applied in one step, minimizing the need for complex blending or sculpting skills.
Conclusion
Choosing the right nail tips is a transformative step in your DIY manicure journey. By understanding the differences in materials, shapes, and proper application techniques, you can achieve salon-quality results from the comfort of your own home. Remember that patience during prep and care during removal are the keys to long-lasting beauty and healthy natural nails.
Leave a Reply