To learn how to make press-on nails last longer, you must prioritize thorough nail bed dehydration and proper adhesive placement. By buffing the natural nail surface to remove shine, using an alcohol wipe, and applying the glue in a thin, even layer, you can easily achieve a durable, professional-grade manicure that stays secure for up to fourteen days.
The Critical Role of Nail Preparation
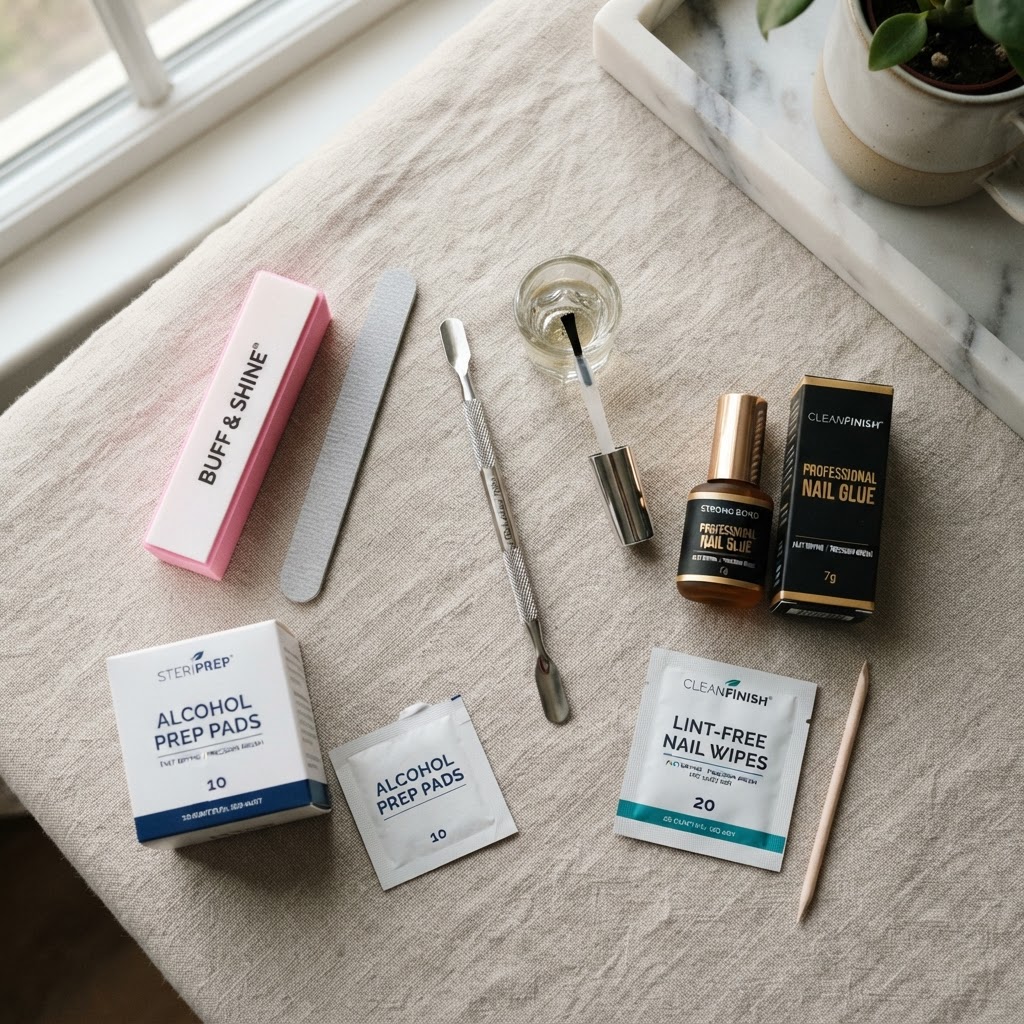
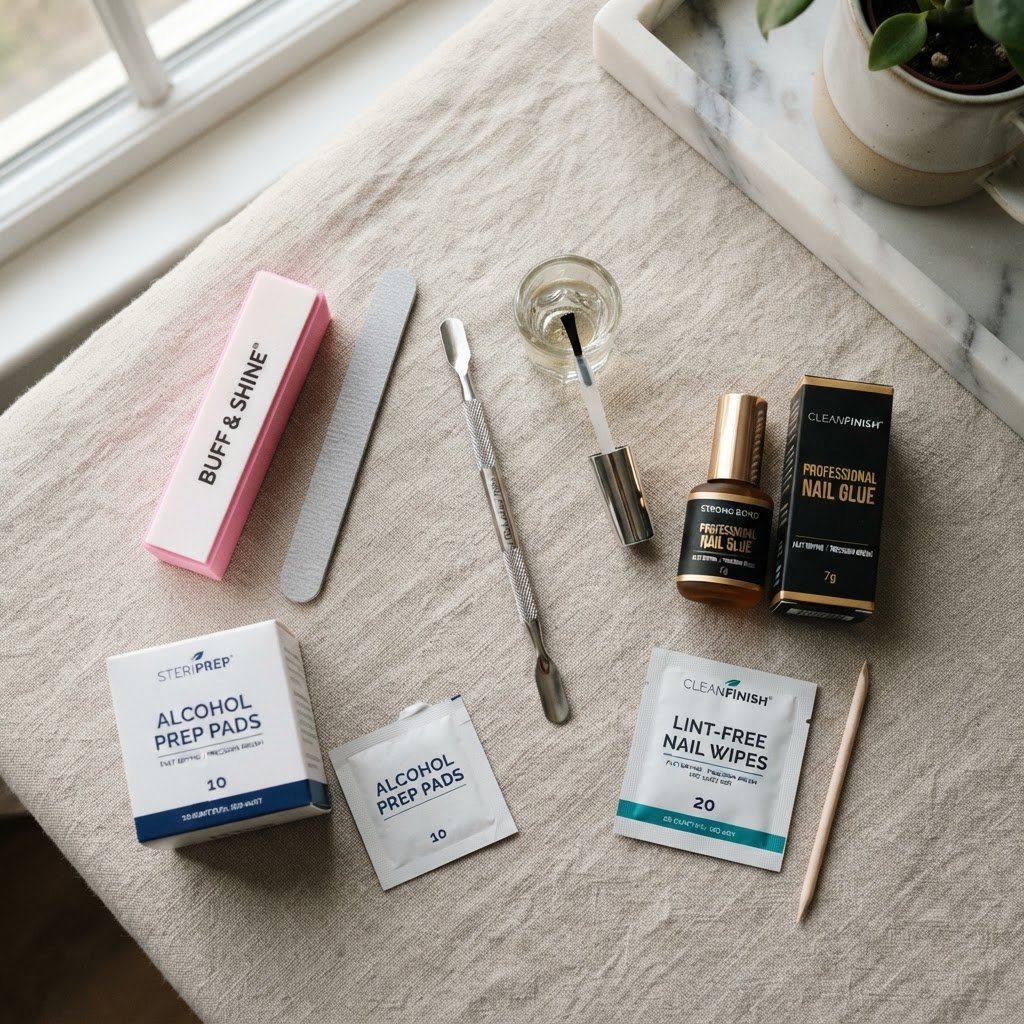
Proper preparation is the foundation of a durable manicure and the most important step in how to make press-on nails last longer. Many people rush the prep process, which leads to early lifting or moisture trapped under the plastic. Start by washing your hands thoroughly with dish soap to remove natural oils. Gently push back your cuticles to increase the surface area for adhesion, then use a coarse file or a buffer block to roughen the surface of your natural nails. Removing the shine is essential because glue bonds much better to a textured surface than a smooth, slick one. Once the surface is prepped, swipe each nail with 90% isopropyl alcohol or a dedicated dehydrator. This step removes microscopic debris and residual oils that act as a barrier to the adhesive. Never touch your prepped nails with your fingertips, as the oils from your skin can compromise the bond. Consistent prep is the secret to a long-lasting press-on nails experience.
Choosing the Right Adhesive
Not all glues are created equal, and selecting the right product is a major factor in how to make press-on nails last longer. While many kits come with standard adhesive tabs, liquid nail glue typically provides a significantly stronger bond for long-term wear. For those who want the best of both worlds, consider the “double-bond” method: apply a thin layer of liquid glue to your natural nail and a small adhesive sticker to the back of the press-on. This combination offers a cushiony, flexible fit that moves with your nail while maintaining an ironclad grip. Always check the viscosity of your glue; a slightly thicker, gel-like adhesive is often easier to control and less prone to running onto your skin or cuticles. When applying, be careful to avoid air bubbles, as these act as entry points for water and debris, which will cause the nail to pop off prematurely. Quality glue is a game-changer for anyone learning how to make press-on nails last longer.
Perfecting Your Application Technique
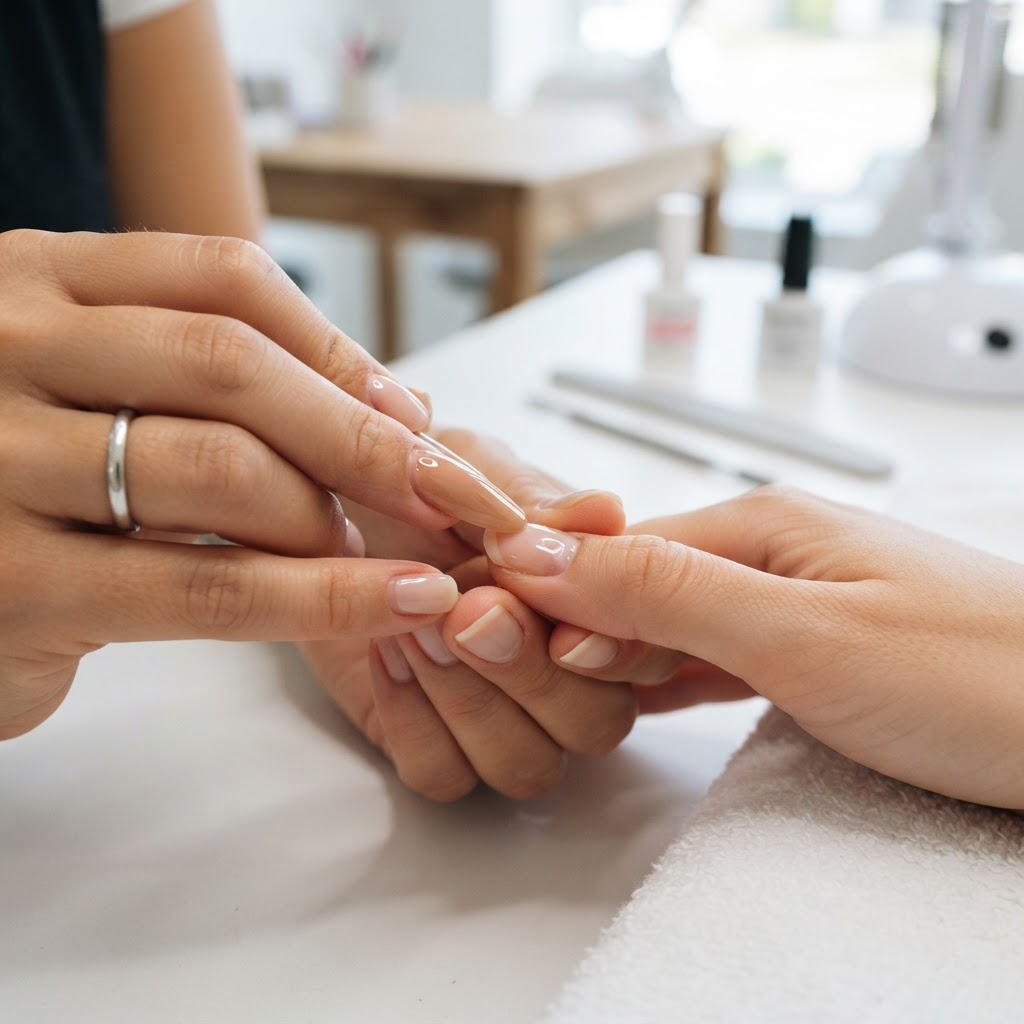
Your technique during the actual application is the final piece of the puzzle. When applying the glue, don’t just dump a drop in the center; instead, paint a thin, even layer across your entire nail bed and a small dot on the back of the press-on tip. Press the nail down at a 45-degree angle starting at your cuticle line to avoid air pockets, then hold it firmly for at least 30 seconds. This pressure is vital to ensure the glue spreads evenly and bonds to every corner of your nail. If you notice glue oozing out from the sides, quickly wipe it away with a lint-free wipe or an orange stick before it hardens. One pro-tip for those wondering how to make press-on nails last longer is to avoid water for at least two hours after application. Submerging your hands in hot water too soon will rehydrate your nails and weaken the adhesive bond before it has fully cured.
Maintenance and Daily Care
Even with the perfect application, how to make press-on nails last longer requires some mindful daily maintenance. Think of your nails as jewels, not tools; avoid using them to pry open soda cans, pull apart stubborn tape, or scrape surfaces. When performing household chores like washing dishes or cleaning, always wear gloves to protect your manicure from harsh detergents and excessive heat. Excess moisture is the enemy of nail glue, so if you are a frequent swimmer or take long, steamy baths, consider using a high-quality sealant or a top coat over the base of the press-on to create an extra barrier against water ingress. If you notice a tiny gap developing at the edge, apply a minuscule amount of glue to the area and press firmly to reseal it immediately. Catching a loose edge early is a simple trick to extend the lifespan of your set.
Comparison: Glue vs. Tabs for Longevity
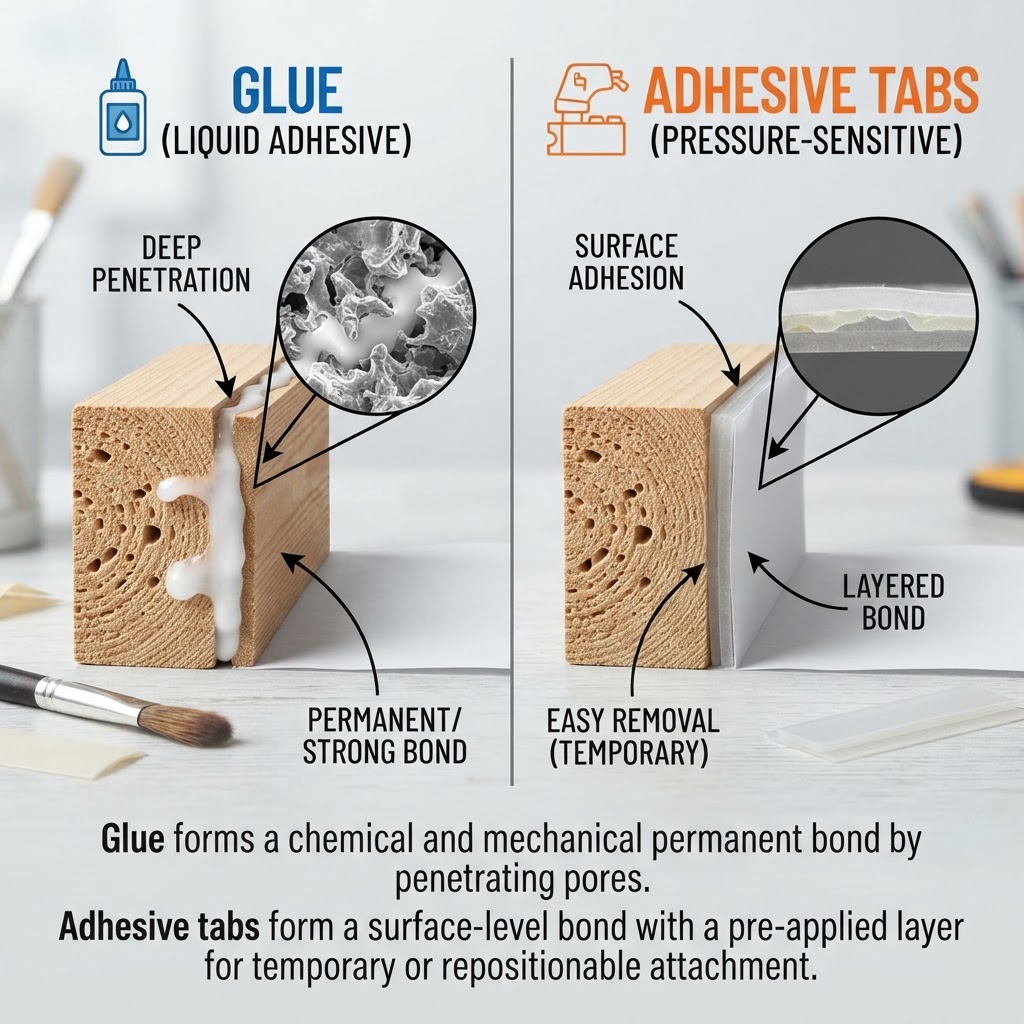
Understanding the trade-offs between different application methods is key for success. Below is a breakdown of why liquid glue usually outperforms adhesive tabs for extended wear.
Why Adhesive Tabs Fail
Adhesive tabs are excellent for temporary wear, such as an evening event, because they don’t damage your natural nails. However, they are sensitive to temperature changes and moisture. Because they have a “cushion,” they are prone to sliding if you put pressure on the nail, which is why most people find they last only a day or two. If you are serious about how to make press-on nails last longer, stick to professional-grade liquid adhesive.
FAQ
How do I remove press-on nails without damage?
Soak your hands in warm, soapy water with a tablespoon of oil for 15 minutes before gently prying the edges with a cuticle pusher.
Can I reuse press-on nails?
Yes, if you use adhesive tabs, they are easily reusable. If you use liquid glue, you must carefully buff off the dried adhesive from the back of the tip.
Why do my press-on nails pop off within hours?
This usually happens due to oily nail beds or not waiting for the glue to fully cure before exposing the nails to moisture.
Is it safe to apply press-on nails every week?
It is safe, provided you take care during the removal process and ensure you aren’t damaging your natural nail plate by ripping them off forcibly.
Conclusion
Learning how to make press-on nails last longer is a manageable skill that revolves around three pillars: preparation, application, and maintenance. By spending extra time on nail dehydration and using high-quality liquid adhesives, you can achieve a durable set that rivals any salon manicure. Don’t be afraid to experiment with the double-bond technique and always remember to treat your nails with care during your daily routine. With these tips, your DIY manicures will remain flawless, strong, and beautiful for as long as you need them to last.
Leave a Reply