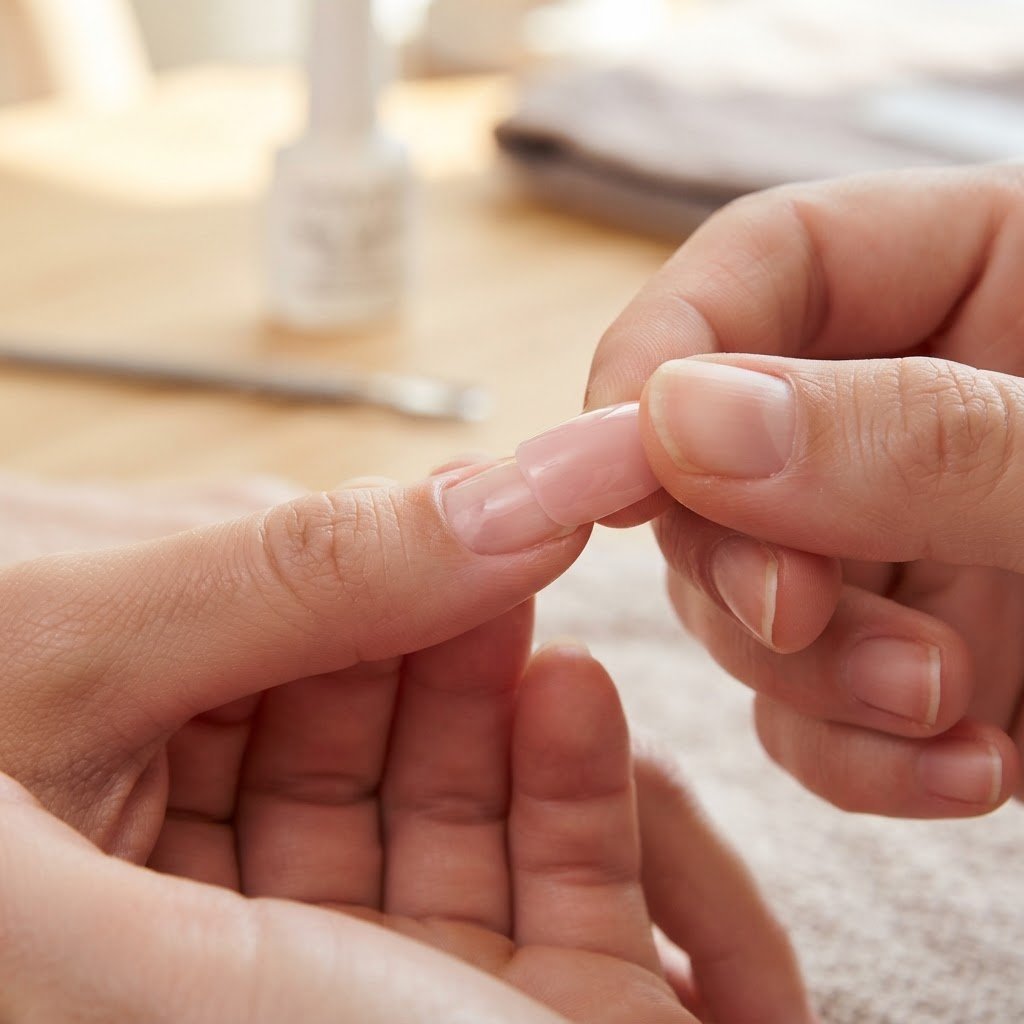
To make press-on nail tips look like your own, focus on finding the perfect custom fit, properly prepping your natural nail surface, and choosing high-quality adhesive. By filing the cuticle end of the tips to match your nail bed shape and blending the edges with a buffer, you ensure a seamless transition that looks indistinguishable from a professional salon manicure, while practicing healthy nail care routines to maintain your natural nails beneath. Achieving this look at home is simple when you treat your nails with patience and precision.
Perfecting Your Nail Prep Strategy
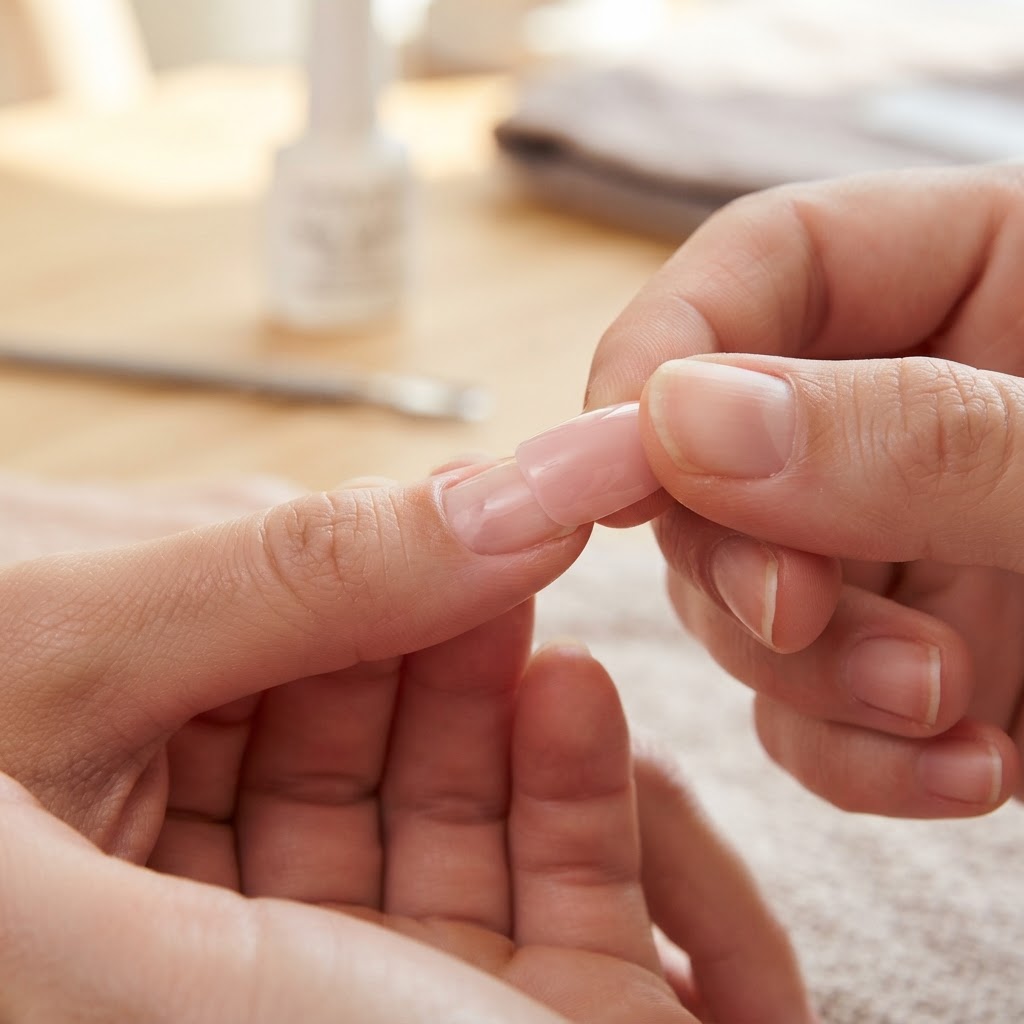
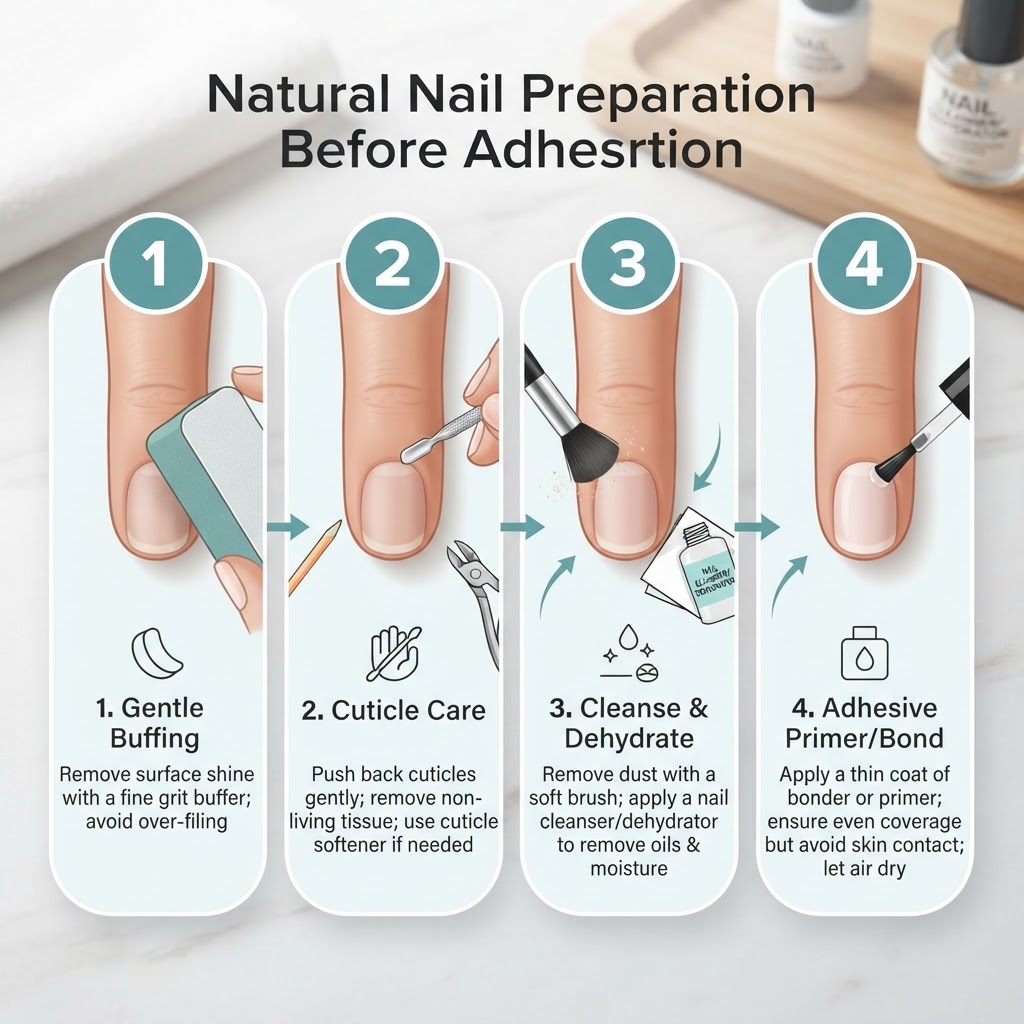
Your preparation routine is the foundation of any long-lasting and natural-looking set of nails. Before applying your nail tips, you must ensure your nail bed is completely clean, dry, and free of oils, as any lingering moisture or debris will cause your manicure to lift prematurely. Start by pushing back your cuticles with a wooden stick or metal pusher, which helps create a cleaner canvas and makes your nail bed look longer. Using a cuticle oil afterward is a great way to keep the surrounding skin soft and healthy.
It is essential to understand that not all nails are shaped the same, and identifying your natural nail type is a crucial step in the process. Some people have flat nail beds, while others have more of a curve. If your natural nails are brittle or weak, consider using a nail strengthener for a few weeks before transitioning to press-ons. Once the surface is prepped, gently buff the top of your natural nail to create a slightly textured surface, which provides the glue with a better grip. This is a standard procedure in any healthy nail care routine at home.
Finding the Best Custom Fit
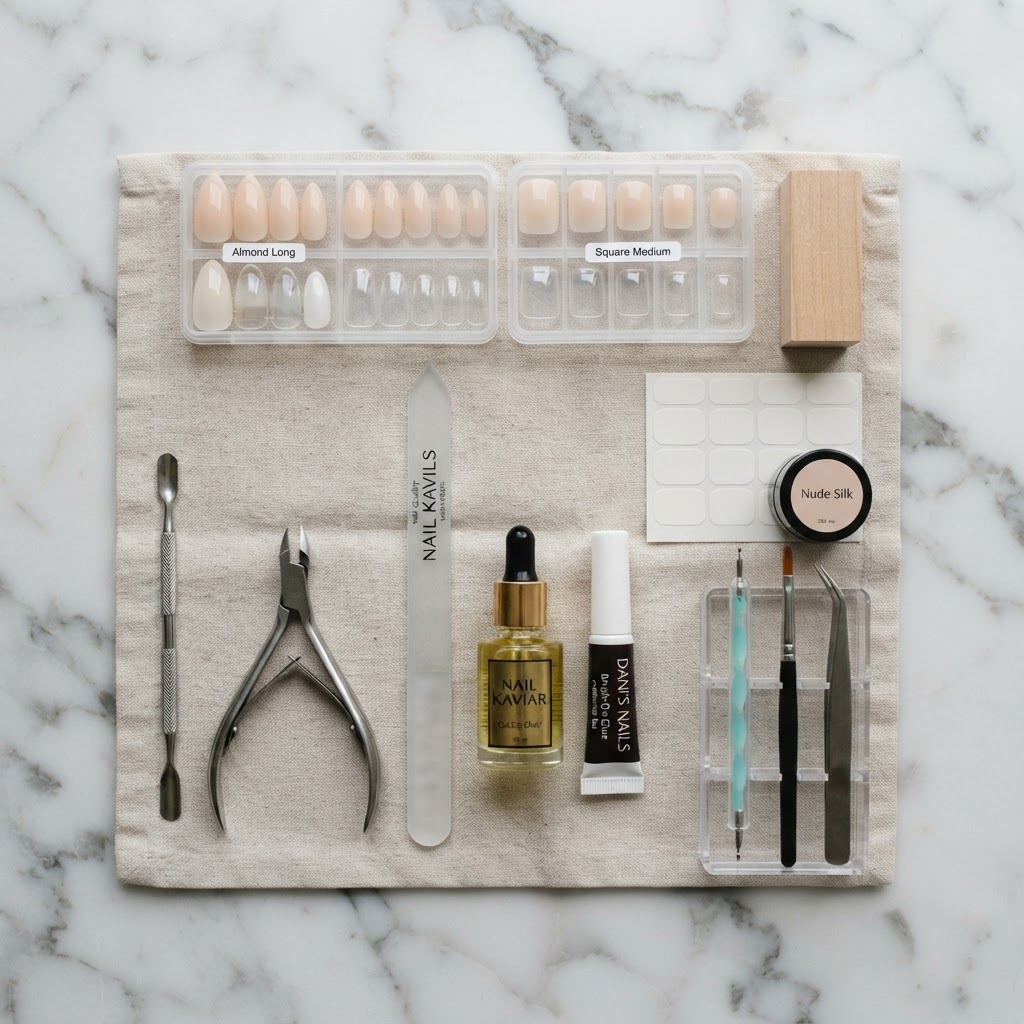
One of the biggest mistakes beginners make is choosing the wrong size for their nail tips, which ruins the illusion of a natural manicure. Take the time to measure each nail individually; the press-on should fit from sidewall to sidewall without overlapping your skin. If you are between sizes, it is almost always better to choose the slightly larger size and file the sides down to match your natural nail shape.
Using the right nail sizes ensures that the pressure is evenly distributed, preventing the tip from popping off when you use your hands. If you are aiming for a chic design, look for tips that have a thinner cuticle end, as these lay flatter against the nail bed and prevent that dreaded ‘fake’ look. Many beauty enthusiasts find that investing in a variety pack of different nail shapes, such as almond, coffin, or square, allows for more creativity.
Masterful Application Techniques
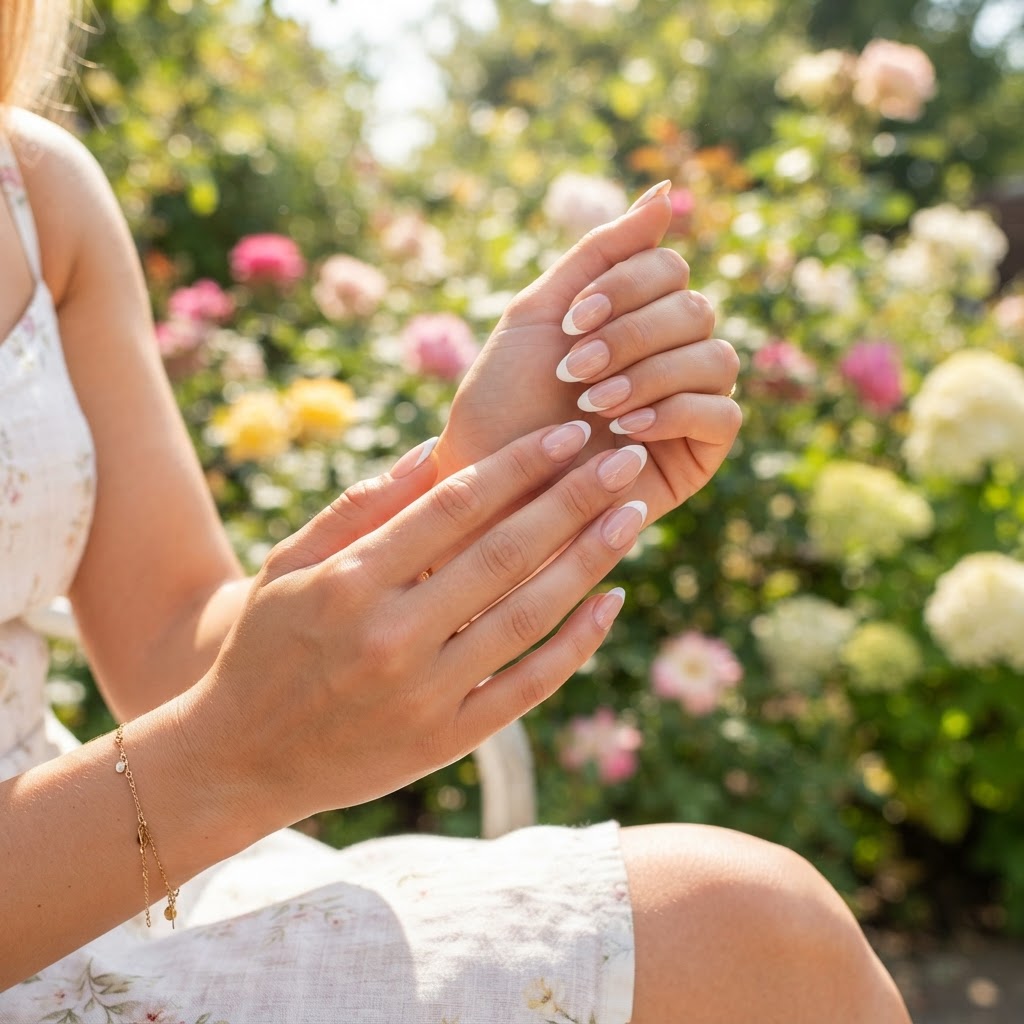
When you are ready to apply your nail tips, the type of adhesive you use makes a world of difference. While nail glue is the standard for long-term wear, adhesive tabs are a better choice if you only need the look for a limited time or a special event. For the most secure bond, apply a small dot of glue to the center of your natural nail and a thin layer to the base of the nail tip, then press firmly at a 45-degree angle starting from the cuticle line.
Hold the tip in place for at least 15 seconds to ensure there are no air bubbles, which are the primary culprits behind water trapping and potential nail damage. If you notice any glue squeezing out from the sides, wipe it away immediately with a lint-free wipe dipped in a little acetone. If you want to elevate your nail game, you can experiment with how to do french tips at home or try simple beginner nail designs using styling gel over the press-ons. This added layer of gel provides extra strength, making the set feel like custom gel extensions.
Styling and Shaping for Realism
Even after applying high-quality nail tips, you may need to do a little extra work to customize the look. Shaping is an art, and you should use a high-quality glass or emery board to refine the edges of the press-ons to mimic the curve of your own nail. If you are trying to achieve french tip nails at home, consider using a stencil or even a simple beauty blender hack to get that perfect crisp white line.
Whether you are into black nail designs, nude nails, or chrome nails, your choice of color can influence how natural the set appears. A milky, semi-sheer base coat often makes the base of the nail look more realistic, especially when the tip has a slight grow-out. Remember, the goal of these manicure tips is to make your nails look nice without compromising the health of the nail bed. Always prioritize clean nails by following a regular moisturizing schedule with a rich moisturizer cream to ensure your hands and cuticles look their best.
FAQ
How to make press on nails look more natural?
To make press-on nails look more natural, prioritize finding the right size that fits your nail bed perfectly and file the cuticle end of the tip so it tapers thinly against your natural nail. Adding a thin layer of top coat or clear polish over the base can also help blur the line between the press-on and your natural nail.
Which press on nails look most natural?
Press-on nails that look most natural are usually made from soft-gel materials, which are flexible and mimic the bend of a real nail. These options are often labeled as soft tip nails or gel-x style, as they provide a thin, cuticle-hugging fit that doesn’t look bulky.
What not to do with press on nails?
Do not force your press-on nails off by pulling them, as this can rip off layers of your natural nail and cause long-term damage. Always soak them in warm, soapy water with a little cuticle oil or use a gentle adhesive remover to dissolve the glue before removal.
How to make press on nails look real with acrylic?
To make press-on nails look real with acrylic, you can apply a very thin bead of acrylic powder over the cuticle area of the press-on to create a seamless, smooth transition between your nail bed and the fake tip. This technique, often used by professional nail techs, helps fill the gap that usually gives away that a press-on is being worn.
Maintaining Healthy Nail Growth
While your current set of nails is looking gorgeous, it is vital to remember that your natural nail health depends on the breaks you take between sets. Between manicures, practice natural nail care at home by keeping your nails clean and frequently applying a high-quality nail oil to the matrix and cuticle areas. This stimulates blood flow and promotes faster nail growth, ensuring that your natural nails remain strong and healthy over time.
If you find your nails are weak or brittle, avoid harsh chemicals and choose non-acetone removers. A consistent healthy nail routine involving daily moisturizer cream will prevent dryness and cracking, which are common issues for those who constantly wear nail enhancements. Remember, a great manicure is meant to make you feel like your best self, not to damage your natural features.
Conclusion
Mastering the application of nail tips is a transformative skill that allows you to enjoy salon-quality nails without the high costs or long hours in the salon chair. By following these steps for a clean, custom fit and maintaining your natural nails with consistent moisture and care, you can achieve a seamless look that lasts for weeks. Are you ready to level up your manicure game? Start today by gathering your favorite press-on sets and testing these tips — you nailed it! Share your transformation photos with our community and tag us in your latest DIY nail designs.
Leave a Reply