To learn how to get a flawless French tip look with press-ons, you must prioritize meticulous nail plate preparation and proper adhesive application. By cleaning your natural nails, selecting the right size, and using a high-quality resin glue, you can achieve a durable, professional-grade French manicure that lasts up to two weeks without lifting or chipping.
The Essential Tool Kit for Perfection
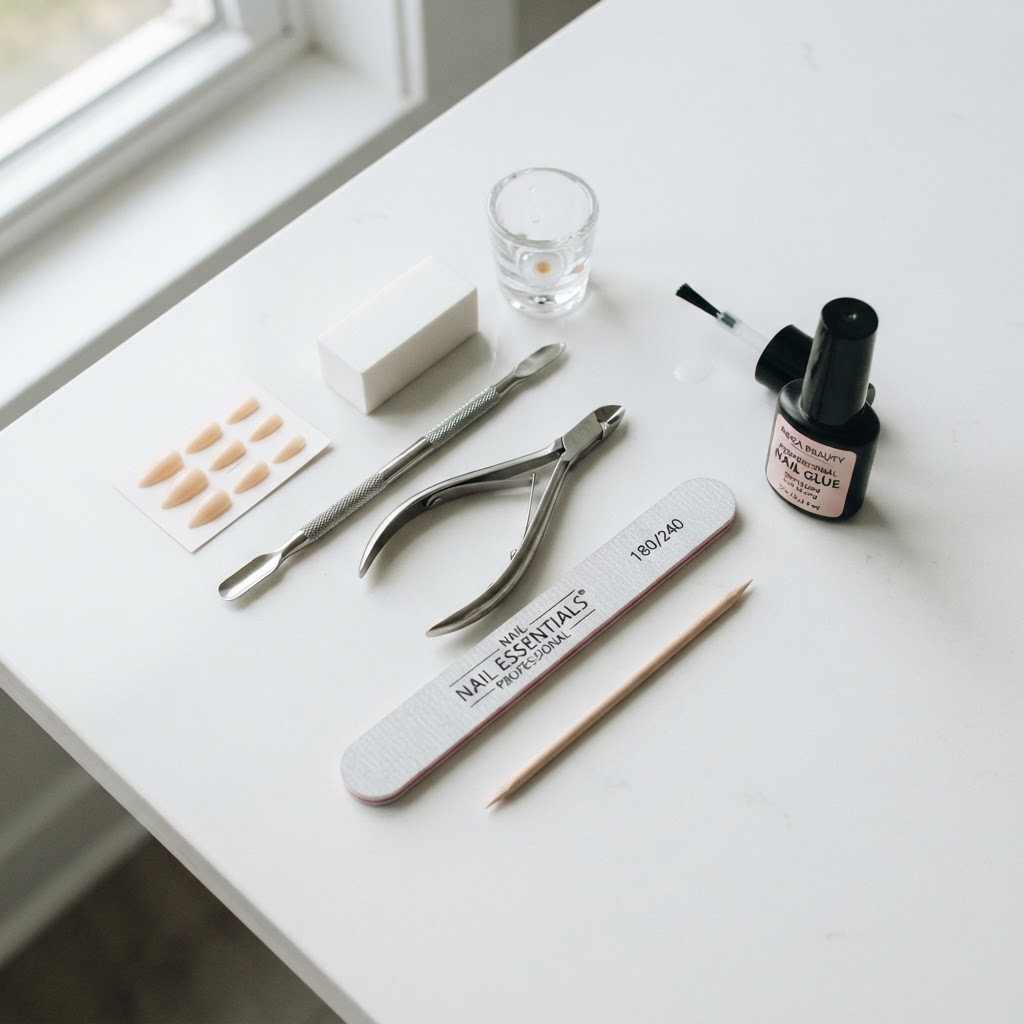
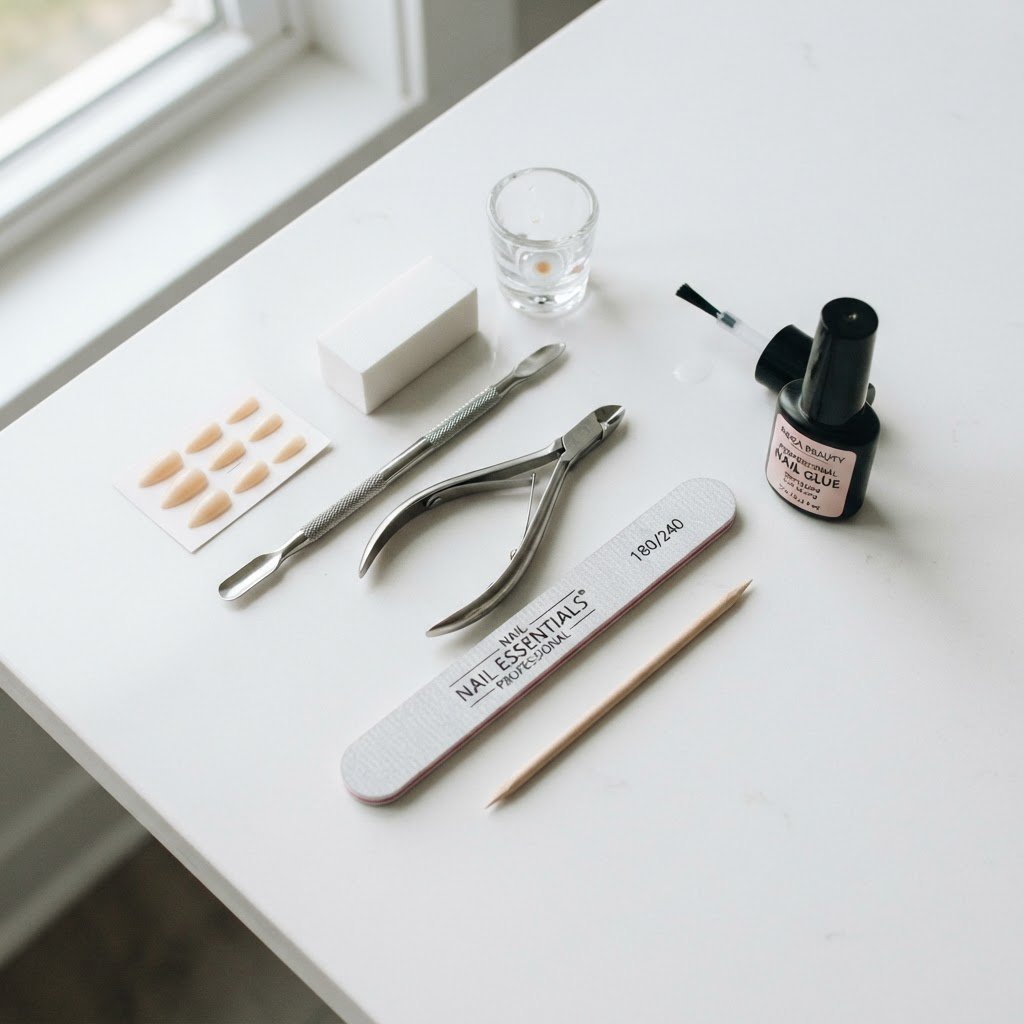
Gathering the correct tools is the first step in learning how to get a flawless French tip look with press-ons that truly mimics a salon finish. While many kits come with basics, professional results require specific additions to your vanity setup. You will need a high-quality nail dehydrator, a gentle cuticle pusher, a 180-grit nail file, and a specialized brush-on nail glue. Having these items ready ensures that your DIY process is uninterrupted, preventing the glue from drying prematurely while you scramble for supplies. Investing in a good quality base coat and a high-shine top coat is also essential to seal the edges and add that coveted depth to your French tips.
Perfecting Your Nail Preparation
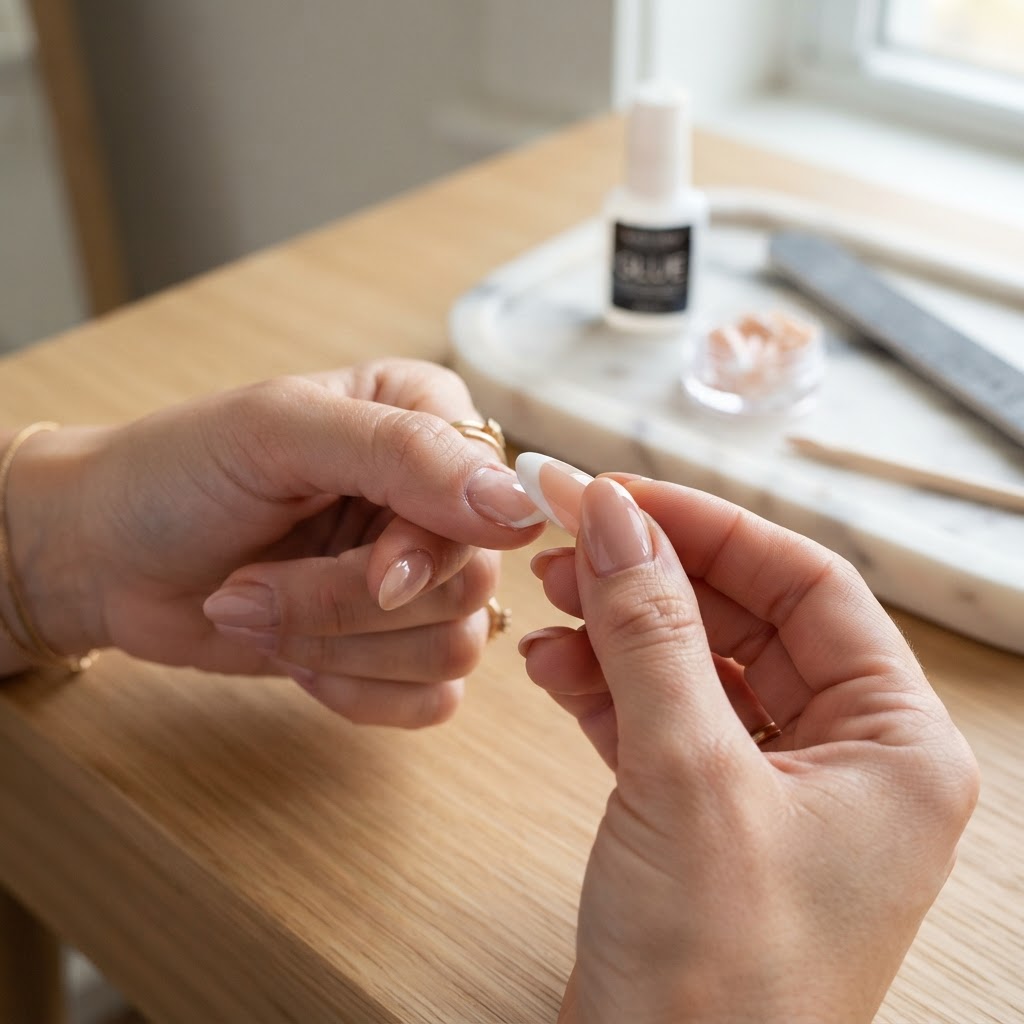
Proper preparation is the single most important factor in how to get a flawless French tip look with press-ons that stands the test of time. Start by removing all traces of old polish and pushing back your cuticles gently; a clean canvas is non-negotiable for adhesive longevity. Next, lightly buff the surface of your natural nails to remove the shine, which creates a textured surface for the glue to bond with effectively. It is vital to use a dehydrator or a simple wipe of isopropyl alcohol to remove natural oils from the nail plate. If you skip this step, even the best quality nails will pop off within hours. Take your time during this phase, as rushing the preparation is the leading cause of early lifting.
Selecting and Customizing Your French Tips
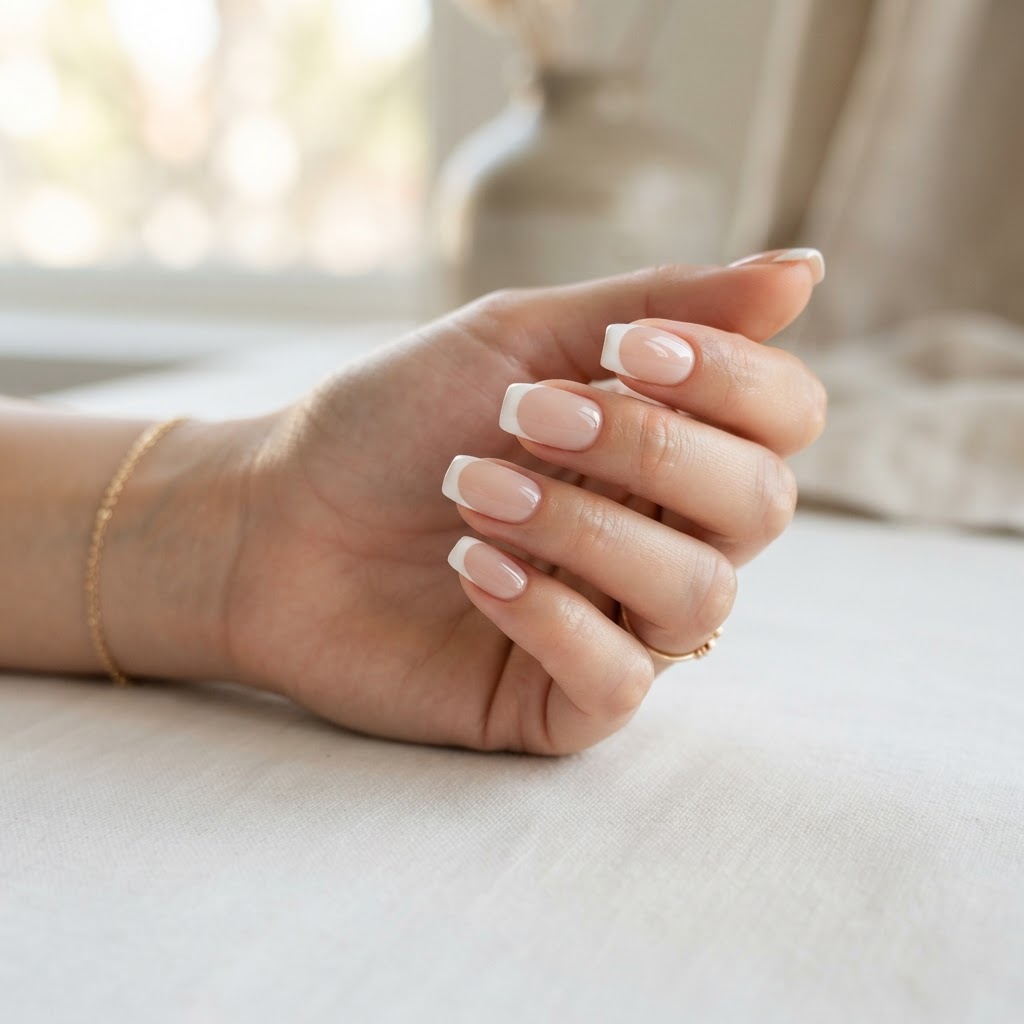
Choosing the correct size for your French tip press on nails prevents the dreaded “pop off” and ensures a natural appearance. When selecting your tips, they should fit side-to-side comfortably without overlapping your skin or leaving gaps on the sides. If you are between two sizes, always opt for the smaller one and file the sides down slightly for a perfect fit. Customization is the secret weapon used by professionals to make press-ons look like acrylics. Take a moment to file the base of the press-on so it sits flush against your cuticle line. This minor adjustment creates a seamless transition from your natural nail to the artificial tip, making it nearly impossible for others to tell they are press-ons.
Comparison: Glue Tabs vs. Liquid Glue
Choosing the right adhesive determines the wear time of your French manicure at home. The following table illustrates the main differences between common application methods to help you decide which is best for your lifestyle.
The Flawless Application Technique
Achieving a salon-quality home manicure depends on your application technique during the glue-down process. Apply a small drop of glue to the center of your natural nail and a thin layer to the underside of the press-on tip. Hold the nail at a 45-degree angle, placing the base near the cuticle before pressing down firmly for at least 20 seconds. This method pushes the glue toward the free edge, eliminating air bubbles that compromise the bond. If any glue squeezes out the sides, clean it up immediately with an orange stick before it hardens. Consistency is key here; applying uniform pressure across the entire nail surface ensures that the bond is strong and long-lasting.
FAQ
How long do press-on French tips typically last?
With proper preparation, you can expect press-on French tips to last between 7 and 14 days before needing a touch-up or replacement.
Can I file the French tips after application?
Yes, you can lightly file the tips after application to adjust the shape or smooth out any edges, but be gentle to avoid breaking the bond with your natural nail.
How do I remove press-ons safely?
Soak your hands in warm, soapy water with a little bit of cuticle oil for 15 minutes, then gently lift the edges using a cuticle pusher to avoid damaging your nail bed.
Can I reuse my press-on nails?
If you use glue tabs for application, the nails are usually reusable; however, liquid glue often requires filing the underside during removal, which may limit reuse.
Conclusion
Learning how to get a flawless French tip look with press-ons is an accessible skill that saves both time and money. By following the steps outlined, from rigorous nail prep to the final sealing, you are well on your way to achieving that professional look without the high cost of a salon visit. Remember that patience is your greatest ally during the application process. With consistent practice and the right products, your DIY manicures will look so authentic that people will be asking where you got them done. Enjoy the process of creating beautiful nails from the comfort of your own home.
Leave a Reply