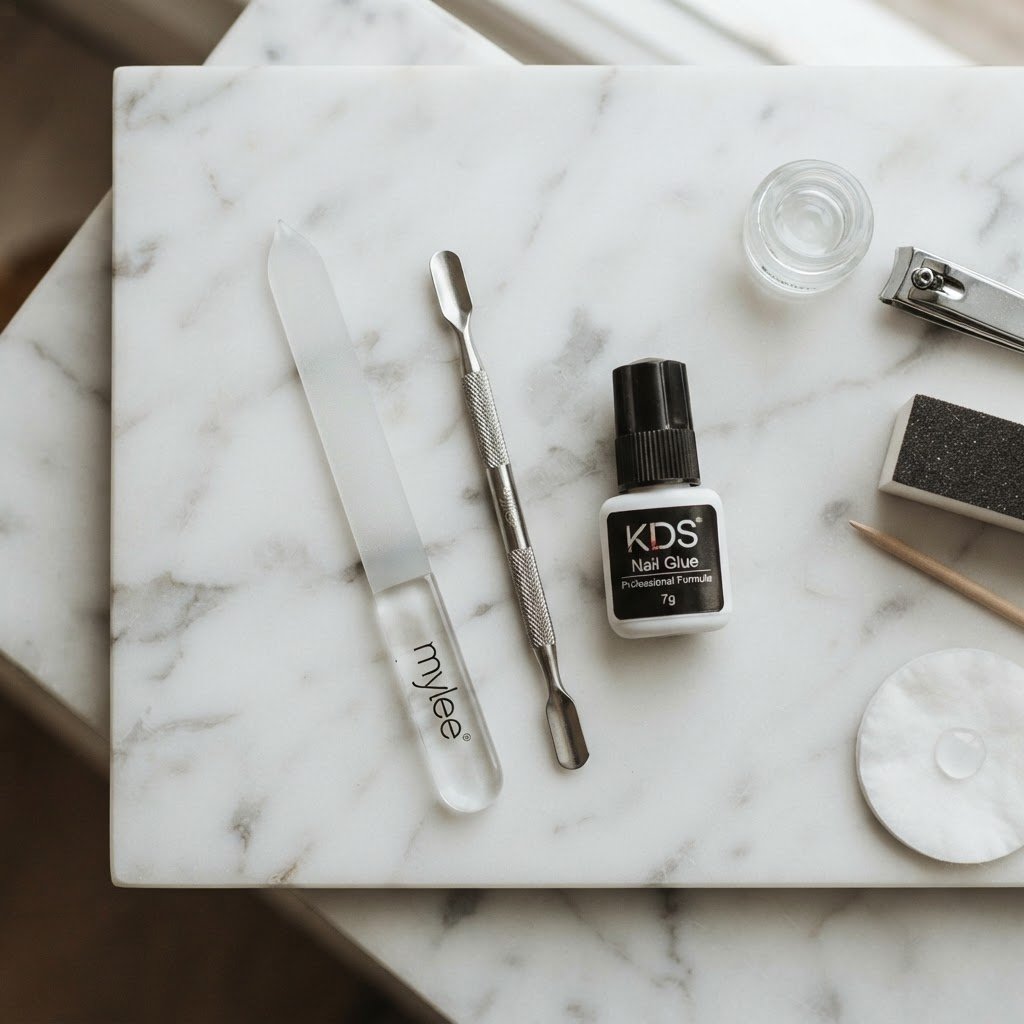
Mastering a full press-on nail routine is the secret to achieving a professional, high-end manicure from the comfort of your home. By prioritizing meticulous nail plate preparation, using high-quality adhesive, and following a precise application technique, you can ensure your nails stay secure, durable, and chic for up to two weeks, saving both time and money compared to salon visits.
Essential Tools for Your Routine
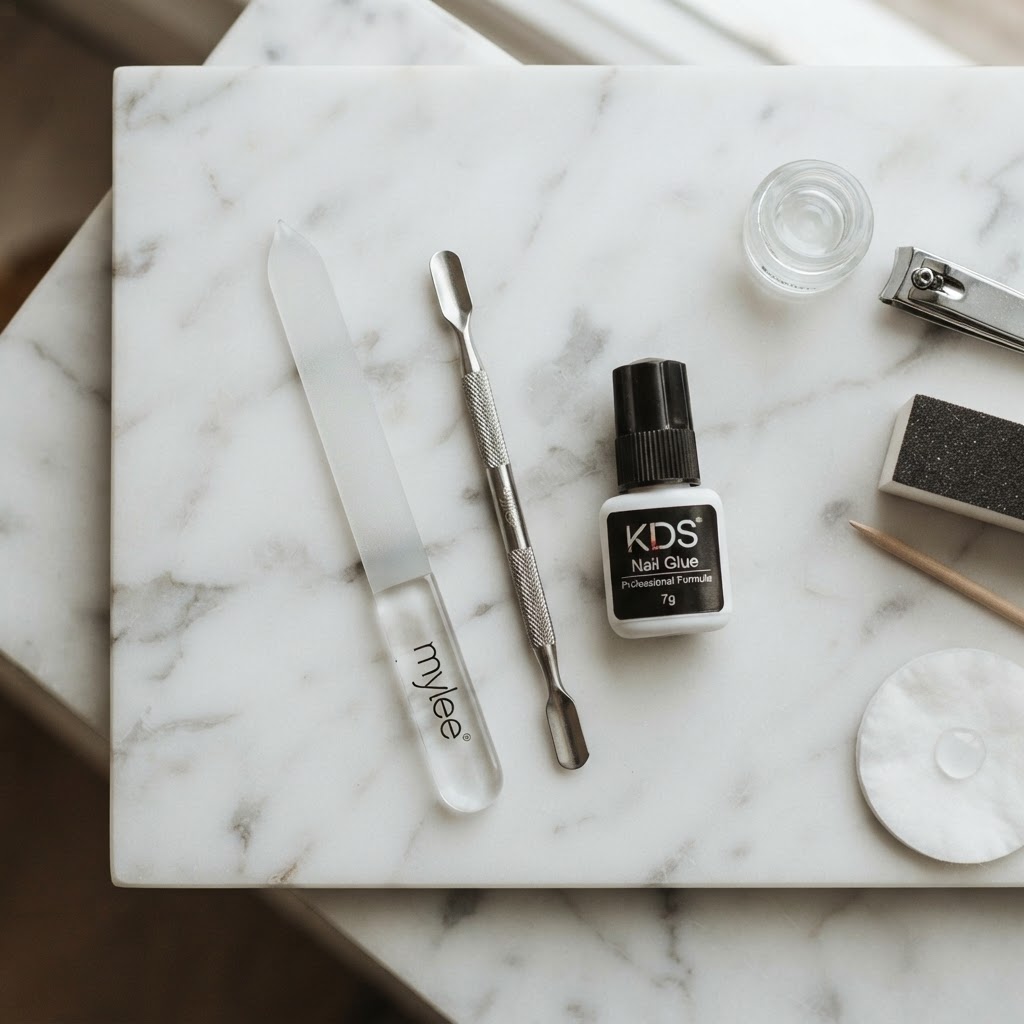
Proper preparation is the foundation of any successful full press-on nail routine, requiring specific tools to ensure a long-lasting bond. Before you begin, gather a high-quality glass nail file, a cuticle pusher, an alcohol prep pad, a dehydrator or primer, and a professional-grade nail glue or adhesive tabs. Investing in these basics prevents premature lifting and keeps your natural nail health in check. Using a glass file is superior to emery boards because it seals the keratin layers of the nail tip, preventing peeling. Furthermore, never underestimate the power of a good buffer; creating a slightly textured surface on the nail bed is crucial for the glue to adhere effectively. Always sanitize your tools before use to prevent any potential nail bed infections or fungal growth during the process.
Perfecting Your Nail Prep
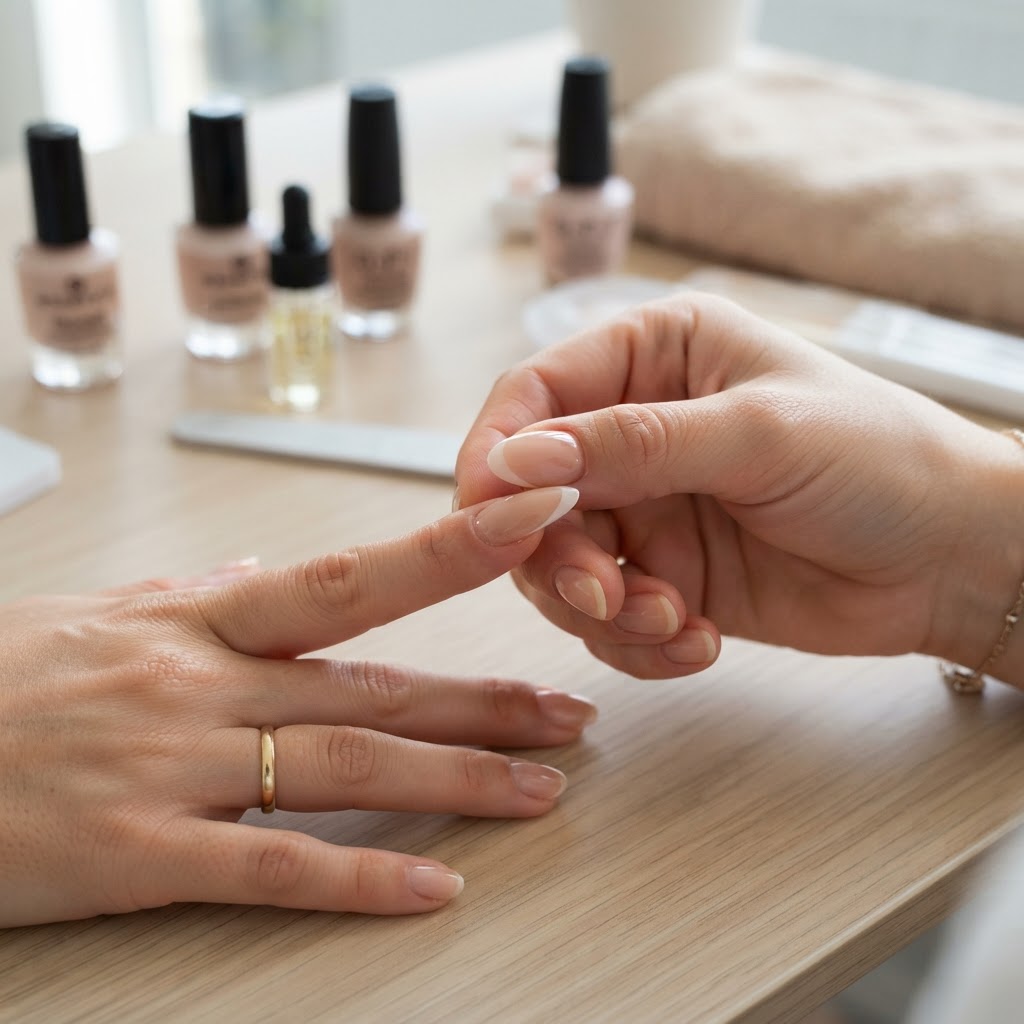
Your nail prep for press ons is the most critical phase, as failure here leads to immediate pop-offs. Start by pushing back your cuticles gently to expose the nail plate, then use a buffer to remove the shine from your natural nails. Once the surface is matte, it is vital to cleanse the nails thoroughly with a lint-free wipe soaked in 90% isopropyl alcohol to remove all natural oils and dust. Following this, apply a dehydrator; this product is non-negotiable for those with oily nail beds. If you skip this step, the adhesive will cling to the oil instead of your nail, resulting in a significantly shorter wear time. Many enthusiasts find that applying a thin layer of primer after the dehydrator acts as a double-sided tape for the adhesive, further locking the press-ons in place.
Choosing the Right Adhesive
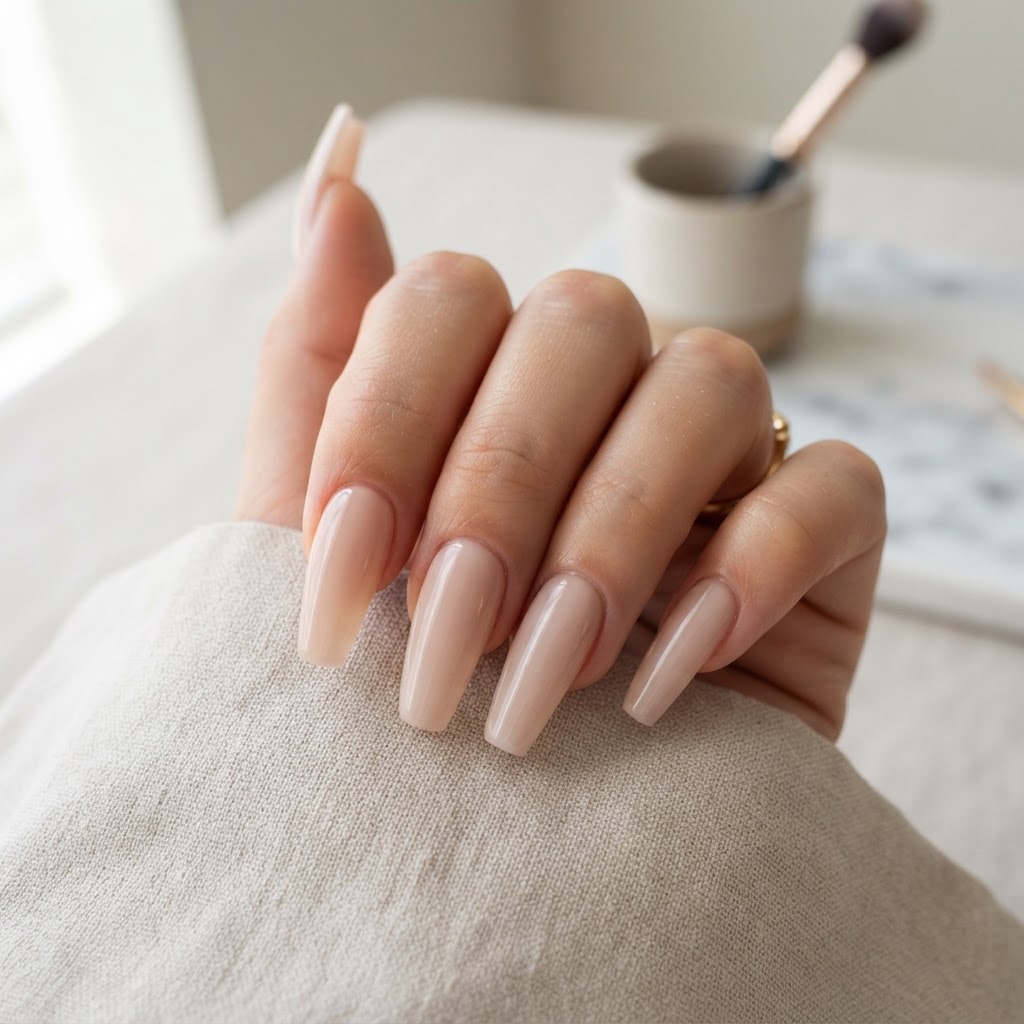
Selecting the correct bonding agent is a game-changer for maintaining durable press on nails that can withstand daily activities. Liquid nail glue provides the strongest hold, often lasting up to 14 days, while adhesive tabs offer a gentler, temporary solution perfect for short-term wear or special events. For the best of both worlds, some users apply a small amount of glue in the center of the nail and a tab near the cuticle area to balance strength and cushion.
Comparing Adhesive Options
Application Mastery
When you are ready to learn how to apply press on nails, speed and accuracy are key to preventing air bubbles. Apply a small bead of glue to both your natural nail and the back of the press-on to create a vacuum-sealed bond. Hold the nail at a 45-degree angle against the cuticle line, then press down firmly, rolling it toward the free edge to push out any trapped air. Maintaining pressure for at least 30 seconds is essential; if you release too early, the air bubbles that form will compromise the durability of your manicure. Wipe away any excess glue that squeezes out of the sides immediately with a clean orange stick or lint-free wipe.
Advanced Press On Nail Hacks
Once you have mastered the basics, you can use these expert-level press on nail hacks to level up your manicure. If you find your press-ons are too flat or curved for your natural nail bed, use a hair dryer to slightly warm the plastic, making it flexible enough to mold to your unique nail shape. Another pro tip involves applying a layer of top coat over the base of the press-on where it meets your cuticle; this smooths out the “step” between the fake nail and your skin, giving the appearance of a fresh set of acrylics. Finally, if you are doing a diy press on nails set with clear tips, always buff the inside of the press-on before application to ensure the glue has a rough surface to grip onto.
Maintenance and Removal
Maintaining your manicure is simple, but removal requires patience to keep your natural nails healthy. Avoid using your nails as tools to open soda cans or packages, as this is the primary cause of breakage. When it is time to remove your set, soak your fingers in warm, soapy water with a tablespoon of oil for 15-20 minutes, then gently lift the sides of the press-on with a cuticle stick. Never force the nails off if they are still resistant, as this will peel your natural nail plate. If you used high-strength glue, you may need a dedicated acetone-based remover, but always follow up with a cuticle oil to rehydrate your fingers.
FAQ
How long should my press-ons last?
With a proper full press-on nail routine, a set should last between 10 to 14 days, depending on your lifestyle and the adhesive used.
Can I reuse my press-on nails?
Yes, if you use adhesive tabs, you can easily clean and reuse your nails multiple times; if using glue, you will need to gently file away residue.
Why do my press-ons pop off within a day?
Usually, this is due to improper nail prep, such as failing to remove natural oils or skipping the dehydration step.
Is it safe to wear press-on nails daily?
Yes, as long as you allow your natural nails to breathe occasionally and use gentle, non-damaging removal techniques, press-ons are perfectly safe.
Conclusion
A consistent full press-on nail routine is the ultimate way to maintain a salon-quality manicure on your own terms. By focusing on detailed preparation, selecting the best adhesives for your needs, and applying with patience, you can achieve durable results every single time. Start experimenting with these techniques today to transform your nail care game into a professional-level experience.
Leave a Reply