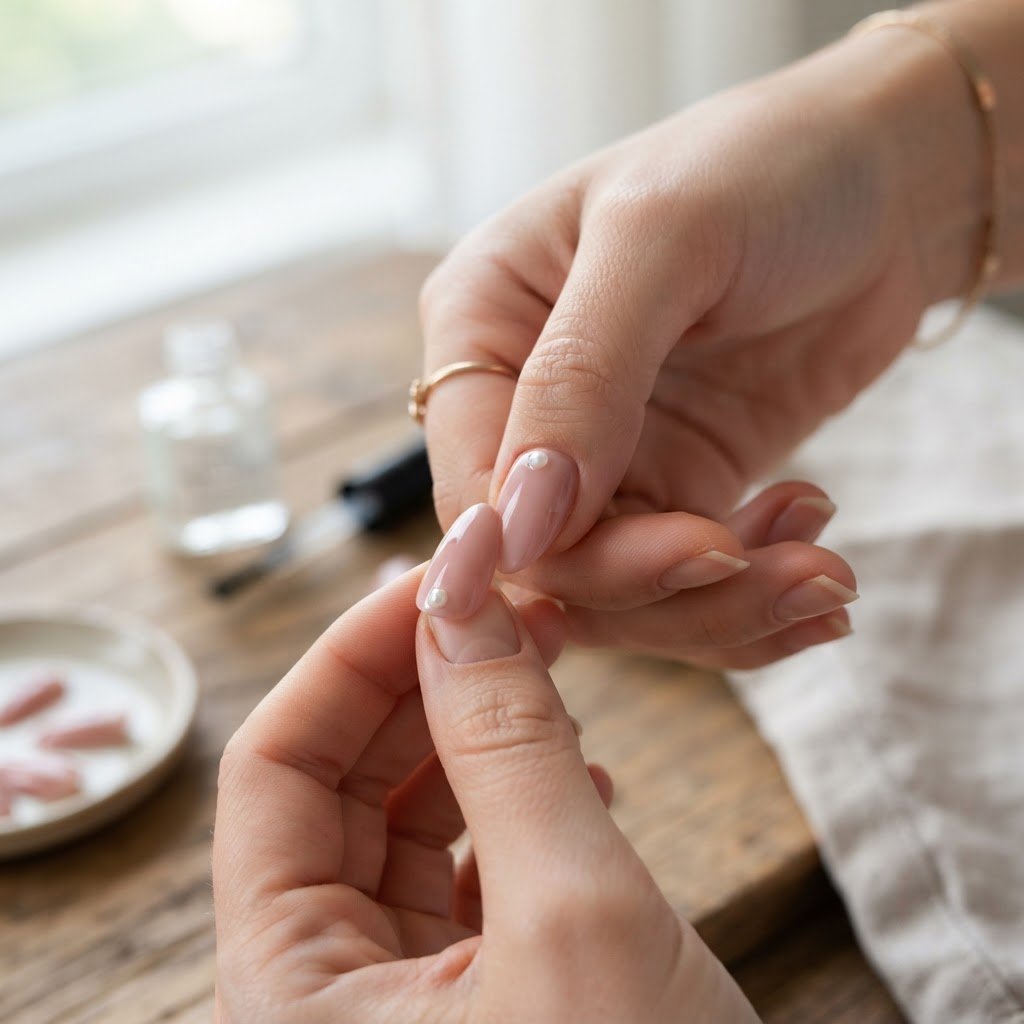
Learning the basics through comprehensive press on nails tutorials is the best way for beauty enthusiasts to achieve a salon-quality manicure at home. By mastering simple nail prep, selecting the right adhesive, and following careful application steps, you can enjoy professional-looking hands without the high cost of a nail salon. This guide focuses on making your process seamless, durable, and stylish.
Preparing Your Natural Nail for Success
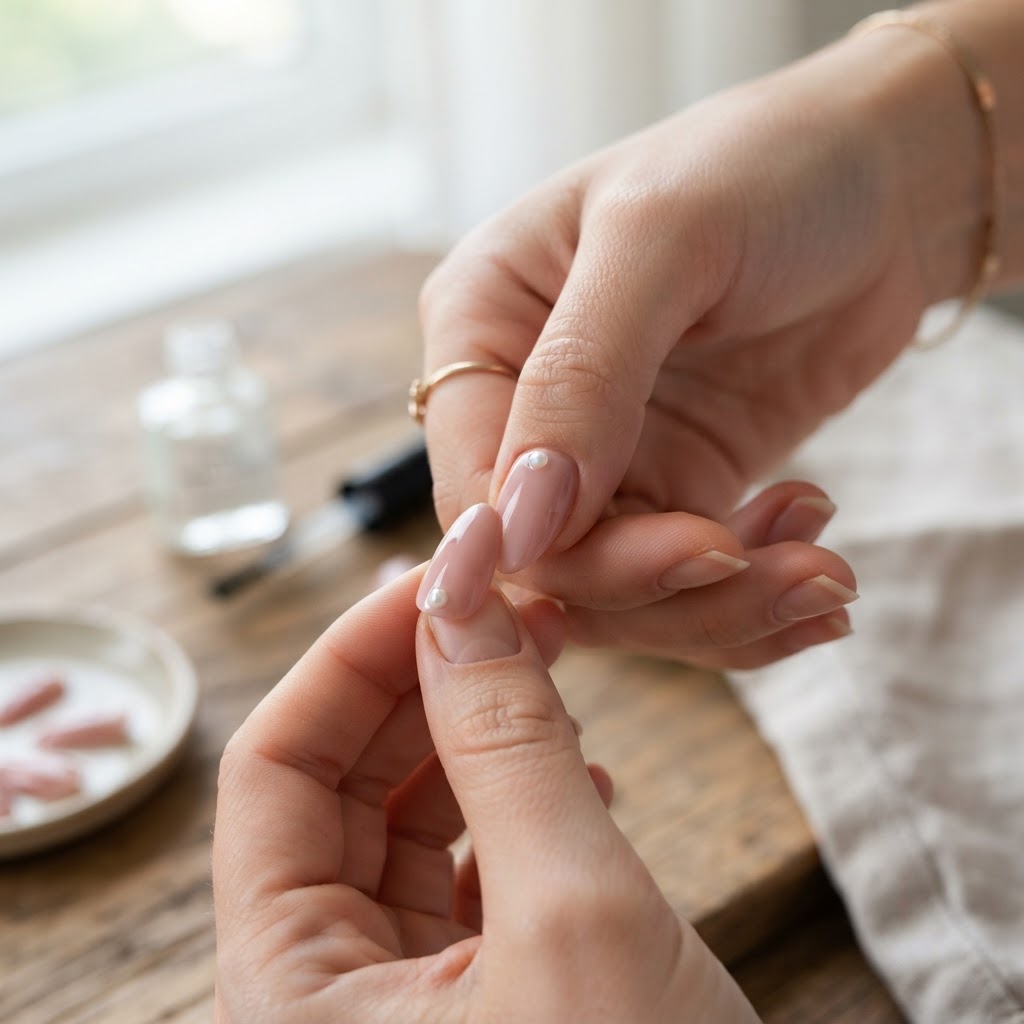
Proper nail prep for press on nails is the most important factor in ensuring a long-lasting manicure that doesn’t pop off prematurely. Start by cleaning your natural nail plate with polish remover to eliminate oils, then use a cuticle pusher to gently push back the cuticle. You must also lightly buff the surface with a nail file to increase the surface area for better adhesion. This simple step transforms how you do nails step by step, ensuring your press on set stays put for up to two weeks.
Essential Nail Care Tips for Beginners
Maintaining healthy nails is vital if you want your manicure to look its best. After applying your press ons, avoid soaking your hands in hot water for extended periods and always apply cuticle oil to keep your skin hydrated. Understanding basic nail health will prevent the nail picking that often ruins a fresh set. Whether you are a beauty lover or a busy professional, these small adjustments make a world of difference for your nails at home.
Choosing the Best Press On Nails
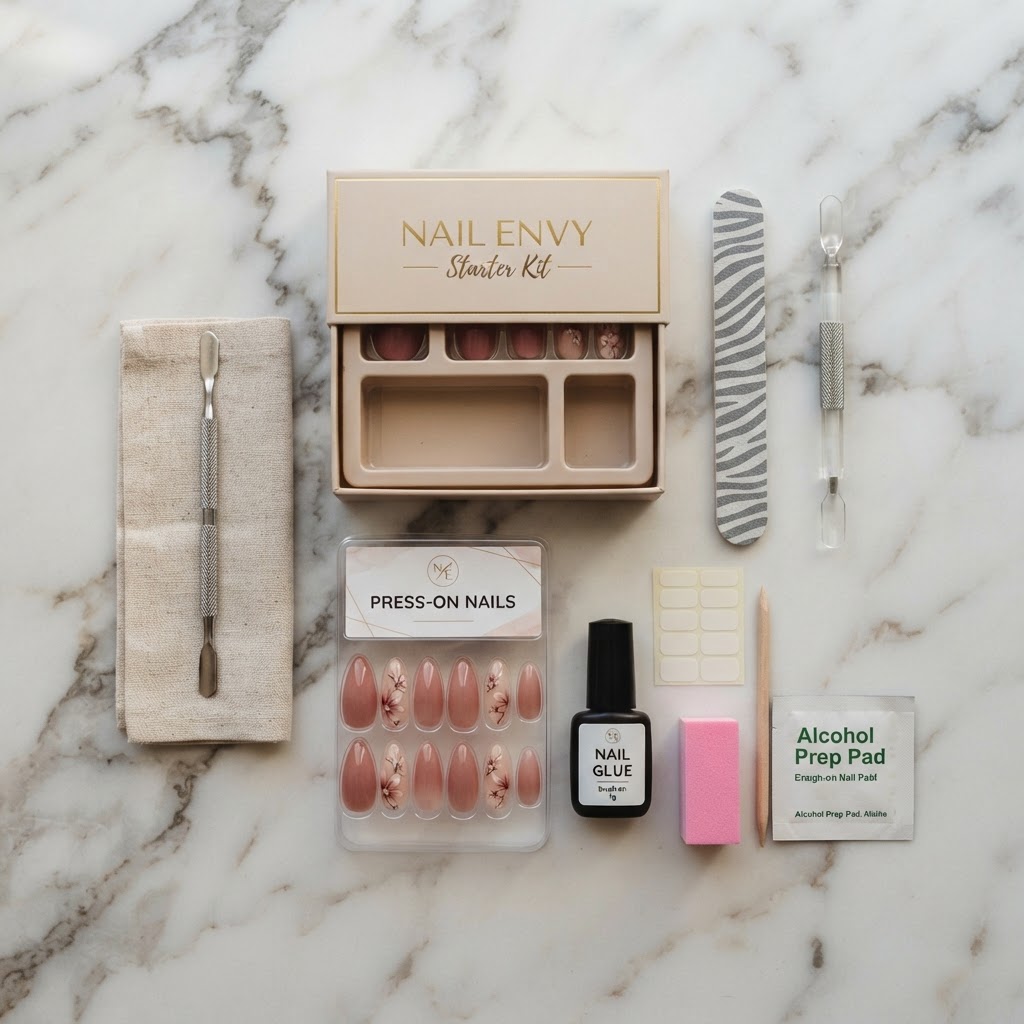
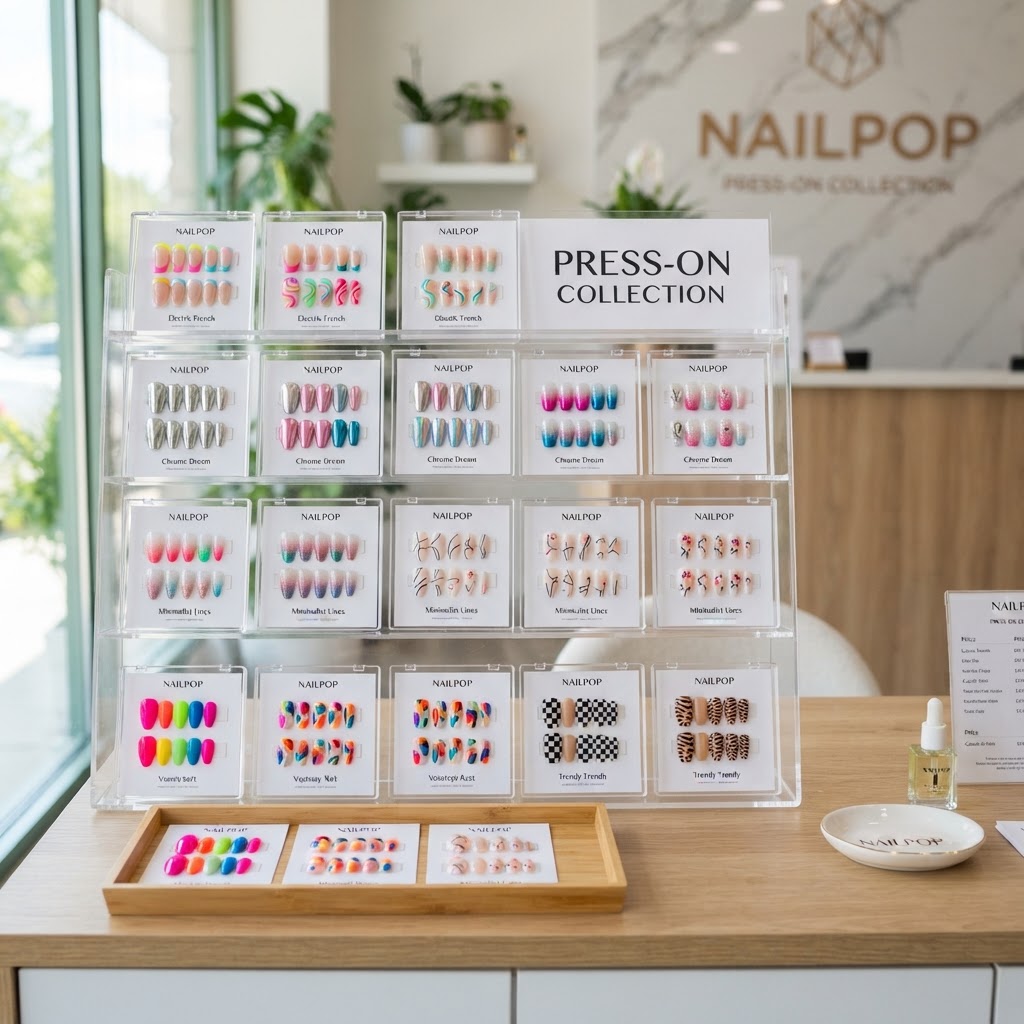
Finding the best press on nails often starts with identifying your preferred style, such as trendy French nails coffin shape, cute simple nails, or even girly acrylic nails. The market offers a huge variety, including reusable press on nails and options for those who want a custom nail business from home. If you are interested in DIY press on nails, look for sets that offer a comfort fit and various sizing options to match your natural nail beds. The right fit is key to achieving that seamless, realistic look that mimics professional acrylics.
Mastering Application Techniques
When you follow professional press on nails tutorials, you will notice that the secret lies in the glue application. Apply a small dot of press on nails glue to your natural nail and a thin layer to the base of the press-on tip, then hold it at a 45-degree angle to avoid air bubbles. This technique is a game-changer for anyone learning how to do press on nails at home. For those seeking intricate nail designs, you can also explore how to design nails using press ons as a base for your nail art projects.
Advanced Press On Nail Tips and Tricks
If you want to take your look to the next level, try combining your press ons with other beauty hacks like cat eye nails polish or chrome powder to create stunning effects. Learning how to make press on nails look acrylic is all about choosing thicker tips and filing them into your desired shape. Don’t forget that press on nail tips and tricks often involve using nail vinyls or stencils to achieve professional-level designs without needing a steady hand. These artistic additions ensure your nails stand out, whether you are wearing them for work or a special event.
Exploring Popular Design Trends
Whether you love classic French tip nails or are more interested in Y2k nail inspo ideas, there is a design for everyone. You can experiment with blooming nails tutorial techniques, tortoise shell nails tutorial looks, or even 3d gel nail tutorial designs to add texture to your manicure. Popular themes like Starbucks nails, coffee-themed nail art designs, or even cute concert nails allow you to express your personality. Using a nail stamp kit or individual charms can further elevate your DIY artificial nails, turning them into a piece of wearable art.
FAQ
How to apply press on nails first time?
To apply press on nails for the first time, start by thoroughly prepping your nail beds by pushing back cuticles and buffing the surface. Select the correct size tip for each finger, apply a small amount of adhesive, and hold the press-on firmly against your natural nail for at least 15 seconds to ensure a strong bond.
Is there a trick to press on nails?
Yes, the biggest trick is to ensure your natural nail is completely free of oils before application, which you can achieve by using an alcohol-based cleanser. Additionally, applying a thin layer of adhesive to both the natural nail and the back of the press-on prevents air pockets and ensures a much longer wear time.
How do I apply press-on nails step-by-step?
Begin by sizing your nails, followed by a light buffing and cuticle care to create a clean surface. Apply your adhesive, press the nail tip down starting from the cuticle line at a shallow angle to push out bubbles, and finish by filing the free edge for a customized fit.
What are the easiest press-on nails to use?
Short, pre-glued, or adhesive-tab press-on nails are generally the easiest for beginners because they require less preparation and no liquid glue. These options are perfect for those who want a quick manicure that looks polished without the mess of traditional salon techniques.
Conclusion and Final Thoughts
Mastering these press on nails tutorials opens up a world of creativity and cost savings for your personal beauty routine. From simple everyday looks to fancy nail art designs, you now have the tools to maintain salon-style nails whenever you want. Remember that practice is essential for getting better at nail art techniques, so don’t be afraid to experiment with different shapes, colors, and textures like magnetic nails or chrome powder. Start your journey to better nail health and style today by grabbing a starter kit and applying these steps. If you enjoyed this guide, share it with a fellow beauty lover or join our newsletter for more weekly nail inspiration and expert hacks!
Leave a Reply