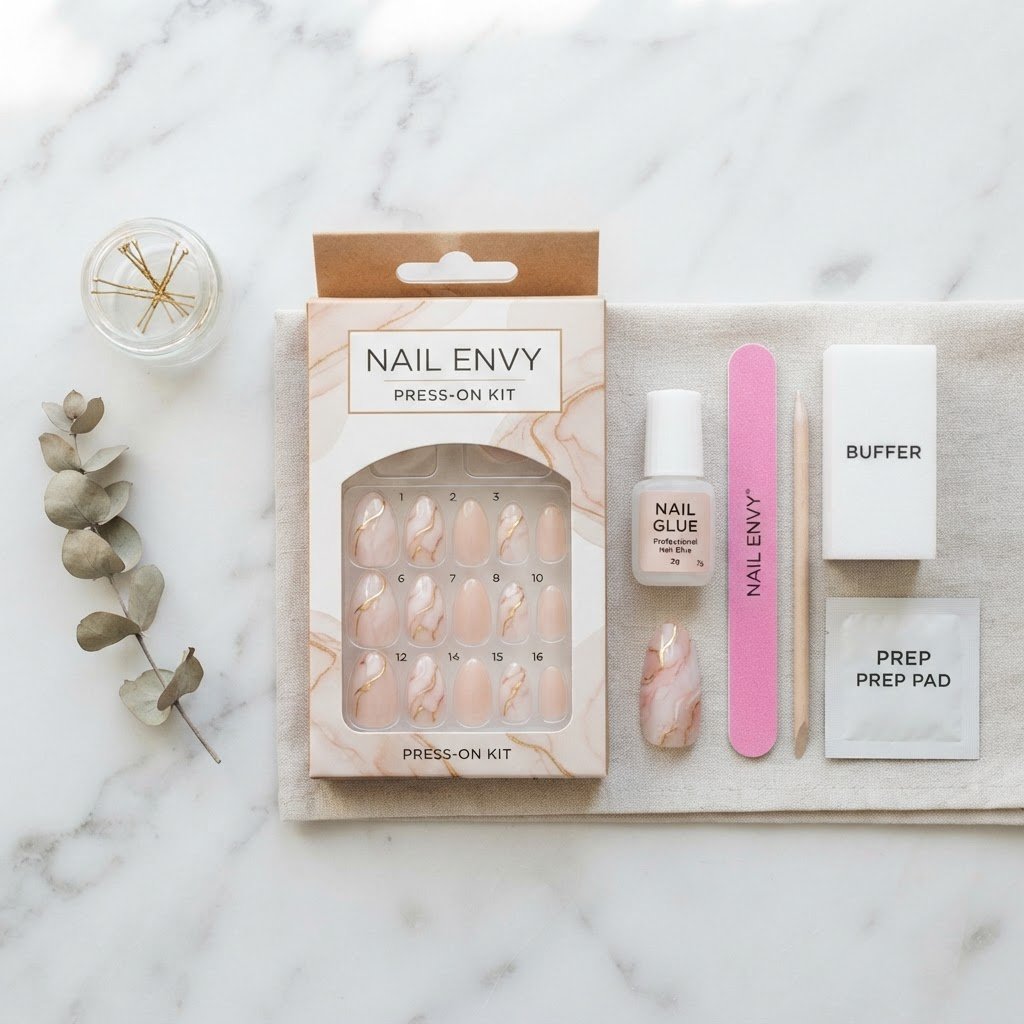
To master an easy DIY press-on nail application, start by thoroughly dehydrating your natural nails and using high-quality adhesive tabs or glue. By following a structured prep routine and selecting the right nail size, you can achieve a salon-quality manicure that lasts for up to two weeks without lifting or damage.
The Essential Toolkit for Your Manicure
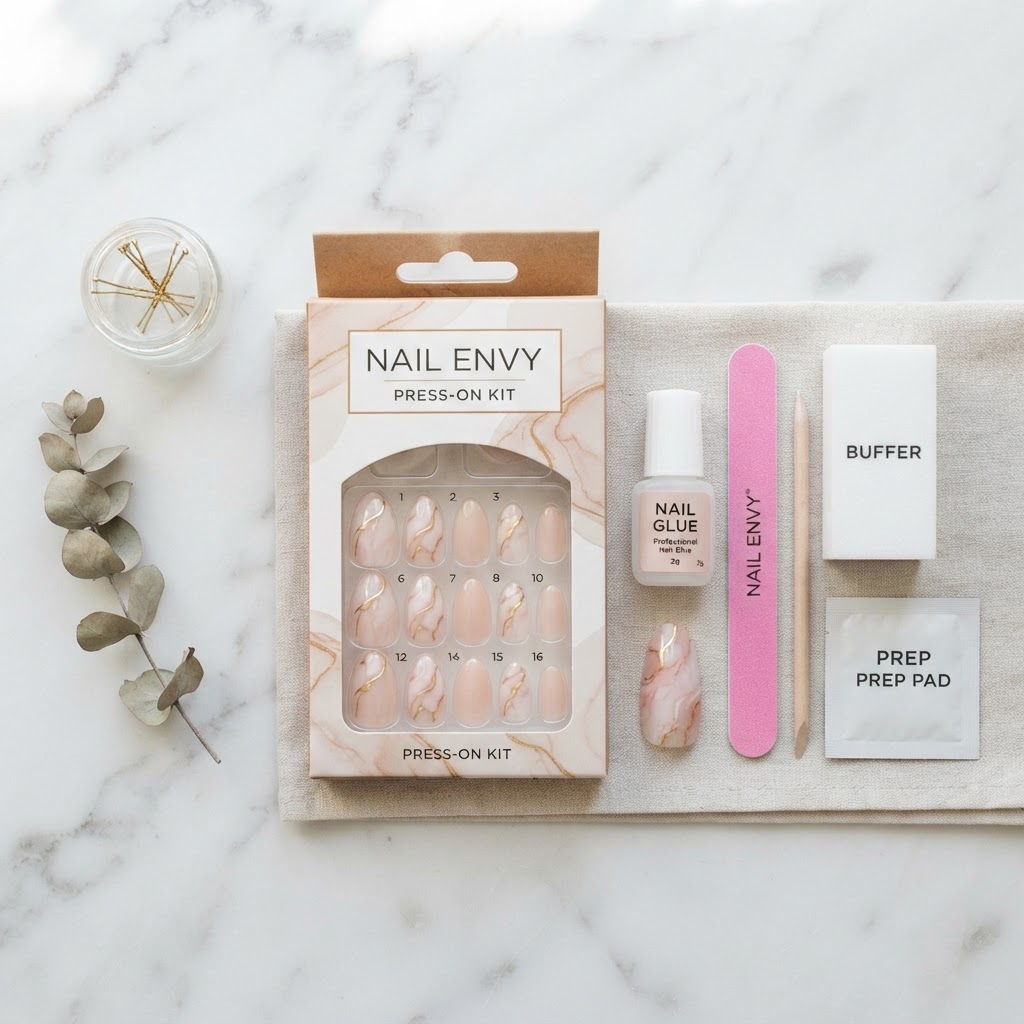
Successful application begins with gathering the right tools to ensure a seamless bond between the nail and your natural bed. Having a high-quality kit allows you to maintain the integrity of your natural nails while ensuring the press-on sits flush against the cuticle line. Essential items include a glass nail file, a cuticle pusher, 100% pure acetone or alcohol wipes, and a high-grade brush-on nail glue. While many kits include basic items, investing in a separate bottle of professional-strength adhesive often makes the difference between a one-day wear and a two-week hold. Keep your tools clean and sanitized before every application to prevent potential fungal issues or premature lifting.
Perfecting Your Nail Prep
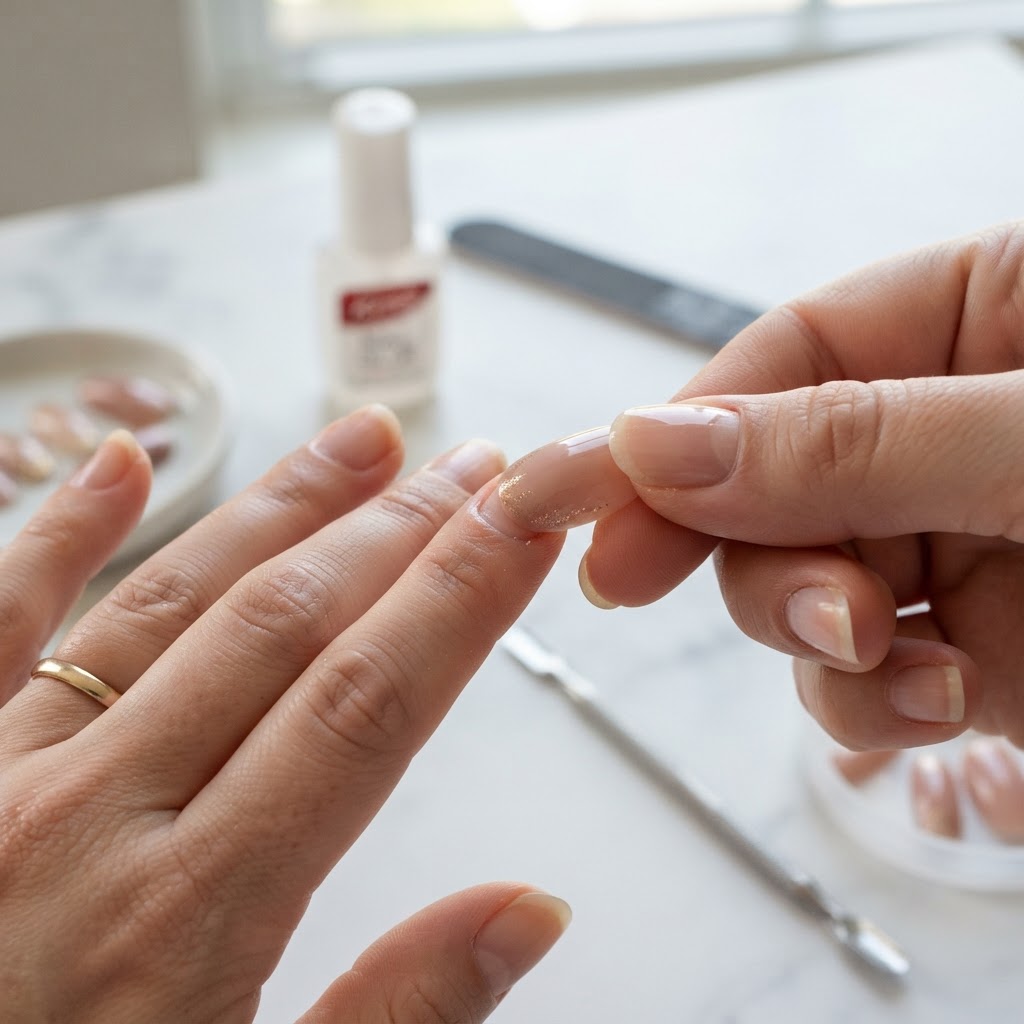
Proper prep is the most critical stage of the easy DIY press-on nail application process because it removes the natural oils that cause glue to fail. Begin by pushing back your cuticles gently, which creates a cleaner canvas for the press-on to sit against without overlapping onto skin. Use a light-grit buffer to remove the shine from your natural nail plate, creating a slightly textured surface that the glue can grip effectively. After buffing, use an alcohol-soaked pad to wipe away every trace of dust and moisture. If your nails are prone to oiliness, a dehydrator solution can further improve the bond longevity. Never skip this step, as oil residue is the primary culprit behind “popping” nails within the first 24 hours of wear.
Choosing the Right Sizing and Fit
Selecting the correct size for each finger is essential to ensure the press-on looks natural rather than artificial. When sizing, ensure the nail fits comfortably from sidewall to sidewall without needing to press down forcefully. If a nail feels slightly too wide, take a file and gently thin out the edges of the press-on until it matches your natural nail width perfectly. Never force a press-on that is too small, as the tension can cause the nail to lift at the base and become uncomfortable. A properly fitted nail should sit just above the cuticle, leaving a tiny gap to prevent cuticle inflammation. Here is a quick checklist for sizing success:
- Measure from side-wall to side-wall using a piece of clear tape.
- Lay the tape flat and mark the edges with a pen.
- Transfer the tape to a ruler to find your specific mm width.
- Always choose the slightly smaller size if you fall between two measurements.
Expert Application Techniques
When you are ready to bond, apply a small drop of glue to the center of your natural nail and another drop to the back of the press-on. Apply the press-on at a 45-degree angle, starting at the cuticle, and lower it slowly to avoid trapped air bubbles. Pressing down firmly for at least 30 seconds is crucial; use the side of your thumb to ensure pressure is distributed evenly across the entire surface. If glue leaks out the sides, use a cuticle stick dipped in remover to clean it up before it dries. For those using adhesive tabs, the technique is similar, but remember to avoid touching the adhesive side with your skin to keep the tackiness intact.
Long-Term Maintenance and Care
Maintaining your nails after application involves being mindful of your daily habits for the first few hours. Avoid soaking your hands in hot water for at least four hours post-application to allow the adhesive to fully cure. When washing dishes or cleaning, wear gloves to protect the glue from breaking down under heavy chemical or water exposure. If you notice a tiny amount of lifting at the tip, do not rip the nail off; instead, add a tiny drop of glue under the lifted edge and press firmly for a minute. These small adjustments can extend the life of your set by several days, making your DIY look indistinguishable from a salon professional job.
Comparing Adhesive Methods
Choosing between glue and adhesive tabs depends largely on your lifestyle and how long you want to wear the set. Many users wonder if they should mix both methods. While mixing can increase longevity, it also makes removal significantly harder and can damage the natural nail if done incorrectly. Use this comparison table to decide which method fits your needs:
FAQ
How do I remove press-on nails without damage?
Soak your hands in warm, soapy water with a tablespoon of oil for 15 minutes, then gently use a cuticle pusher to lift the edges. Never pry them off forcefully.
Can I reuse press-on nails?
Yes, if you use adhesive tabs, you can clean the residue off the back of the nail and reuse them multiple times without any damage to the material.
How often should I let my natural nails breathe?
If you apply them correctly and use a base coat, you can wear press-ons continuously. However, a break every two weeks is recommended for overall nail health.
Why do my press-on nails pop off so quickly?
This is almost always due to insufficient nail prep. If you do not buff the shine off your natural nail or remove all surface oils, the glue cannot bond properly.
Conclusion
Mastering easy DIY press-on nail application is a skill that saves both time and money while keeping your hands looking impeccable. By focusing on deep cleaning your nail plates, selecting accurate sizes, and allowing the adhesive the necessary time to cure, you can enjoy professional, high-end results. Start with these basics, experiment with different shapes, and enjoy your perfect at-home manicure.
Leave a Reply