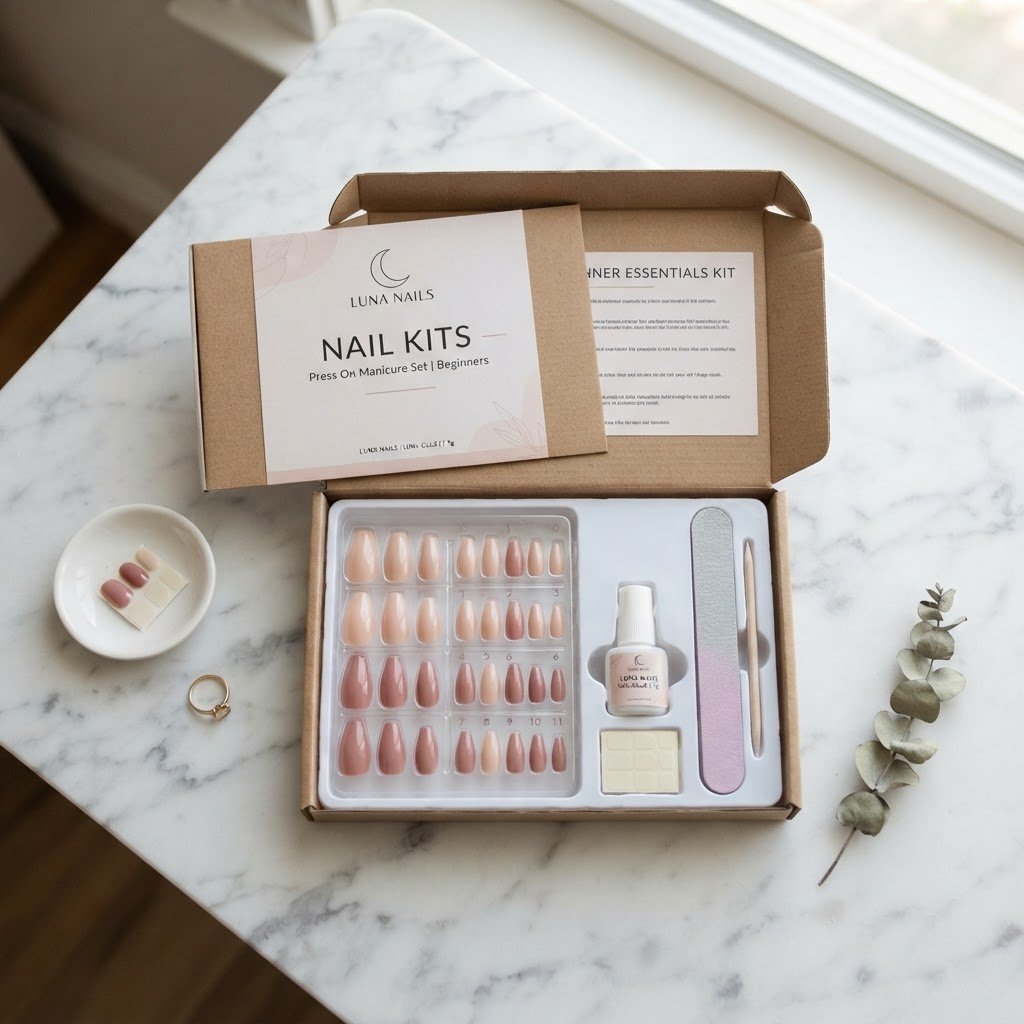
A beginner press-on nail kit typically contains high-quality artificial nails, adhesive tabs or nail glue, a nail file, a cuticle pusher, and alcohol prep pads. To achieve a professional result, start by prepping your natural nail beds, selecting the correct sizing, and applying pressure for at least thirty seconds. By following these essential steps, you can ensure a salon-quality manicure that stays secure for up to two weeks.
Decoding Your Beginner Press-On Nail Kit
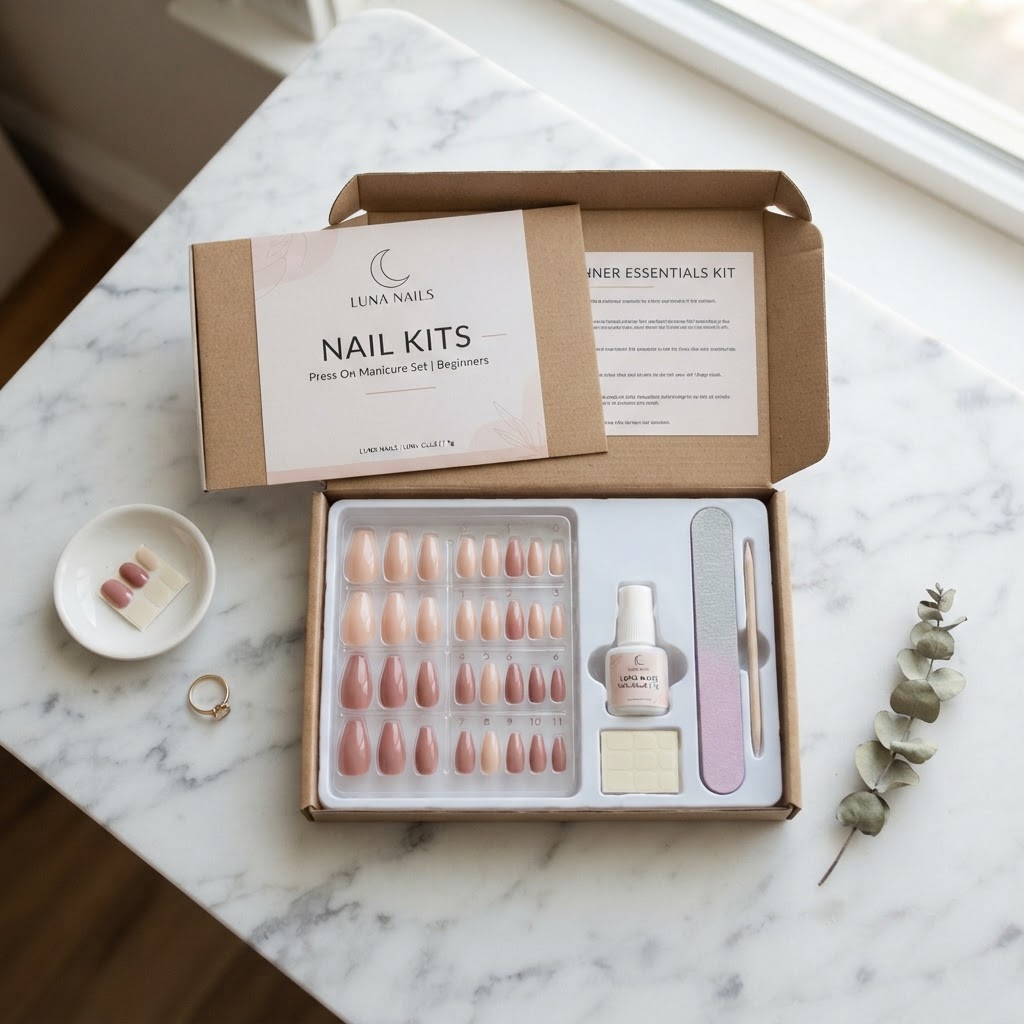
Understanding the components of your kit is the first step toward mastering your at-home manicure. Most quality kits are designed to include everything necessary to bypass the salon entirely. You will usually find a set of twenty-four or more nails in various sizes to ensure a perfect fit for every finger. Additionally, the inclusion of a dual-sided nail file and a wooden cuticle stick allows for precise nail bed preparation, which is the most critical factor in longevity. {YOUTUBE}
The Importance of Nail Bed Preparation
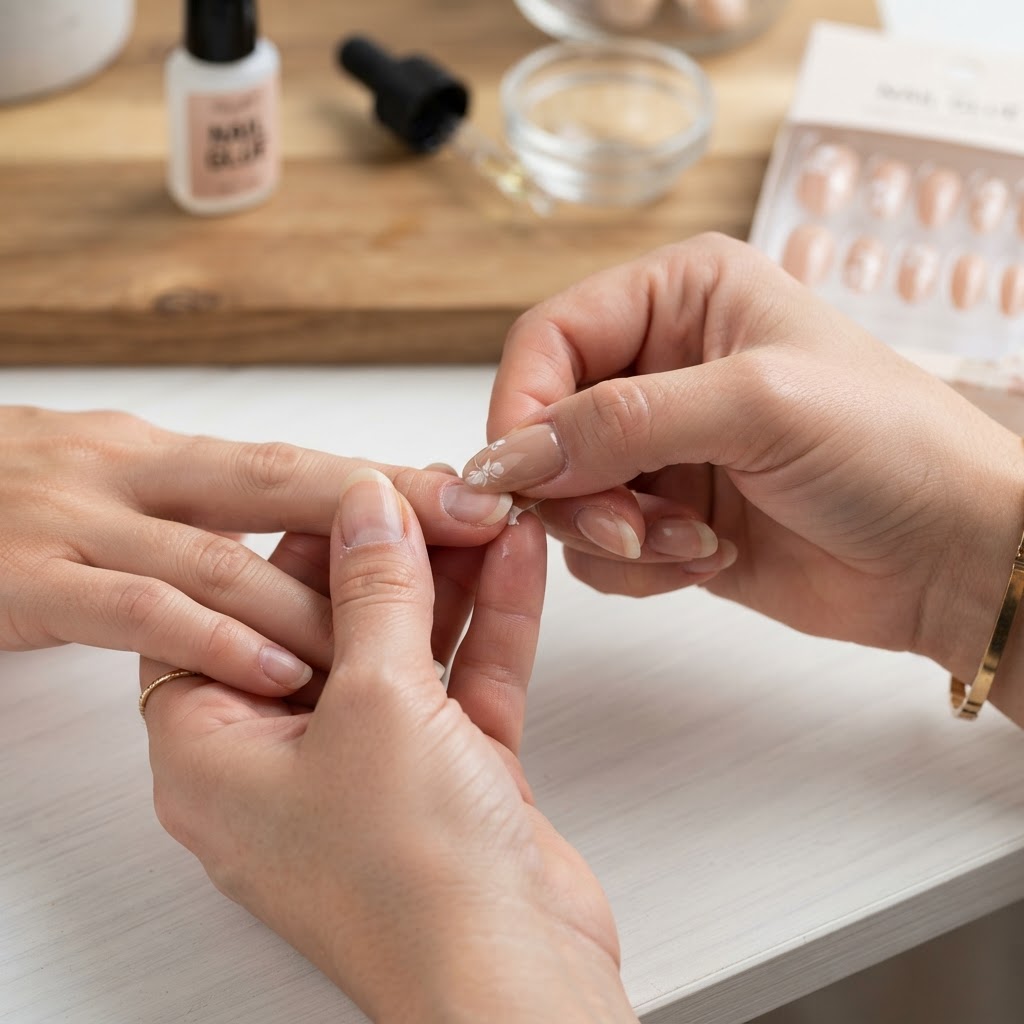
Proper preparation is the secret weapon for making your press-ons last through daily tasks. You must begin by washing your hands thoroughly to remove natural oils and then pushing back your cuticles gently to create a clean surface. Using the alcohol wipe included in your kit is non-negotiable; this removes microscopic debris and moisture that would otherwise cause the glue to lift prematurely. By buffing the surface of your natural nail slightly, you create a textured foundation that allows the adhesive to bond significantly better than on a smooth, shiny nail plate.
Comparing Adhesives: Glue vs. Tabs
Choosing the right bonding method depends on how long you intend to wear your set. Adhesive tabs are perfect for temporary wear, lasting one to three days, and are very gentle on your natural nails. Conversely, liquid nail glue provides a much stronger hold, often lasting up to two weeks, but it requires more care during removal to prevent damage. Our unique insight shows that mixing methods—using glue at the base and a tab at the tip—can provide a hybrid hold that balances strength with easier removal later.
How to Apply Press-On Nails Step-by-Step

To master how to apply press-on nails, you must follow a methodical approach to ensure a seamless bond. First, lay out all your nail sizes before you begin applying adhesive to avoid rushing. Apply a small, pea-sized dot of glue to the center of your natural nail and another on the underside of the press-on tip. Carefully align the press-on with your cuticle line at a forty-five-degree angle and lower it slowly to avoid trapped air bubbles. Press firmly across the entire nail for thirty seconds to ensure the glue spreads evenly. {YOUTUBE}
Maintenance and Long-Lasting Hacks
Keeping your press-ons looking fresh requires minor behavioral adjustments during the first twenty-four hours after application. Avoid submerging your hands in hot water, such as in long baths or doing heavy dishwashing, for at least six hours, as moisture can soften the bond. If you notice a minor lift at the edge, apply a tiny drop of glue and press down firmly to “re-seal” the area. Carrying a small emergency kit in your purse with a backup glue and a nail file will save your manicure if a snag occurs while you are on the go.
Removal Without Nail Damage
Safe removal is the final piece of the puzzle for a sustainable diy press-on nails routine. Never force or pop the nails off, as this will peel layers of your natural nail plate away. Instead, soak your fingertips in warm, soapy water mixed with a little cuticle oil for fifteen minutes. Once the edges start to lift, use a wooden stick to gently nudge the nail off. If there is stubborn glue residue left, a gentle buffer will smooth your natural nails back to health without compromising their strength. {YOUTUBE}
FAQ
How long should press-on nails last?
Most professional-grade kits will last between ten to fourteen days if applied correctly to clean, prepped nail beds.
Can I reuse my press-on nails?
Yes, if you use adhesive tabs, the nails remain clean and can be reused multiple times. Glue-applied nails can also be reused if you use an electric file to remove residue.
Are press-ons bad for your natural nails?
Press-ons are generally safe as long as they are removed carefully using the soak-off method rather than being pulled off forcefully.
What if I cannot find my size?
Most kits include various sizes. If you are between sizes, always choose the smaller nail and file the sides down slightly for a custom, comfortable fit.
Conclusion
Transitioning to a beginner press-on nail kit is an empowering way to master at-home nail care while saving time and money. By focusing on deep preparation, choosing the right adhesive for your lifestyle, and practicing gentle removal techniques, you can achieve a flawless look consistently. Embrace the versatility of press-ons to switch up your style whenever you desire, knowing you now have the professional skills to maintain them perfectly.
Leave a Reply