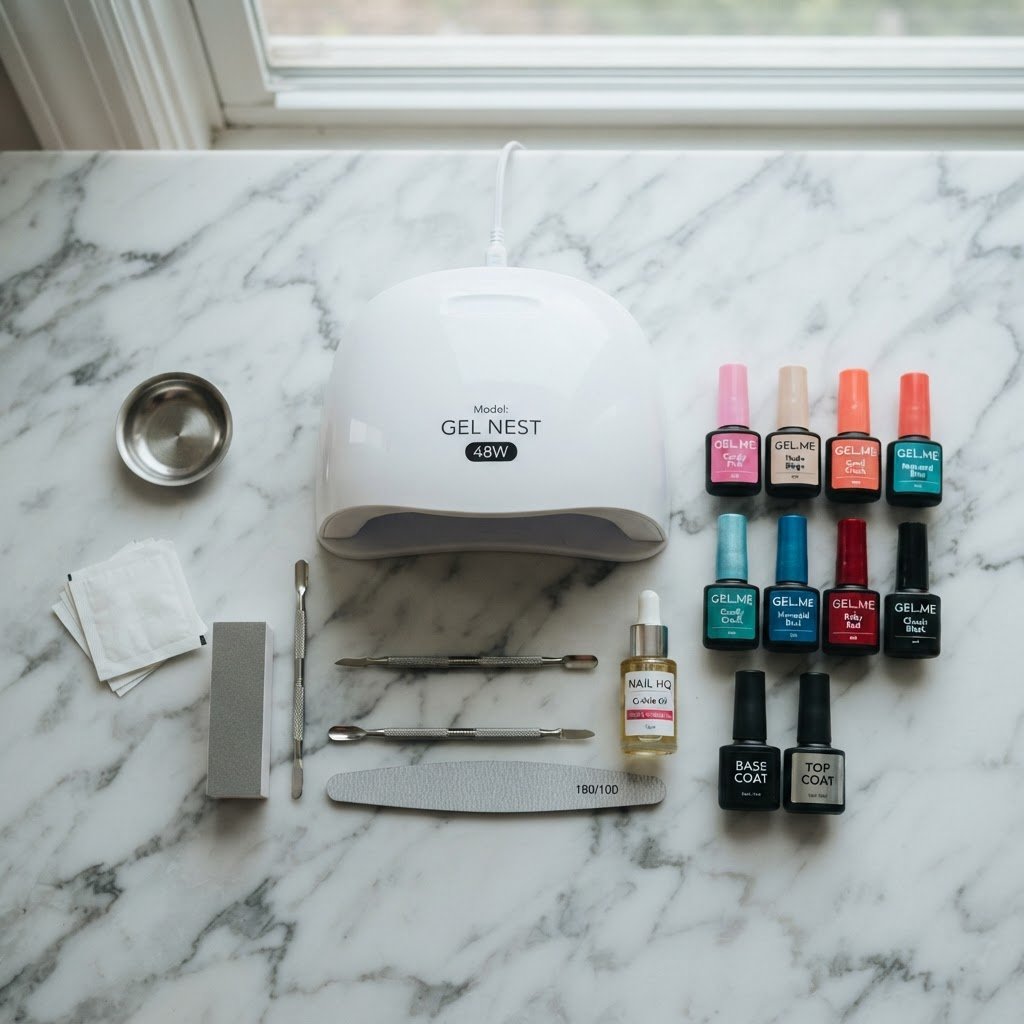
Achieving salon-quality results is easier than you think when you follow the right nail tips for a perfect gel manicure at home. By mastering basic prep, precise application, and proper curing techniques, you can maintain strong, healthy nails while saving money. This guide simplifies the complex world of professional nail care into actionable steps for any beginner. To get salon-quality results, the secret lies in how you prep your natural nail beds and use quality nail tips for extensions. Whether you are looking for long nails, short ballerina shape nails, or simple french nail designs, consistency is key. Proper nail health involves regular cuticle oil application and keeping your nails clean to prevent lifting or damage. Follow these steps to transform your routine into an at-home nail spa experience that rivals any local nail tech. From choosing the best nail sizes to mastering your gel x application tutorial, this guide covers everything you need. You will discover how to prep your nails, apply extensions, and cure with a UV lamp for a no chip finish that lasts for weeks.
Understanding the Basics of Nail Care
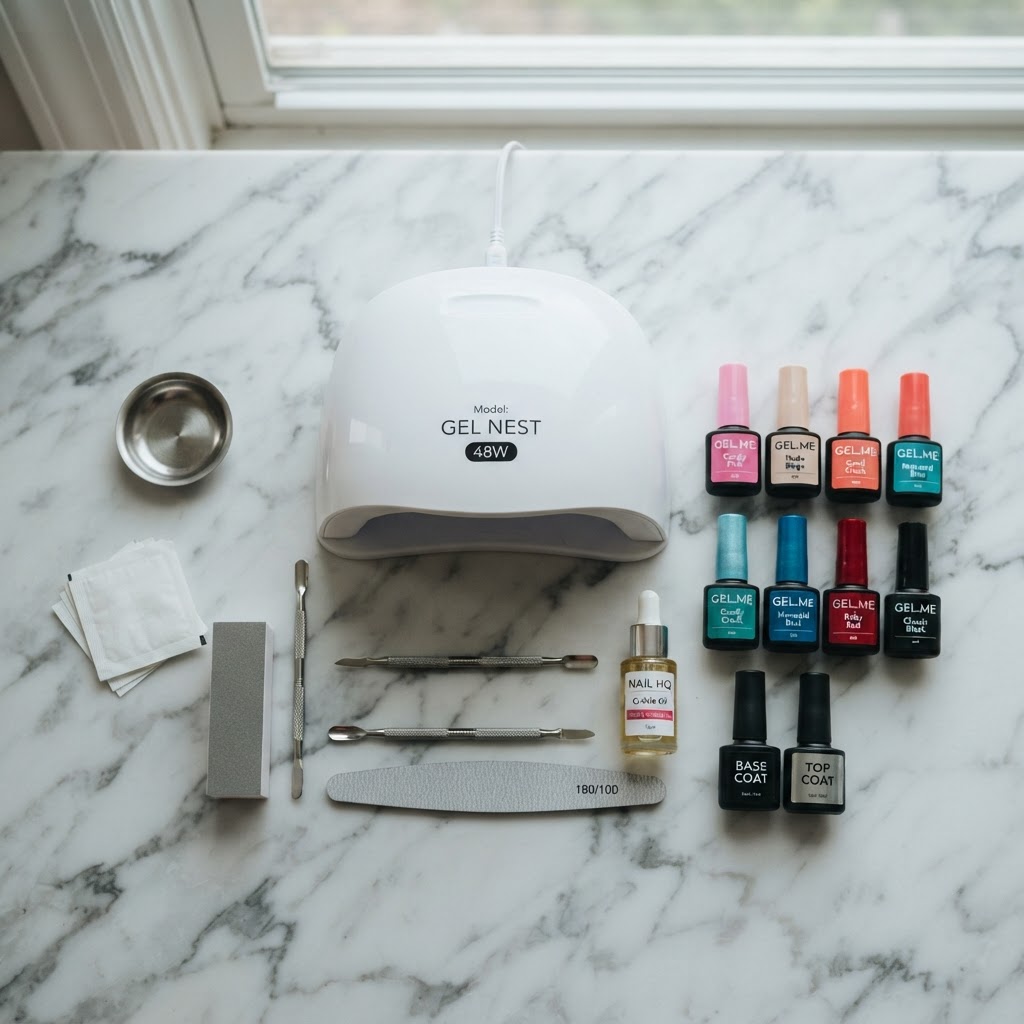
Starting your journey toward healthy nail care begins with understanding the structure and maintenance of your natural nails. A robust nail care routine at home serves as the foundation for any manicure, ensuring your nails remain strong rather than brittle or damaged. Regular use of a cuticle pusher helps maintain the cuticle area, while a quality moisturizer cream keeps skin hydrated. Before you even think about gel polish, evaluate your natural nails to determine if they need extra hydration or specific treatments. A common mistake is skipping the base coat, which acts as a barrier and protects the nail plate from staining or peeling. Incorporating a healthy nail routine keeps your nails growing faster and looking better, regardless of whether you choose to wear them bare or with an artistic overlay. Always remember that the art of nails is an emotional wellness practice; taking time to care for yourself can boost your confidence and provide a much-needed break from a busy schedule. Consider this a form of serious skin care that prioritizes your hands as much as your face. When you invest in the right products, like an herbal oil for daily hydration, you ensure that even when you aren’t wearing polish, your nails remain in top-tier condition.
Essential Manicure Tools and Preparation
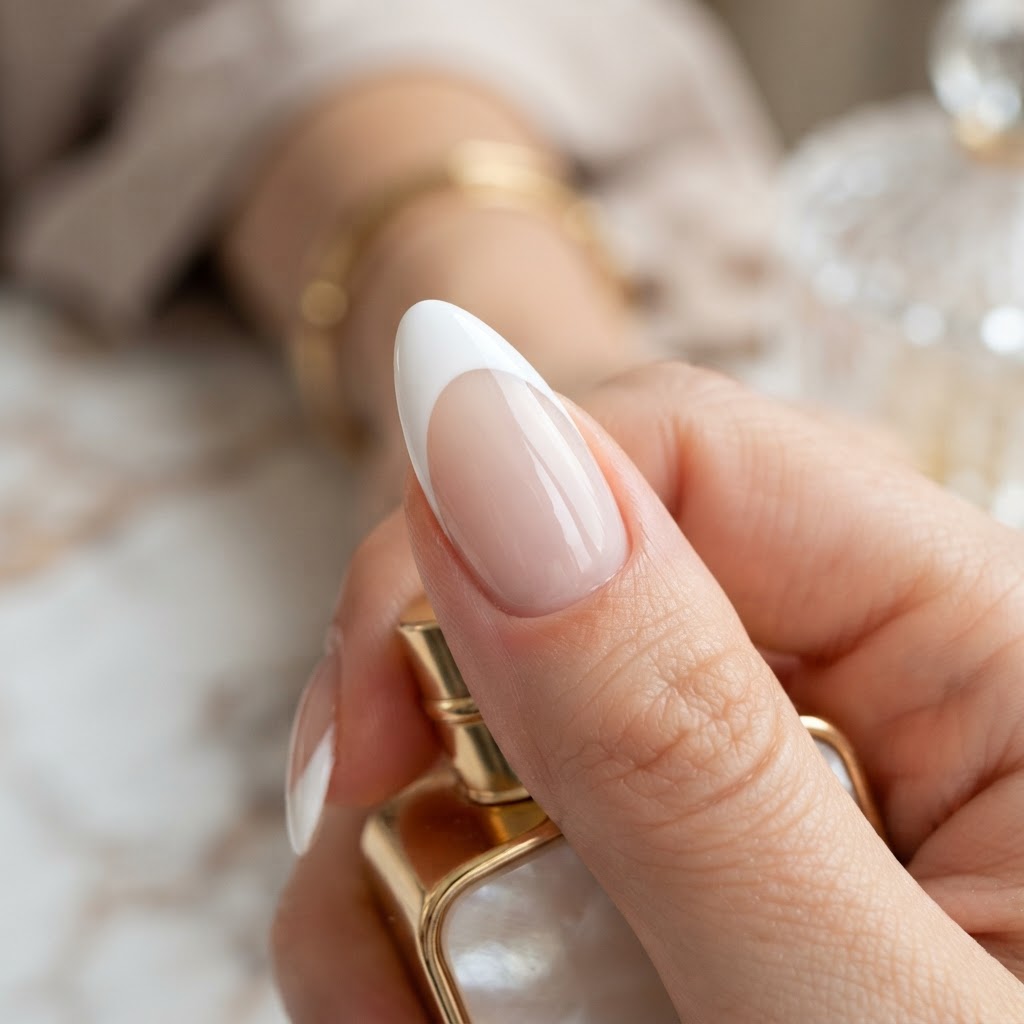
Properly preparing your nails is the most critical step in a diy manicure to ensure longevity and prevent unwanted lifting. You need a set of essential tools, including a high-quality nail file, a buffer, and a clean cuticle pusher, to create a smooth surface for your gel products. Start by pushing back the cuticles gently and removing any dead skin cells, which allows the polish to adhere better to the nail plate. Lightly buff the surface of your nails to create a texture that the gel can grip onto, ensuring a professional, salon-quality result. It is vital to use an acetone or alcohol-based cleanser to remove dust and oils before applying your base coat. If you are using nail extensions or full cover tips, ensure you have the correct custom fit sizes for each finger. A common nail hack for beginners is to measure the tips against your natural nail width before finalizing your purchase or application. If the tip is too wide, it will inevitably pop off; if it is too narrow, it will pinch. Take your time during this prep phase, as shortcuts here are the primary cause of premature chipping or gel peeling. Using a lint-free wipe after cleansing ensures no debris remains on the nail bed, which is a major secret to achieving a flawless finish.
The Step-by-Step Gel Application Process
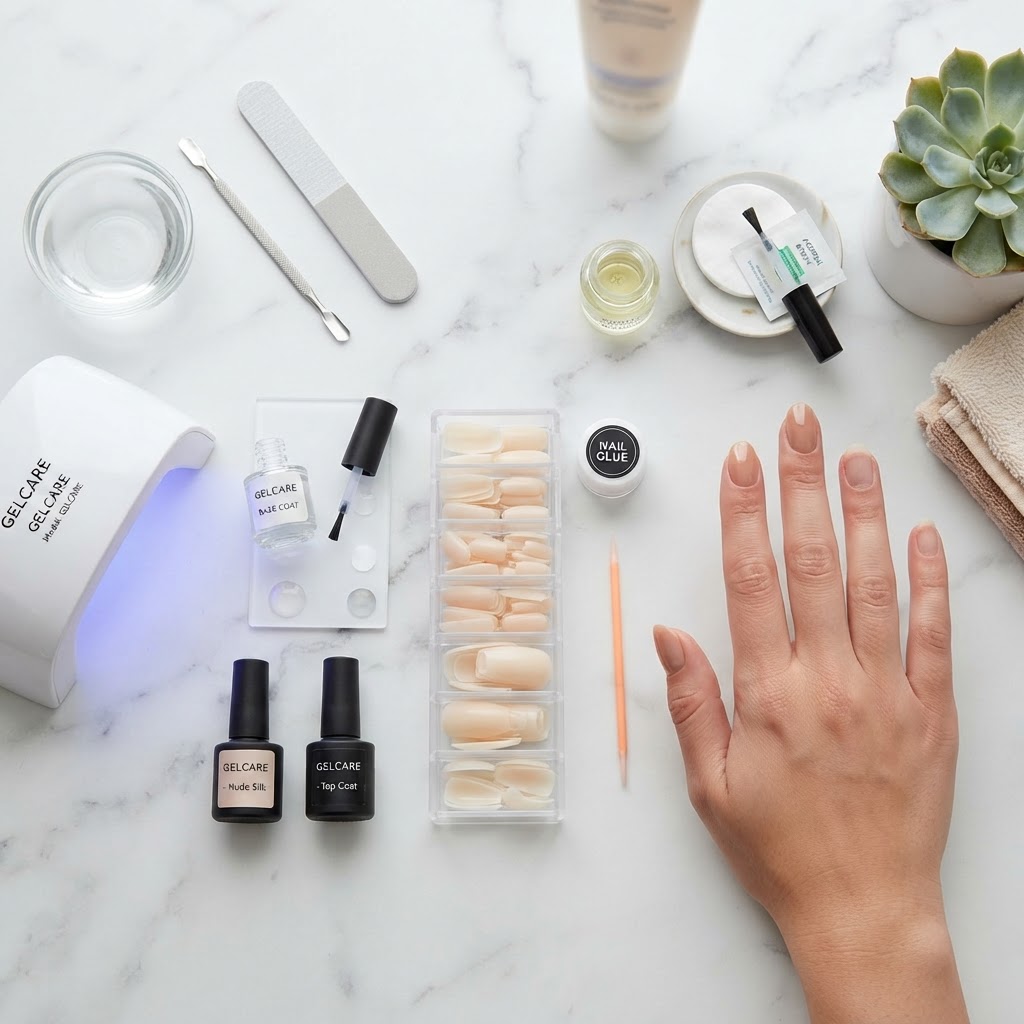
Mastering your gel x application tutorial involves a specific sequence of layers, each requiring its own curing time under a UV lamp or LED lamp. Begin by applying a very thin coat of base coat to your natural nail, ensuring you cover the edges completely to prevent lifting. Cure this layer for the manufacturer-recommended time, usually 30 to 60 seconds depending on the strength of your light. Next, apply your nail tips if you are using extensions, using a small amount of adhesive, and flash cure them while holding them in place. Once the tips are secure, apply your gel polish in thin, even layers rather than one thick glob, which can bubble or wrinkle under the lamp. Remember to cap the free edge of your nail with each layer of polish to seal it and prevent the dreaded chip that ruins a fresh mani. If you are attempting easy nail art or simple beginner nail designs, apply your colors after the base color has been cured but before the final top coat. The top coat is the final, most crucial step; it provides the shine and protection that makes your manicure look like a luxury salon job. Be sure to wipe away any sticky inhibition layer with a lint-free pad soaked in alcohol once the final cure is complete to reveal the high-gloss finish.
Creative Design Ideas for Beginners
If you want to move beyond plain nails without designs, there are countless simple ideas to elevate your look without requiring professional-level talent. French tips on square nails are a classic, clean look that can be achieved using basic guide stickers or a steady hand with a fine-tipped brush. For those who prefer softer shapes, almond nail tips or short ballerina shape nails offer a more modern silhouette that is incredibly trendy. You can experiment with different types of nails, from clear nails to chic design styles like chrome or cat eye nails for a touch of luxury. If you find the french tip on square nails too challenging, try simple nail design ideas like dotting tools or line art, which look complex but are actually very easy. Remember that nail design hacks, like using a beauty blender for ombre effects, can save you hours of frustration. Whether you are into olive green summer nails, black french tip nails tutorial styles, or minimalist press on nails, the beauty of DIY is that you can change your design whenever you want. Always look for nail inspiration online, but remember that your hands are unique; what looks good on a social media influencer might need adjustments for your specific nail bed shape. Experimenting with seasonal nails is a great way to keep your look fresh without breaking the bank.
FAQ: Expert Answers to Your Questions
How to do salon quality gel nails at home?
To achieve salon-quality results, invest in a reliable UV lamp and prep your nails thoroughly by removing all oils and dead cuticle skin. Always apply thin, even layers of gel polish, capping the free edge of your nail, and use a high-quality top coat to seal your work.
Is $40 a lot for a gel manicure?
Whether $40 is a lot for a gel manicure depends on your local market, but it is generally considered an affordable to mid-range price for a professional service. However, learning to do your own gel nails at home can save you hundreds of dollars annually, making it a smart financial investment over time.
What are common mistakes when applying gel polish?
Common mistakes include applying polish too thick, which causes bubbling, and failing to cap the free edge, which leads to early chipping. Another major issue is not cleaning the nail plate thoroughly or neglecting the cuticle area, both of which prevent the gel from adhering properly.
What are rich girl nails?
Rich girl nails refer to a clean, understated, and elegant aesthetic, typically featuring neutral or nude tones with a high-gloss, pristine finish. This look prioritizes healthy, well-maintained nail beds and simple shapes, conveying an aura of quiet luxury rather than flashy, over-the-top designs.
Troubleshooting Common Nail Issues
Even with the best preparation, you might encounter issues like lifting, chipping, or bubbling during your gel manicure journey. If your gel starts to chip within a few days, it often means the natural nail was not prepped adequately or there was moisture trapped on the nail bed. Always ensure you are not applying gel polish onto the cuticle skin, as this creates a gap that will lift as your nail grows. If your nails feel weak or brittle after removing gel, ensure you are using a gentle soak-off method rather than peeling the polish off, which pulls away layers of your natural nail. Utilizing a nail strengthener between manicures can also help restore health to your natural nail tips. If you notice your gel is not drying or staying tacky, check your lamp bulbs; they may be wearing out and failing to emit the correct intensity of UV light needed to cure the specific gel chemistry. Maintaining healthy habits and listening to your nails is essential for long-term growth. If you ever feel overwhelmed, take a break and focus on hydration with cuticle oil, allowing your nails to breathe and reset before your next attempt at a beautiful manicure.
Conclusion
Mastering your own gel application is a rewarding skill that combines creativity with self-care, allowing you to have perfect, professional-looking nails on your own schedule. By following these nail tips and investing in quality tools, you can ensure your nails remain healthy, strong, and stylish all year round. Whether you are experimenting with intricate art or sticking to a classic nude polish, the confidence you gain is well worth the initial effort. Start your journey today, practice patience during the prep phase, and you will soon find that you don’t need a salon to express your style. If you found this tutorial helpful, share it with a friend who is looking to start their own DIY nail care adventure. Don’t forget to keep your cuticle oil handy, stay consistent with your routine, and enjoy the beautiful, long-lasting results of your own hard work. Your nails are an accessory that should reflect your best self, so keep learning, stay creative, and continue exploring new trends. Ready to level up your beauty game? Start building your at-home kit today and see the transformation for yourself!
Leave a Reply