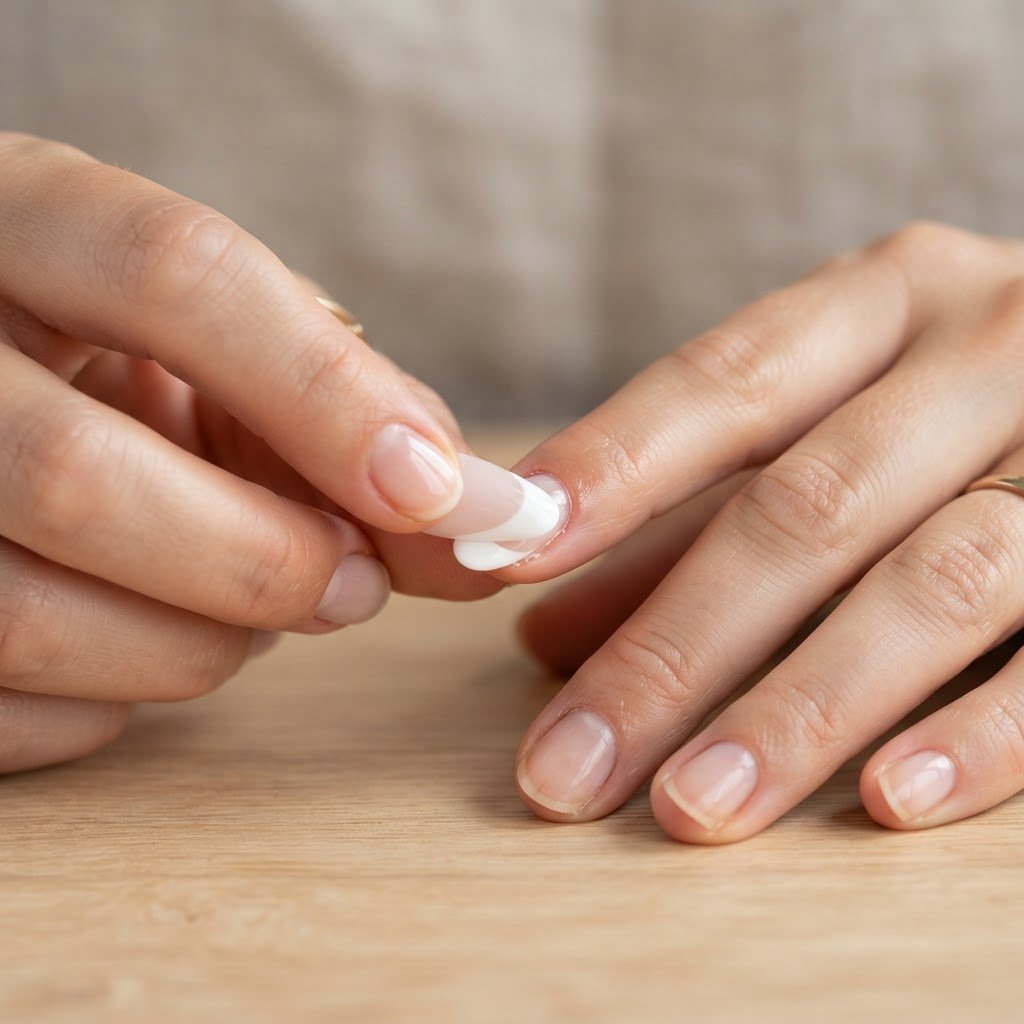
Applying press on nails french style is a simple, cost-effective way to achieve a high-end salon manicure from the comfort of your home. To get the perfect look, begin by prepping your natural nails, selecting the correct size for each finger, and using a high-quality adhesive to ensure your press-on nails french manicure stays secure for days or even weeks. This method is the ultimate solution for anyone seeking the timeless beauty of a French tip without the salon price tag or long waiting times.
The Secret to Proper Nail Prep
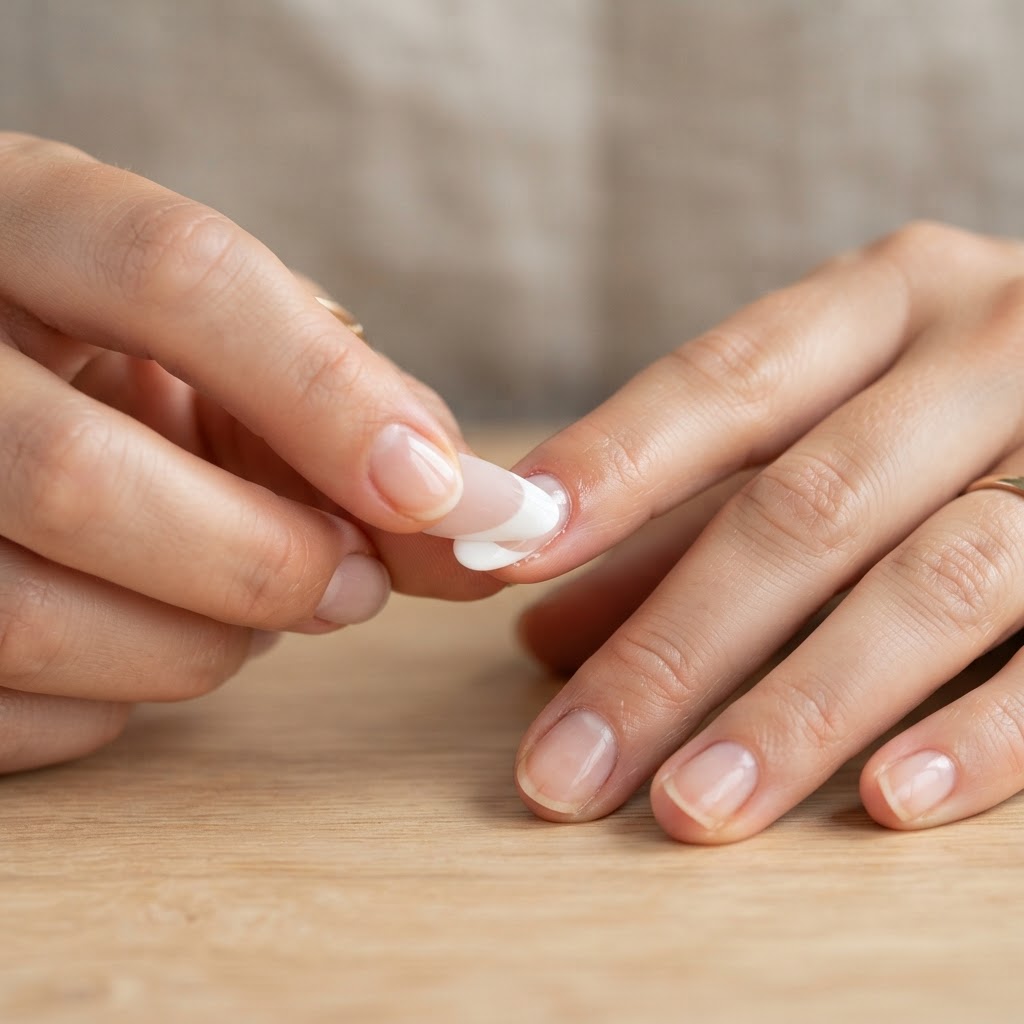
Proper prep is the most critical step if you want to make your press on nails french set look real and last longer than a typical drugstore application. Start by cleaning your hands thoroughly and removing any old nail polish with an acetone-based remover to ensure a blank canvas. Gently push back your nail cuticle using a wooden stick to create a clean surface area and prevent the glue from sticking to your skin.
Once the cuticles are pushed back, use a nail file to lightly buff the surface of your natural nails. This removes the natural oils and creates a textured surface that helps the glue bond much more effectively. After filing, wipe each nail with an alcohol pad to remove any lingering dust or oils, ensuring the ultimate bond for your nails France inspired aesthetic.
Choosing the Right Size and Shape
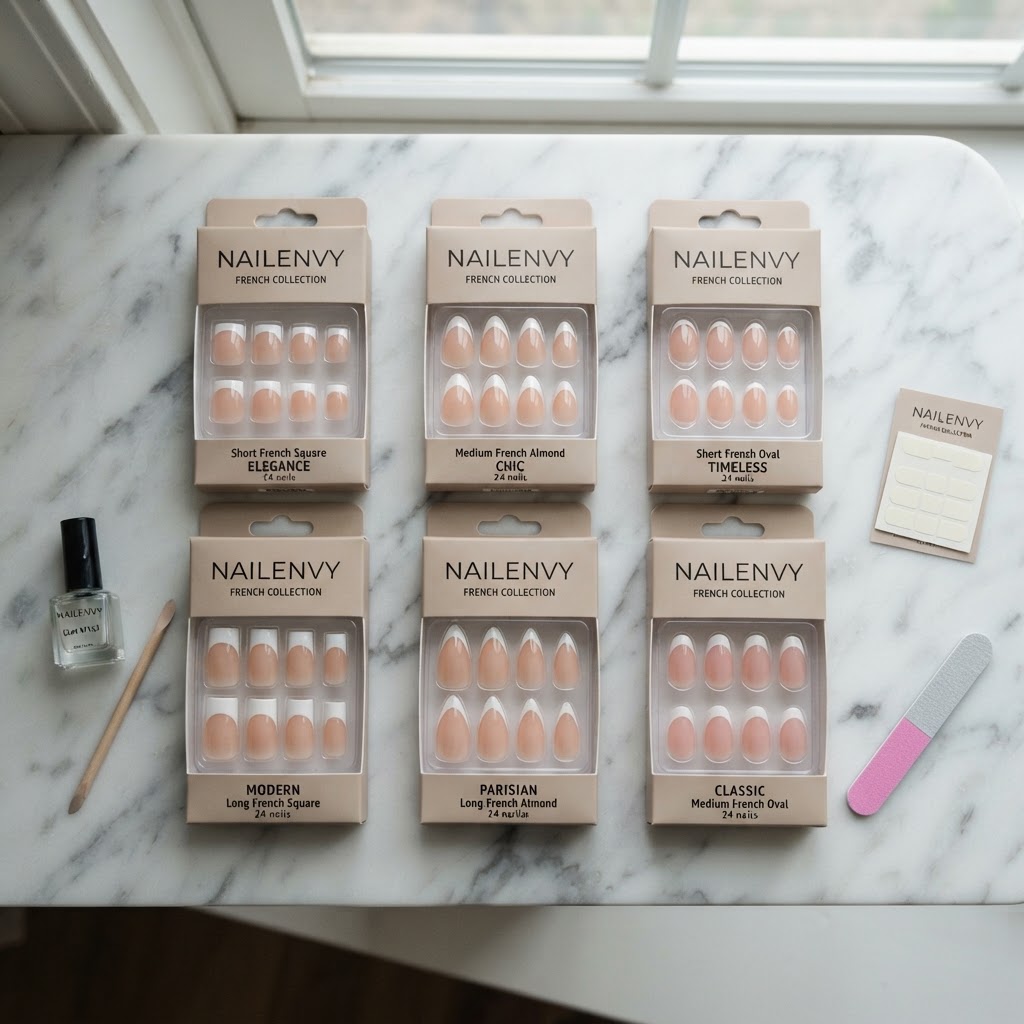
Finding the perfect nails size is essential for a natural finish that mimics a professional acrylic manicure. When you open your kit, take a moment to lay out all the tips and test them against your natural beds. If you are between two sizes, always opt for the slightly smaller one; a nail that is too wide will overlap onto your skin and cause the press-on to lift prematurely.
Whether you prefer square nails French tip, almond short French, or the popular French tip nails squoval, there is a shape for every preference. Ensure your chosen style complements your finger shape to achieve that desired clean girl nail designs look without the hassle of a salon visit. If the nail is slightly too large, use a nail file to gently refine the sides until it fits perfectly against your sidewalls.
Mastering the Application Process
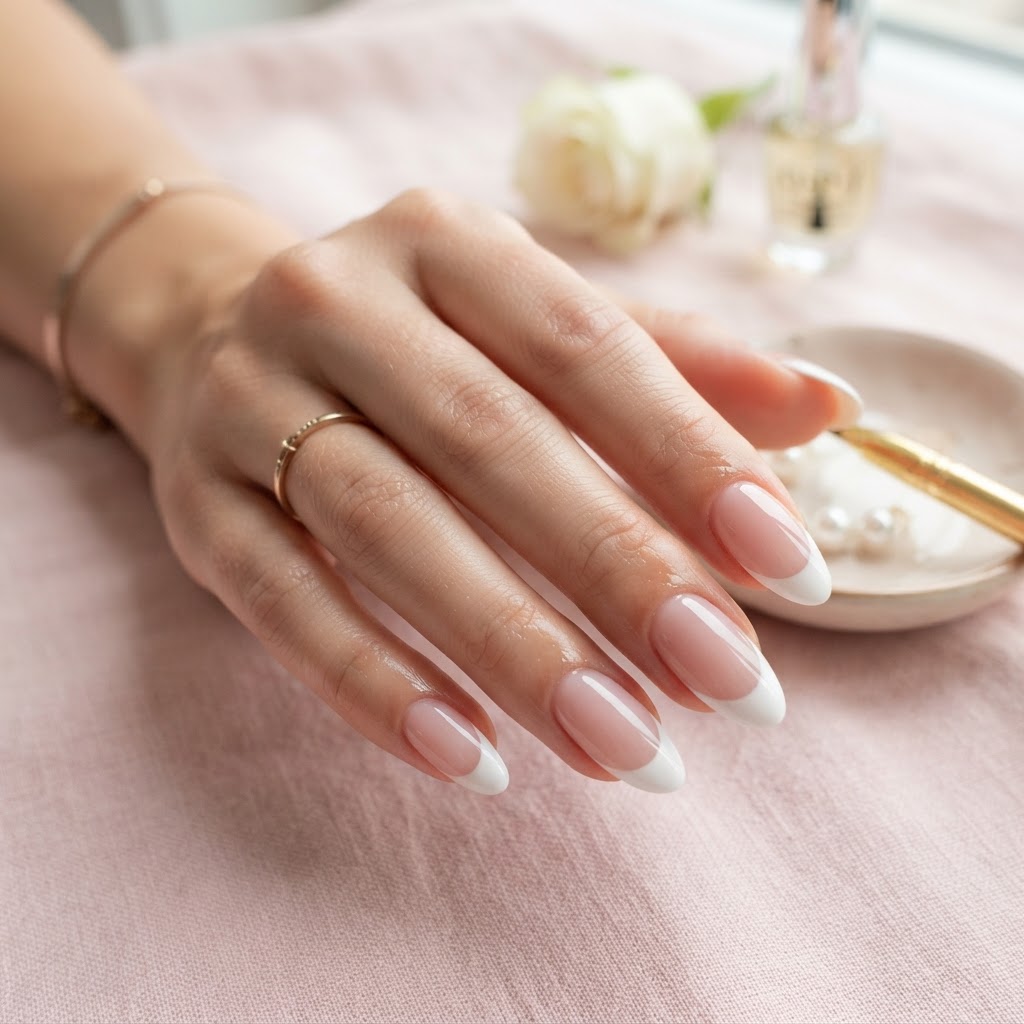
Now that your nails are prepped and sized, it is time to apply the adhesive. For maximum longevity, apply a thin layer of glue to both your natural nail and the back of the press-on. Hold the nail at a 45-degree angle, starting at the cuticle, and slowly press it down to ensure no air bubbles are trapped underneath.
Firmly press the nail for at least 30 seconds to allow the glue to set. If you are a beginner, remember that this is a skill that improves with practice, so do not get discouraged if your first time nails look slightly uneven. Using quality nail accessories and proper techniques will make your manicure look indistinguishable from a professional set. Focus on consistency and clean edges to elevate your basic cute nails to something truly special.
Exploring Trendy French Variations
Once you have mastered the basics, you can experiment with endless styles. From short square nails summer designs to vibrant pastel rainbow French nails or even fun French tip nails with hearts, your options are limitless. Many enthusiasts enjoy the French tip with different colors or multi color French nails for a modern, playful twist on the classic design.
For those who love the minimalist aesthetic, Hailey Bieber French nails and clean girl French tip nails remain top choices. You can even customize your set by adding a nail dot or a simple polkadot nail pattern to individual fingers. Whether you are prepping for vacation nails or a special formal French tip nails event, the versatility of press-ons allows for constant changes without damaging your natural growth.
Tips for Long-Lasting Wear
To keep your nails looking fresh, avoid submerging your hands in hot water for the first few hours after application. Applying a drop of nail oil to your cuticles daily can keep the surrounding skin hydrated and prevent the edges of the press-on from becoming brittle. If you notice a tiny gap forming over time, a small dab of glue can act as a quick repair.
Most people wonder how long do press on nails last; with correct prep and proper care, you can easily get 2 to 3 weeks of wear. Remember to avoid using your nails as tools to open cans or pull tabs, as this is the quickest way to cause lifting or breakage. Treat your nails like jewels, not tools, to maintain that perfect, elegant French manicure look for as long as possible.
FAQ
How to make press on nails look professional?
To make press-on nails look professional, prioritize prep by pushing back your cuticles and lightly buffing your natural nail surface to remove shine and oils. Ensure you select the correct nail size, and use a high-quality, long-lasting glue applied both to your natural nail and the underside of the press-on.
How to apply French tip press on nails?
Apply French tip press-on nails by first cleaning your hands, measuring your nails for the perfect fit, and applying a thin, even layer of glue to your natural nail. Align the base of the press-on with your cuticle line at a 45-degree angle and press down firmly for at least 30 seconds to eliminate any air bubbles.
What is the trick to getting press-on nails to stay on?
The secret to making press-on nails stay on is to properly remove all natural oils from your nail bed using an alcohol wipe or dehydrator before application. Additionally, applying a small amount of glue to both the natural nail and the back of the press-on provides a much stronger, longer-lasting bond.
How to make French tips look better?
To make your French tips look better, choose a shape that elongates your fingers, such as an almond or tapered square shape. Clean up any excess glue immediately, and consider adding a top coat of clear gel polish to provide extra shine, durability, and a smooth finish that looks identical to a professional salon job.
Conclusion
Mastering how to apply press on nails french tip is a game changer for anyone who loves beauty on a budget. By focusing on detailed prep, careful sizing, and quality application, you can achieve a flawless look that lasts. Start your journey with basic sets and slowly work your way toward more intricate designs like star nail art or floral patterns. Embrace your personal style, have fun with the process, and you will soon find that you have perfectly manicured hands every single day. If you are ready for a transformation, grab your favorite kit and start creating today!
Leave a Reply