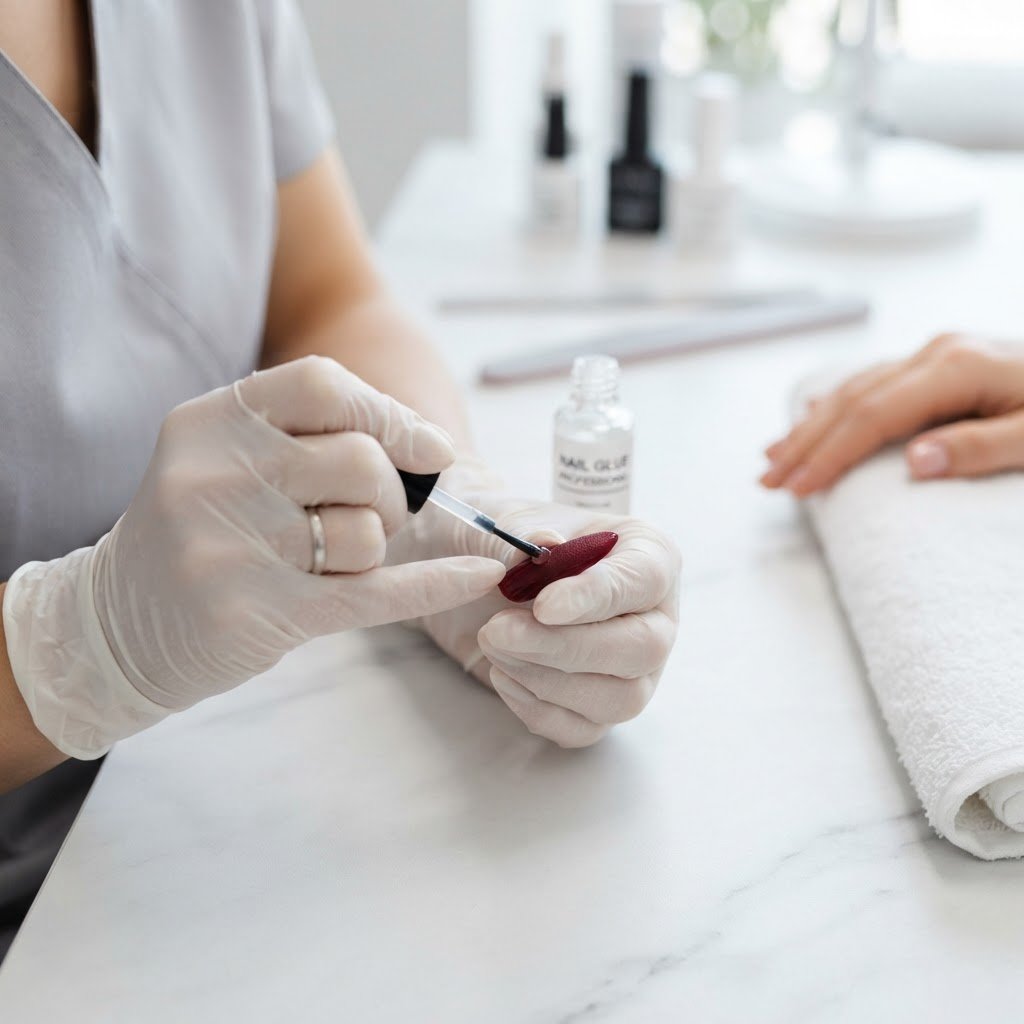
Choosing the correct adhesive is the most critical step in our press on nails tutorials for achieving a long-lasting, salon-quality manicure at home. Whether you are seeking a temporary hold for a weekend event or a multi-week solution, selecting between liquid nail glue, gel adhesive, or adhesive tabs determines how well your manicure withstands daily wear and tear. Using the proper bonding agent ensures your set stays secure without damaging your natural nails.
Understanding Adhesive Types for Your Manicure
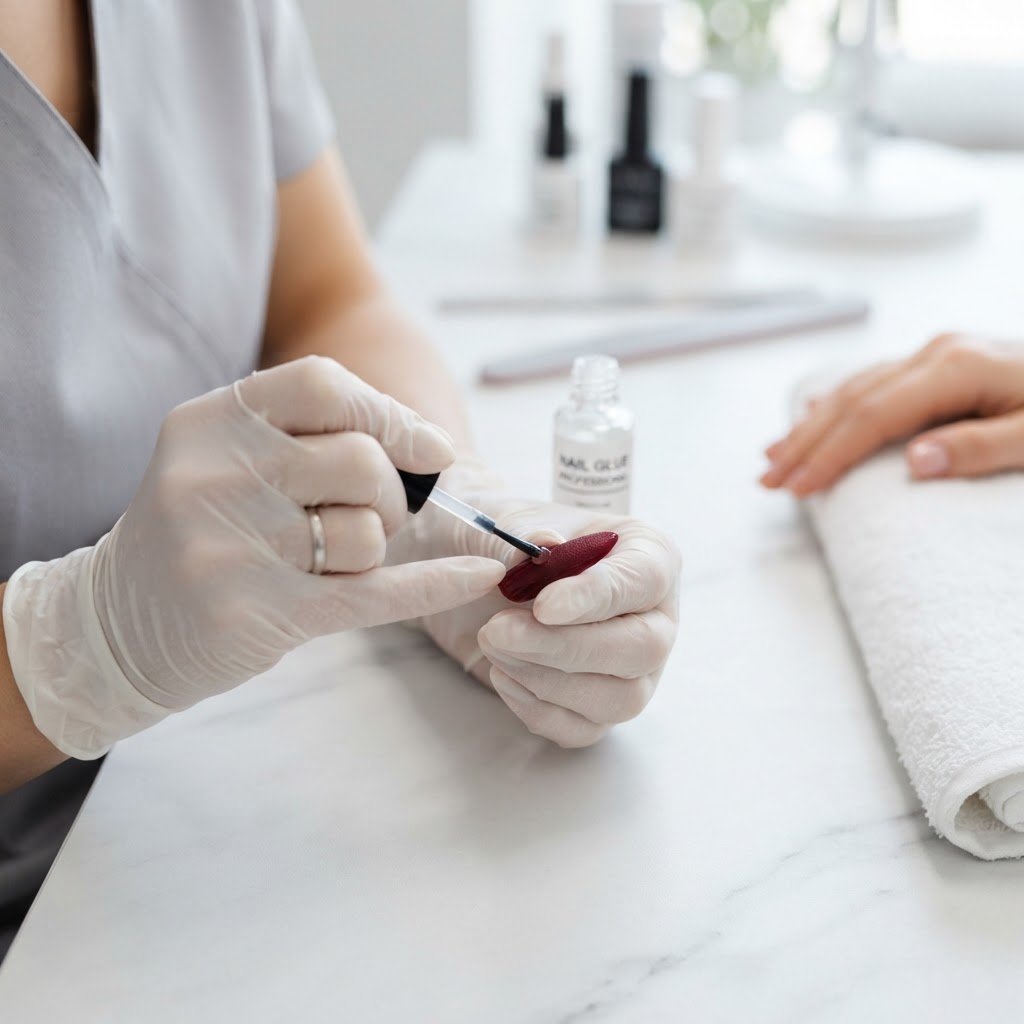
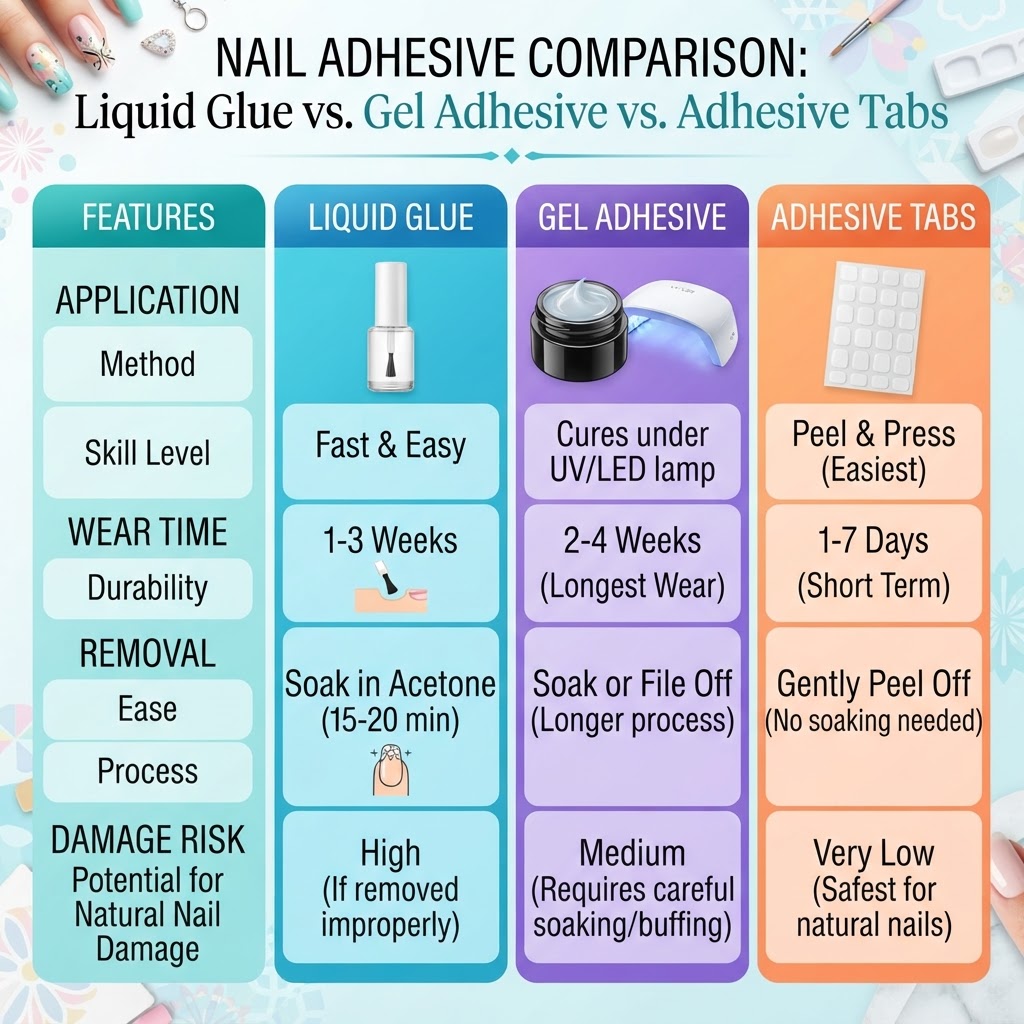
The foundation of any successful set of artificial nails is the type of glue you select to secure them to your natural surface area. Understanding the difference between traditional cyanoacrylate-based nail glue, flexible gel adhesive, and double-sided adhesive tabs is key to your success. Each option offers varying levels of durability, comfort fit, and ease of removal, making it important to match the adhesive to your lifestyle and beauty goals.
Traditional nail glue offers an incredibly strong bond that is ideal for those who need their manicure to last for two weeks or more. This is often the preferred method for anyone learning how to make press on nails last longer because it creates a near-permanent seal against the nail bed. Conversely, gel glue is a game-changer for those who want a more cushioned, natural feel, as it fills gaps between the natural nail and the artificial tip. These methods are frequently featured in top nail tutorial videos to help you achieve a professional look.
Why Nail Prep is the Secret to Success
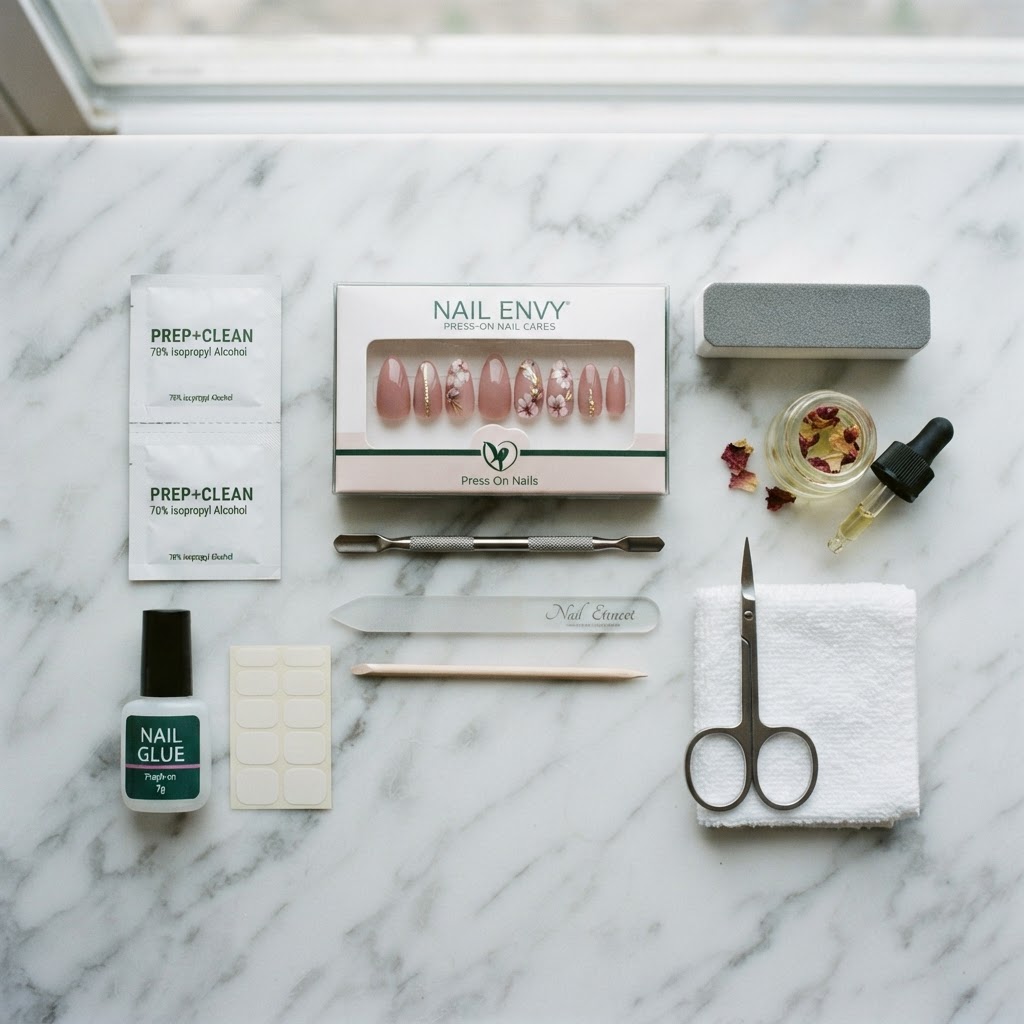
Proper nail prep for press on nails is just as important as the glue you choose, as even the strongest adhesive will fail on an oily or dirty surface. You must begin by using a cuticle pusher to clean your nail beds and a quality nail file to create a slightly textured surface, which significantly improves adhesion. Skipping this step is the most common reason people fail when they attempt to do my nails with me or try easy nails at home.
Consistent preparation ensures your nails are ready for the application of press ons, whether you are wearing cute simple nails, girly acrylic nails, or intricate art deco nails. You should always wipe your natural nails with rubbing alcohol to remove dust and oils before applying any glue. This practice is essential for beginners who want to master their beauty hacks nails techniques and ensure their DIY press on nails look as good as salon style sets.
Comparing Adhesive Options
Expert Techniques for Lasting Results
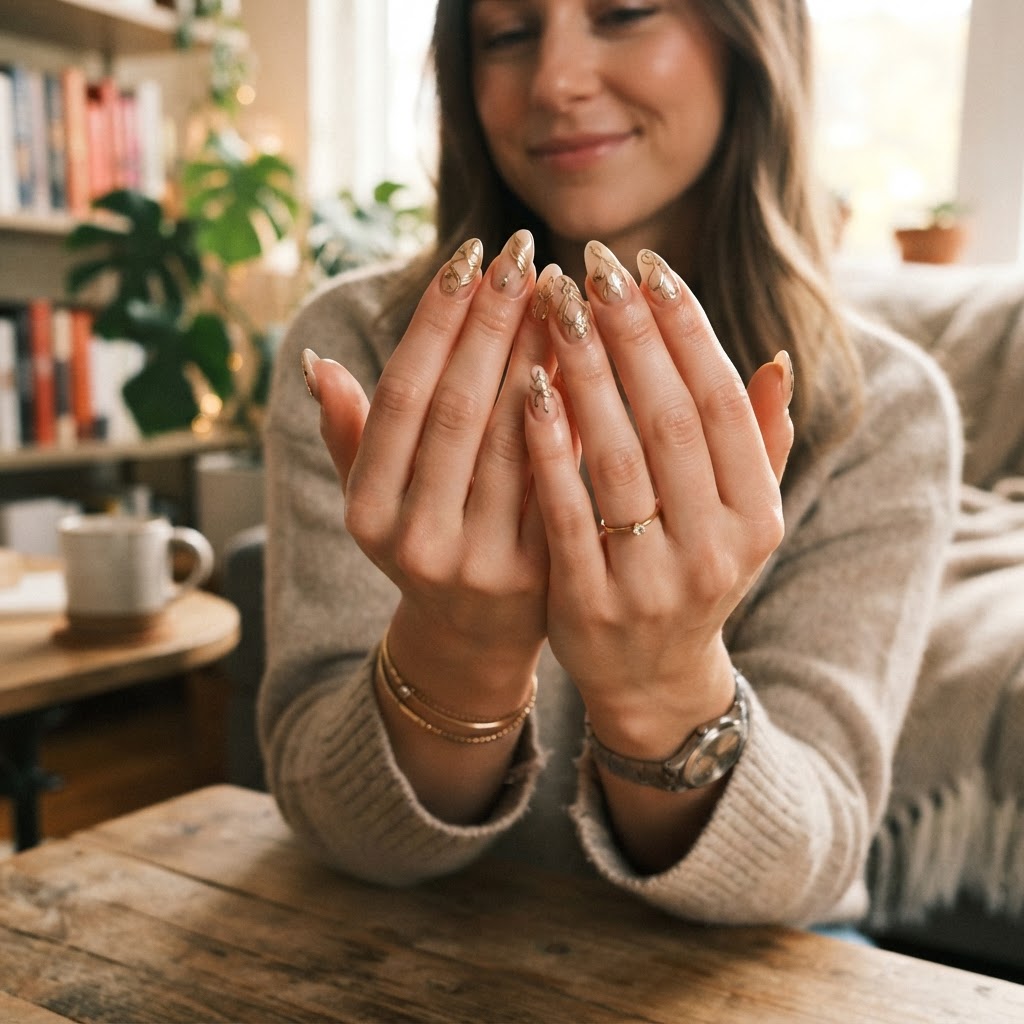
Learning how to put on press on nails involves more than just adding adhesive; it requires mastering the specific pressure techniques that force out air bubbles. When applying, place a small drop of glue on both your natural nail and the back of the press on tip, then press down firmly for at least 30 seconds. This step is a cornerstone of our press on nails tutorials because it prevents lifting and ensures the tips remain secure even through water exposure.
For those interested in how to make press on nails look acrylic, the secret lies in the glue volume and how you position the nail near the cuticle. Avoid flooding your cuticles with glue, as this causes premature lifting and skin irritation. Instead, practice your nail techniques by using a steady hand to align the press on set ideas perfectly with your cuticle line, leaving a tiny gap to prevent pressure on the skin.
Styles and Designs to Elevate Your Look
Once you have mastered the application, you can experiment with trendy nails like French nails coffin shape, cute gel nails, or even complex cat eye nails. Many beauty lovers enjoy creating their own press on nails designs tutorial content using various techniques such as magnetic nail art or blooming art. Whether you are into really cute nails or favor clean classic nails with a nude aesthetic, the right glue will keep your art in place for days.
Nail inspiration for beginners is abundant, ranging from simple marble nail design ideas to complex 3d gel nail art design. If you want to dive into nail business from home, learning to apply these designs onto blank tips before securing them to your fingers is a smart way to practice. Always look for durable, high-quality press on tips that offer a natural curvature, as this makes the entire process of how to apply press on nails step by step much easier and more comfortable.
Troubleshooting Common Adhesive Issues
If you find your nails popping off prematurely, it is likely due to incorrect sizing or insufficient nail prep, not necessarily the quality of the glue. Many beginners fail to measure their nail beds accurately, leading to tips that are too large or too small for their fingers. Using a nail guide or size chart is a vital part of our press on nails tutorials to ensure a perfect, long-lasting match every time.
Remember that moisture is the enemy of any manicure, so try to avoid soaking your hands for a few hours after your initial application. If you have trouble getting your nails to stay, consider using a dehydrator or a pH bonder to remove excess moisture before applying your glue. These small nail tips and tricks are what separate a novice from a professional nail tech.
FAQ
How do I stop my press-on nails from popping off?
To keep your nails secure, ensure you perform thorough nail prep by buffing the surface and using alcohol to remove oils before application. Applying the correct amount of glue—neither too much nor too little—and holding the press-on firmly for 30-60 seconds is crucial for a lasting hold.
Is gel glue better than regular nail glue?
Gel glue is generally considered better for comfort and flexibility, as it fills gaps between your nail and the press-on, acting as a shock absorber. Regular nail glue creates a harder, more rigid bond that is often stronger but may be more difficult to remove without damage.
Can I reuse press-on nails?
Yes, you can reuse press-on nails if you use adhesive tabs or if you carefully remove glue residue from the back of the tips using an electric file or acetone. Avoiding traditional liquid glue makes the reuse process significantly easier, as it prevents the buildup of hardened adhesive on the underside of the tips.
How often should I change my press-on nails?
Most press-on manicures are designed to last between one to two weeks, depending on the glue used and how well you prep your natural nails. We recommend changing them every 10-14 days to keep your natural nails healthy and ensure the application remains clean and hygienic.
Conclusion and Call to Action
Mastering your manicure is a journey, and following our press on nails tutorials will help you achieve professional results at home. By selecting the right glue, prepping your nails correctly, and choosing designs you love, you can enjoy a salon-quality set for a fraction of the cost. Start your journey today, experiment with new styles, and share your nail inspo with the community to continue learning new techniques. You can also explore how to start press on nail business if you have a passion for creating beauty nails design for others!
Leave a Reply