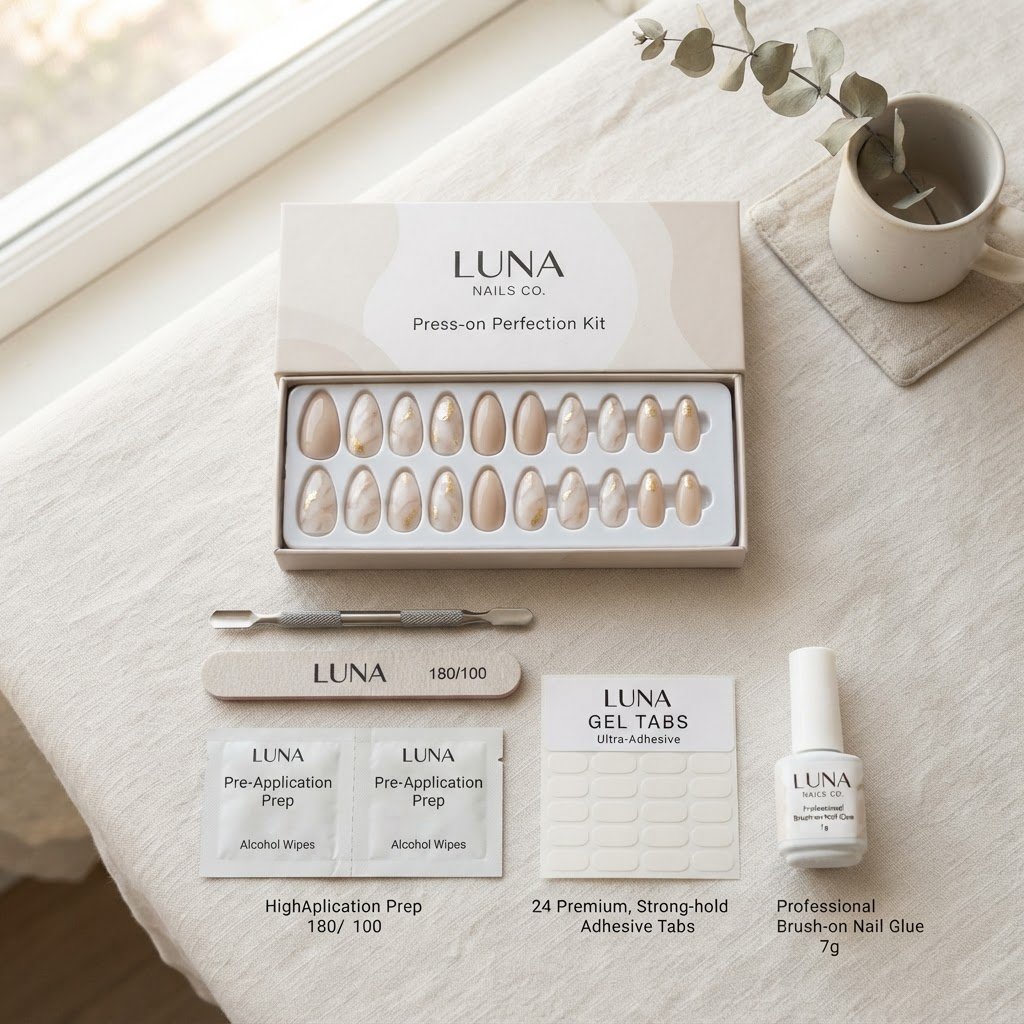
Achieving a professional-looking manicure at home starts with proper preparation. By following reliable press on nails tutorials, you ensure your nail bed is clean, dry, and free of oils, which allows the adhesive to bond securely for a long-lasting, salon-style finish that rivals any expensive appointment.
The Foundation of a Perfect Manicure
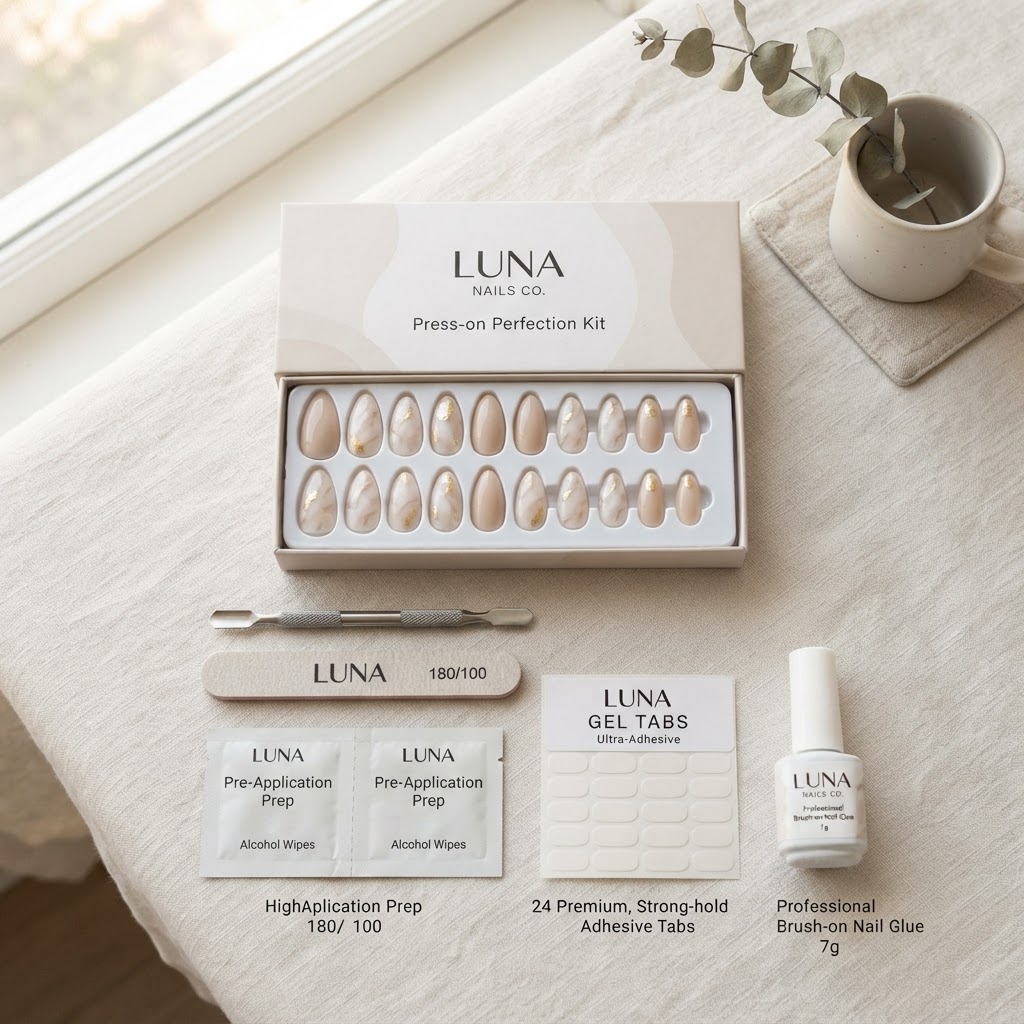
Preparation is the most critical step when learning how to do press on nails at home. If you skip cleaning your natural nail, the adhesive will fail regardless of how high-quality the product is. Most beauty hacks for nails emphasize that oils and debris are the primary culprits behind nails popping off prematurely. You need a dedicated nail kit containing a cuticle pusher, nail file, and alcohol wipes to create the ideal surface area for application. Treating your nails with care prevents damage and extends the wear time of your favorite press-on sets.
Essential Tools for Nail Prep
Before starting your manicure, gather all necessary supplies to avoid rushing the process. A good nail file is essential to gently buff the surface of your natural nail, which helps the adhesive grip better. Use a cuticle pusher to gently push your cuticles back, ensuring the press-on sits flush against your skin without overlapping. Whether you are using stick on nails, gel nails diy, or even high-end reusable press on nails, the prep remains the same: clean, buff, and dehydrate.
Step-by-Step Nail Prep Guide
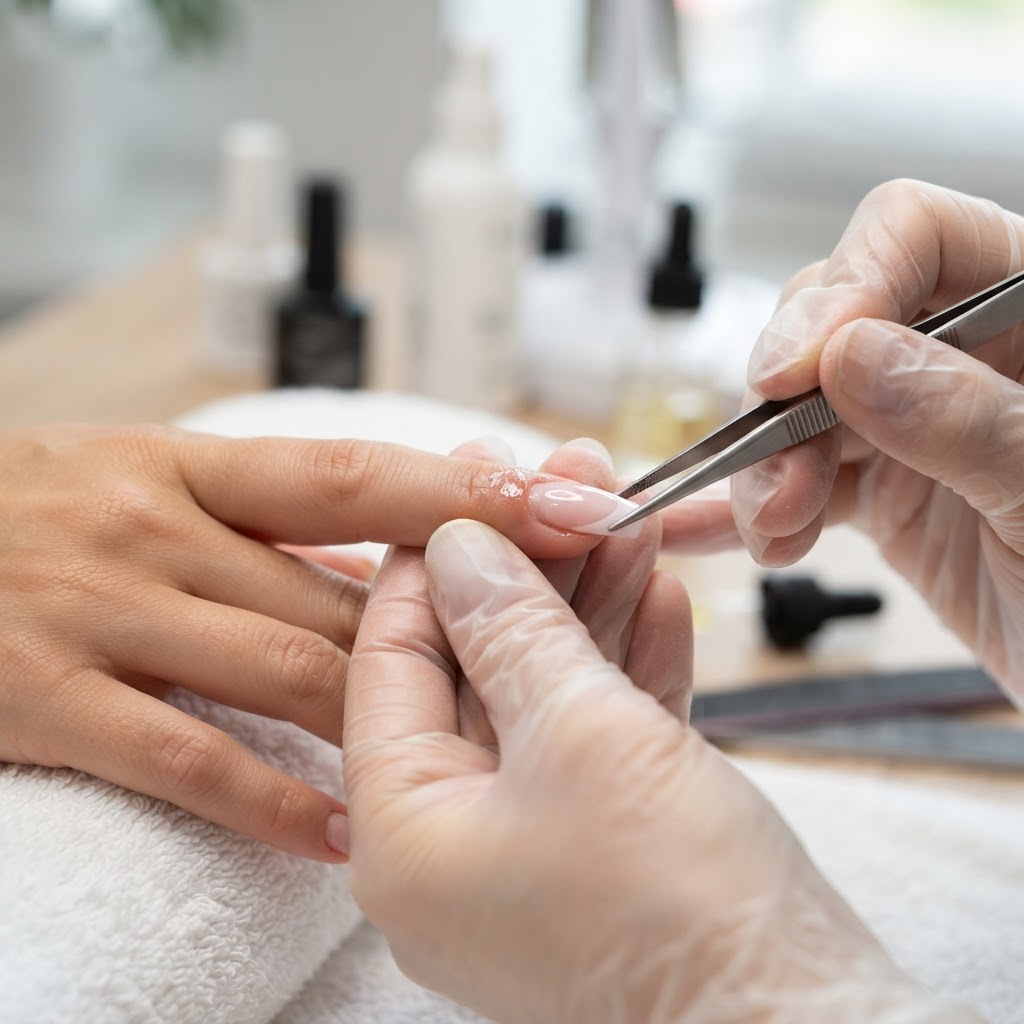
To prep nails for press-ons effectively, you must follow a methodical sequence to ensure longevity. Start by removing any existing polish with a gentle remover and washing your hands thoroughly with soap. Use a cuticle pusher to clean the perimeter of your nail bed, which is a vital part of the manicure. Buff the entire surface of each nail until it loses its shine; this provides the texture needed for the glue to anchor properly. Finally, use an alcohol-soaked pad to remove all dust and natural oils before applying your set.
Mastering the Application Process
Once your natural nails are prepped, the actual application is the next step in our press on nails tutorials series. Apply a small dot of professional nail glue to both your natural nail and the back of the press-on. Press the nail firmly at a 45-degree angle starting from the cuticle line, holding it for at least 30 seconds to remove any air bubbles. This technique is often used in professional salon style applications to ensure that the nail remains sturdy and looks like acrylics. Remember that how to make your press on nails last depends heavily on this initial seal.
Comparison: Press-Ons vs. Acrylics
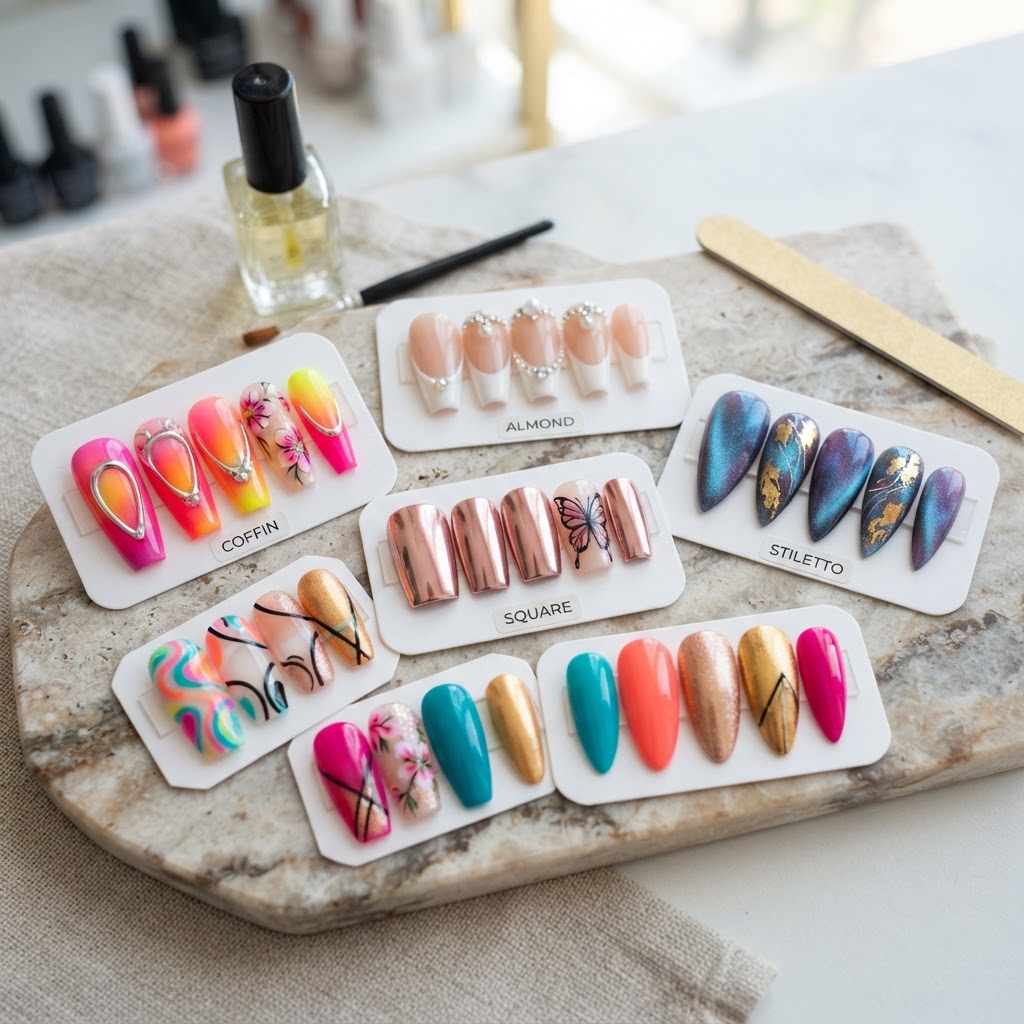
Many users ask how to make press on nails look like acrylics or even salon-grade gel nails. While both options offer aesthetic benefits, press-ons provide a lower cost of entry and higher flexibility for those wanting cute simple nails or intricate nail designs on a budget.
Advanced Tips and Techniques
To truly elevate your game, explore different nail techniques like cat eye nails polish or chrome nails to create unique, trend-setting looks. You can look into how to make custom press on nails using clear tips and blooming gel, which is a popular trend among those learning how to design nails. If you enjoy girly acrylic nails, you might prefer almond nails or coffin nails, which provide a sleek, professional silhouette. Practice is key, so consider using practice nails ideas to refine your skills before applying a full set to your own hands.
Handling Specific Nail Art Styles
From tortoise shell nails tutorial videos to simple blooming nails tutorial sessions, there are endless ways to decorate your set. If you are a beginner, start with easy nails to make, such as french tip nails or cute dot nails. For those interested in more complex designs, learning how to do 3d nail art or using magnets for cat eye nail art can create stunning visual interest. Always ensure you use high-quality tools to achieve the best results, whether you are trying for a vintage looking nails aesthetic or a modern baddie nails square long look.
FAQ
What order to prep nails for press-ons?
The correct order starts with sanitizing hands, pushing back the cuticles, filing and buffing the nail plate to remove shine, and finally dehydrating the surface with alcohol. This sequence ensures the adhesive has the best possible surface area to bond with.
What should I do before putting on press on nails?
You should trim your natural nails short and ensure your cuticles are neat before applying any adhesive. Making sure your natural nails are completely free of oil, lotion, or old nail debris is essential for a long-lasting manicure.
What is the trick to making press-on nails last?
The main trick to longevity is proper surface preparation, specifically buffing the nail and using high-quality glue instead of just stickers. Applying the glue to both the natural nail and the press-on while avoiding contact with skin helps create a waterproof, sturdy seal.
What not to do after applying press on nails?
Do not submerge your hands in hot, soapy water for at least two hours immediately after application, as this can weaken the fresh glue bond. Avoid using your nails as tools to pick at objects or open cans, which causes unnecessary stress on the adhesive.
Conclusion
Mastering press on nails tutorials is a journey that starts with the basics of prep and extends into creative expression. By focusing on the health of your natural nail and the precision of your application, you can achieve a salon-quality look that lasts for weeks. Whether you are aiming for trendy press on nails, chic french nails coffin shape, or pretty gel nails, the secret to success is always in the prep. Start your journey into better nail care today and transform your at-home beauty routine into a professional hobby. Subscribe to our newsletter for more nail tips and tricks!
Leave a Reply