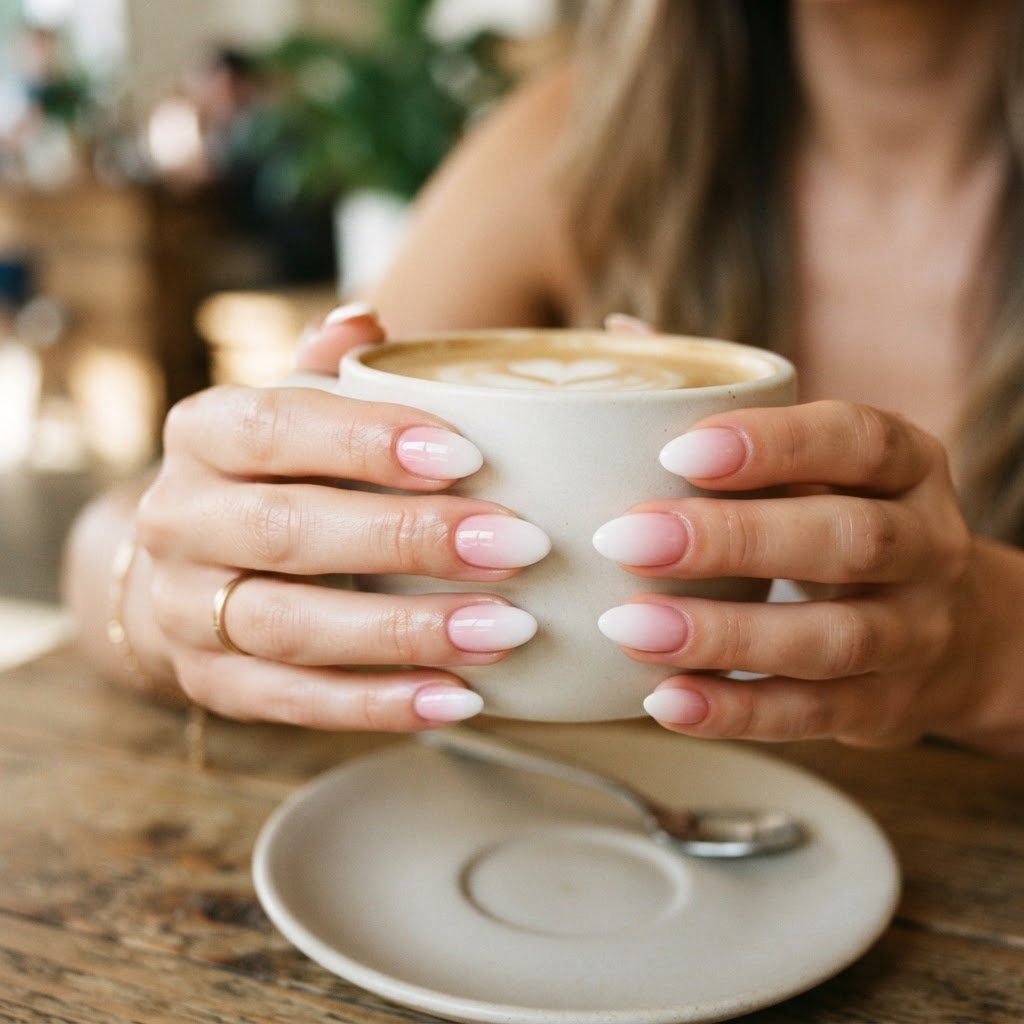
Achieving simple elegant pink white press-on nails is the ultimate way to maintain a polished, minimalist manicure without the time or expense of a salon visit. By focusing on proper nail plate preparation, high-quality adhesive selection, and precision application, you can enjoy a durable, professional-looking set that lasts up to two weeks, blending sophistication with modern convenience.
The Rise of Minimalist Press-On Artistry
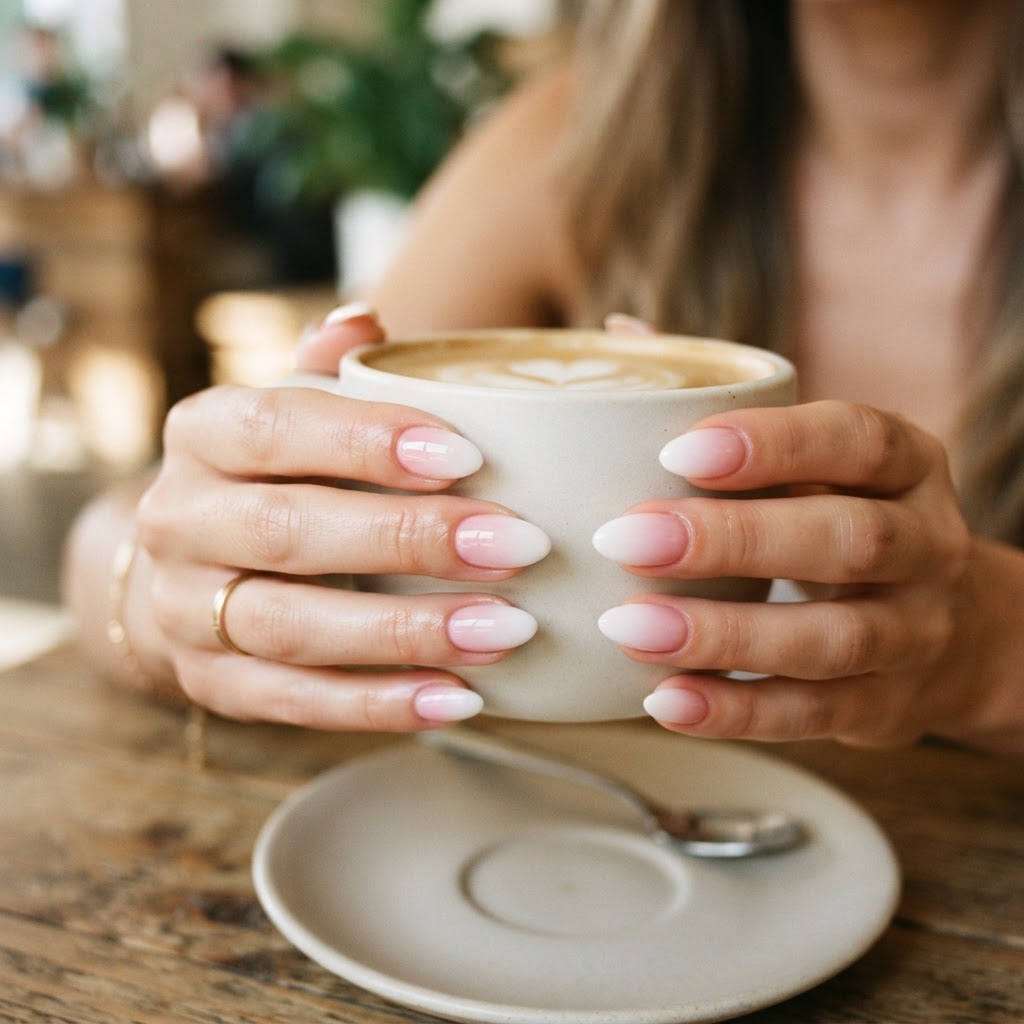
Minimalist aesthetics have dominated the beauty industry, and simple elegant pink white press-on nails lead the trend. This style relies on the clean contrast between soft blush tones and crisp white accents, creating a timeless look suitable for any professional or social setting. Unlike intricate patterns, these classic color palettes offer a versatile “clean girl” aesthetic that elongates the fingers and projects refined taste. Many users prefer this style because it is forgiving, hides growth lines effectively, and matches almost every outfit in a modern wardrobe. By utilizing high-quality synthetic materials, these press-ons mimic the texture and translucency of salon-grade acrylics or gel extensions without damaging the natural nail bed.
Essential Preparation for Long-Lasting Wear
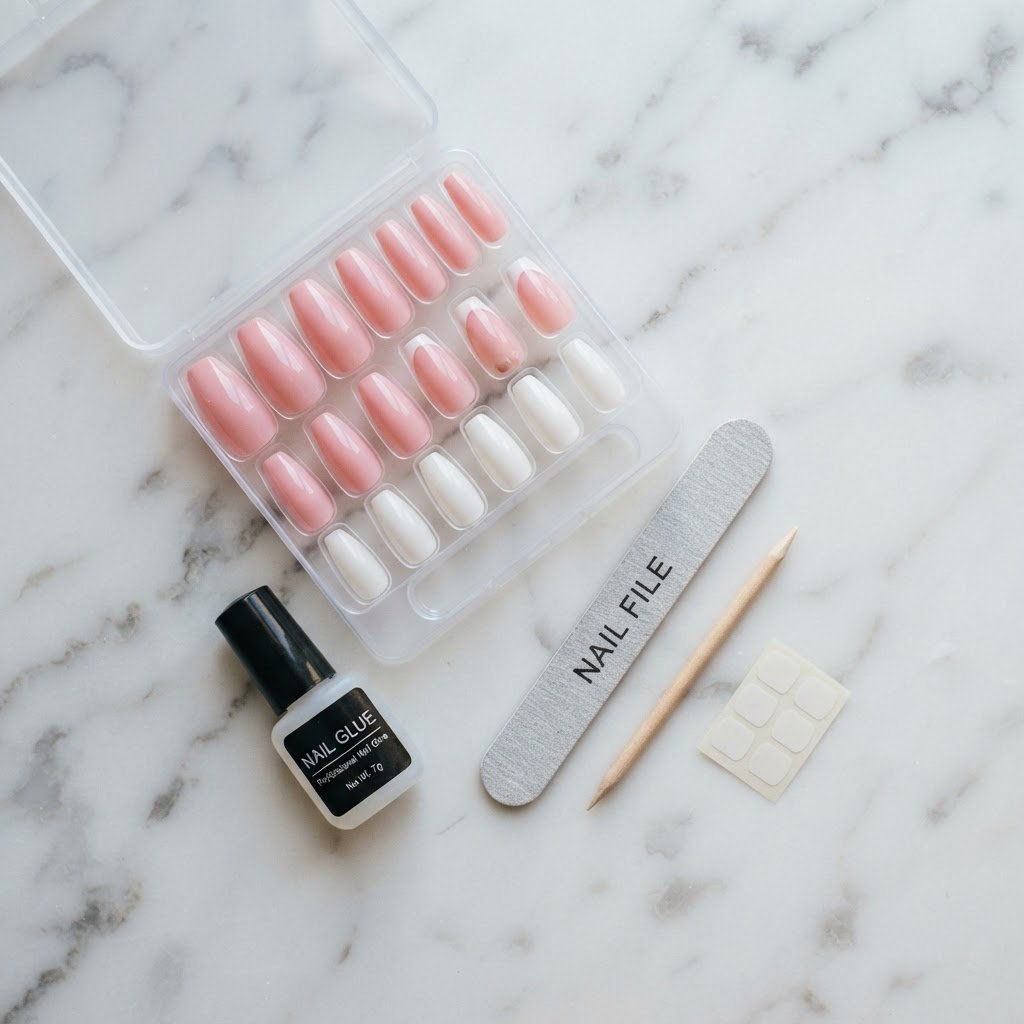
Success starts with a pristine canvas, which is why proper nail prep is the most critical step for your press-on application. Before applying any adhesive, you must remove all oils, debris, and previous product residue from your natural nails. Start by gently pushing back your cuticles and buffing the surface of each nail plate to create a slightly textured finish, which helps the glue bond more effectively. Follow this by wiping down every nail with a 70% isopropyl alcohol pad to dehydrate the plate entirely. If you skip the dehydration step, the natural oils from your skin will inevitably cause the glue to lift within days, compromising your elegant manicure. Treating your nails as a professional would in a studio environment ensures that your press-ons remain firmly secured.
Tools You Need for Success
To achieve professional results, ensure your toolkit includes:
- A high-quality cuticle pusher (metal or wood)
- A 180/240 grit nail file
- An alcohol prep pad or nail cleanser
- Professional strength brush-on nail glue
- A small pair of cuticle scissors for trim adjustments
Mastering the Application Technique
Precision is paramount when applying your press-on nails to ensure they look like a natural extension of your fingers. Select the correct size for each nail by holding the press-on against your cuticle area; if it feels too wide, gently file the sides to prevent overflow onto your skin. Apply a thin, even layer of glue to both your natural nail and the back of the press-on to create a strong, vacuum-sealed bond. Hold the nail at a 45-degree angle against the cuticle line and press down slowly toward the tip, maintaining firm pressure for at least 30 seconds to push out any trapped air bubbles. This technique ensures that the adhesive spreads uniformly and prevents premature lifting caused by trapped moisture.
Comparison: Press-Ons vs. Salon Gel
Understanding the trade-offs between different nail methods can help you decide which routine fits your lifestyle best. While salon gels offer extreme durability, they often lead to long-term thinning of the nail bed due to aggressive filing during removal. Press-ons, particularly the simple elegant pink white variety, provide a superior balance between style and safety.
Caring for Your Press-On Manicure
Maintaining your nails after application will significantly extend their lifespan and keep them looking pristine. For the first few hours after application, avoid submerging your hands in hot water, as this can weaken the adhesive bond while it is still curing. When performing household chores, such as washing dishes or cleaning, always wear protective rubber gloves to prevent soaps and chemicals from breaking down the glue. If you notice a minor lift at the edge of a nail, apply a tiny drop of adhesive under the gap and re-press firmly. This proactive maintenance keeps your manicure looking fresh until you are ready for a new set, allowing you to enjoy your simple elegant pink white press-on nails for the maximum duration possible.
FAQ
How do I safely remove press-on nails?
Soak your hands in warm, soapy water with a tablespoon of oil for 15 minutes before gently prying the edges with a wooden stick. Never force them off, as this pulls away layers of your natural nail.
Can I reuse these nails?
Yes, if you use adhesive tabs instead of liquid glue, you can gently clean the back of the press-ons and reuse them multiple times for different events.
Why do my nails pop off early?
Usually, this occurs because the nail plate was not properly dehydrated with alcohol or the sizing was slightly too large, causing the edges to catch on fabrics.
Are press-ons better than polish?
Press-ons offer instant color, strength, and a flawless finish without the long drying time or potential for chipping that accompanies traditional liquid polish.
Conclusion
Embracing the convenience and beauty of simple elegant pink white press-on nails allows you to maintain a high-end aesthetic while protecting the health of your natural nails. By mastering the preparation, application, and maintenance steps outlined in this guide, you can confidently switch between styles and keep your hands looking runway-ready every single day. Whether you are a busy professional or simply enjoy the ritual of a quick DIY manicure, these tips will serve as your blueprint for consistent, salon-quality results that define minimalist luxury.
Leave a Reply