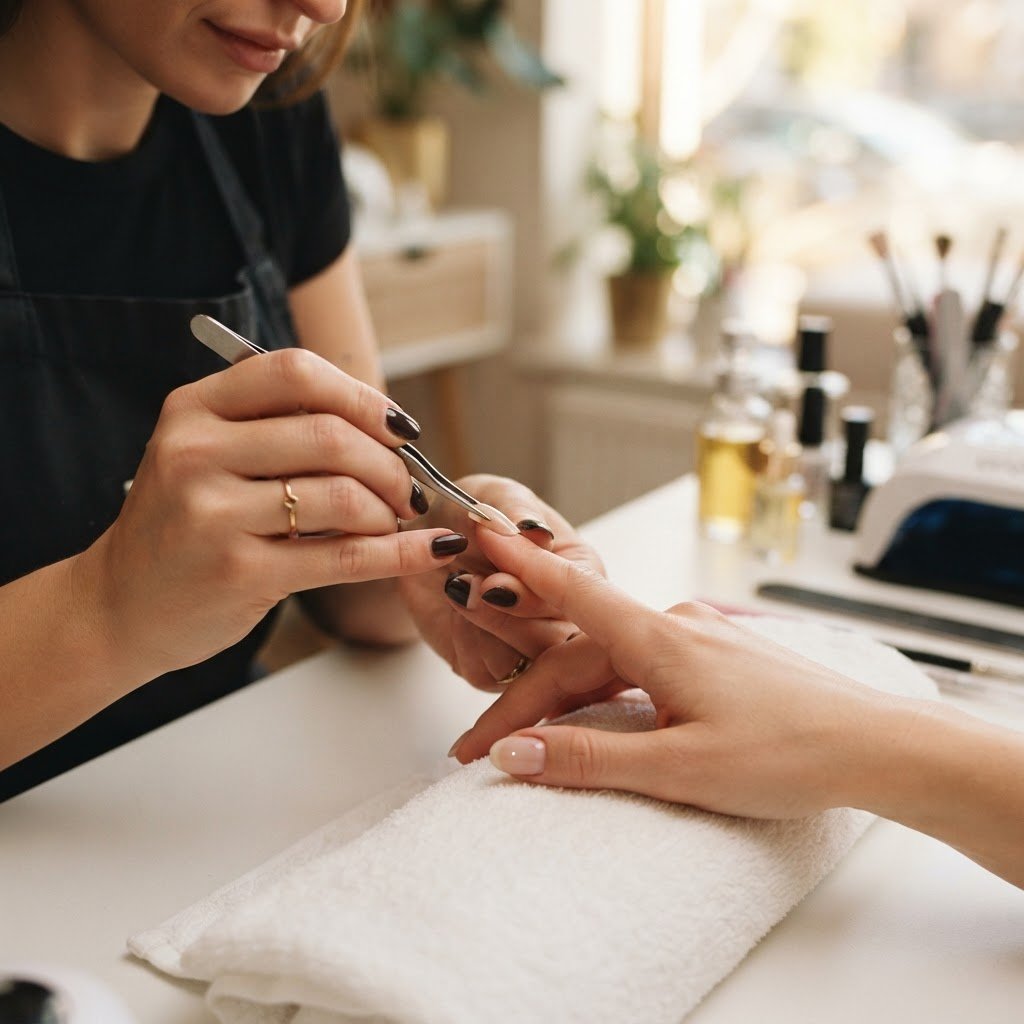
Achieving salon-quality results at home is easier than you think when you follow professional press on nails tutorials that prioritize proper prep and application techniques. By focusing on cuticle care, surface texture, and using high-quality adhesives, you can ensure your manicure remains durable, comfortable, and stylish for up to two weeks or longer. Following these expert-tested steps will help you master the art of long-lasting nails, saving you both time and money while keeping your hands looking impeccable.
Understanding the Basics of Press-On Longevity
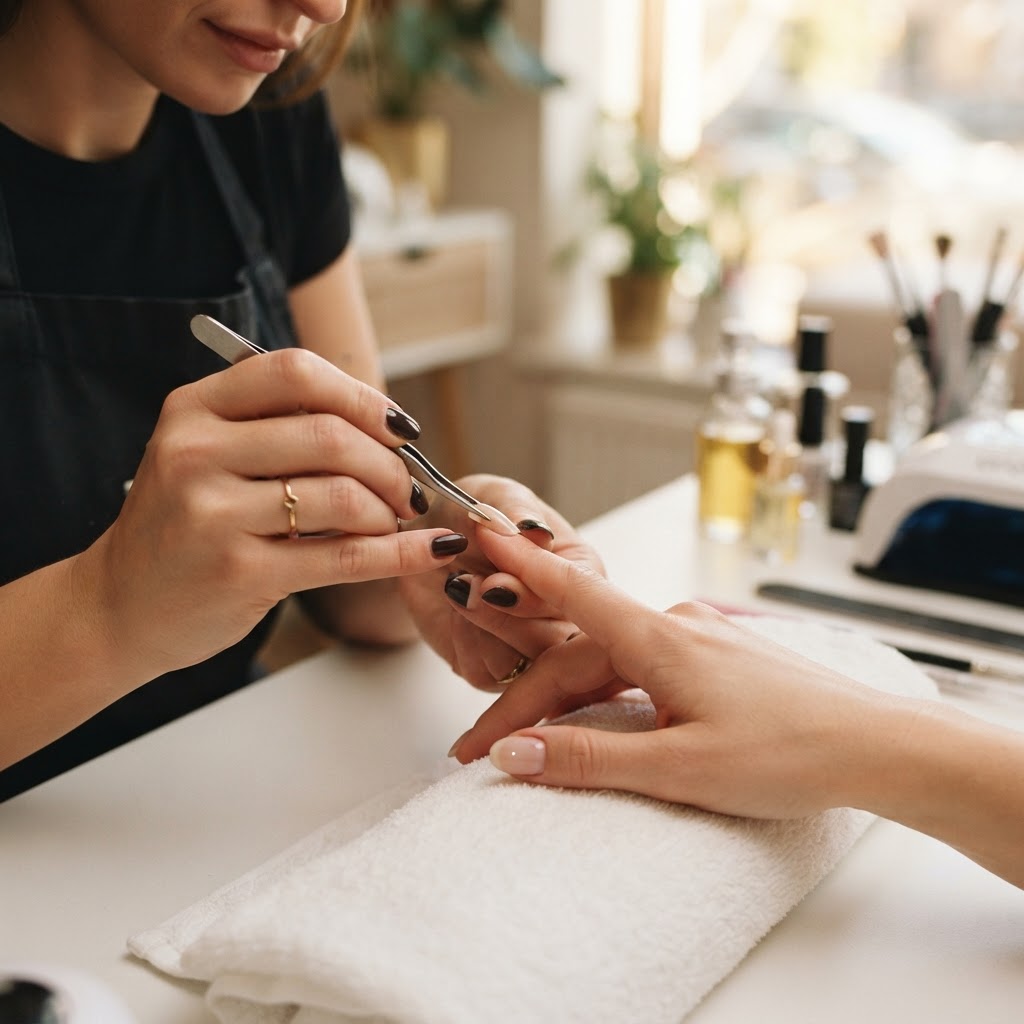
Proper nail prep is the most critical foundation for ensuring your manicure withstands the rigors of daily life without lifting. Many beginners skip the essential steps of cleaning the nail plate, but nail technicians agree that removing oils and dead skin is what separates a short-lived set from a durable one. When you invest time into learning how to prep nails for press ons, you are essentially creating a clean canvas that allows the adhesive to bond permanently to your natural nail surface. Think of it as preparing a wall for paint; if the surface is dusty or greasy, the paint will inevitably peel.
Start by using a cuticle pusher to gently push back your cuticles, which clears the nail bed of excess tissue that could cause premature lifting. Once the cuticles are tidy, use a high-grit nail file to lightly buff the surface of your nails. This provides the necessary surface area for the glue to grip onto. Follow this by using an alcohol wipe or acetone to dehydrate the nail, ensuring no moisture or oils remain. If you want to achieve professional results, this step is non-negotiable. Whether you are aiming for short, cute, and simple nails or long, intricate nail designs, the prep work remains the identical, time-tested process.
Choosing the Right Adhesive and Tools
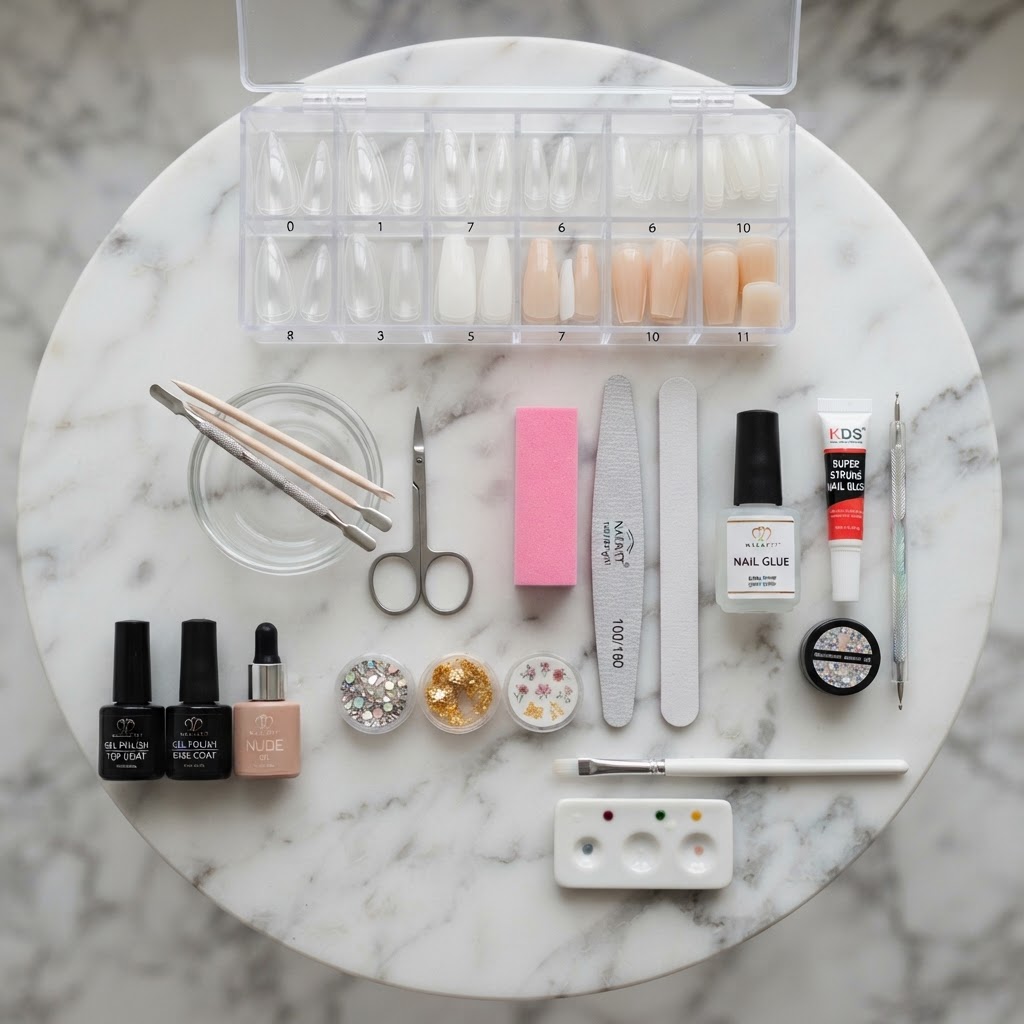
Selecting the right bonding agent depends entirely on how long you intend to wear your manicure, as glue and sticky tabs serve different purposes. For a temporary look lasting only a few days, adhesive tabs are excellent, but if you want long-lasting nails that can handle work and household chores, professional-grade gel glue is the industry standard. Many beginners ask about the best way to apply fake nails; the secret often lies in applying a thin layer of glue to both your natural nail and the back of the press-on itself. This “double-coating” method creates a vacuum seal that is much harder to break than a single layer of glue.
Essential Tools for Your Manicure Kit
- Cuticle Pusher
- 180/240 Grit Nail File
- Alcohol Prep Pads
- High-Quality Nail Glue
- UV/LED Curing Lamp (for gel press-ons)
- Cuticle Oil
When exploring different press on set ideas, always check the quality of the tips themselves. A good press-on nail should have a comfortable fit that mimics the curvature of your own nail bed. If the tip is too flat or too curved, it will put constant pressure on your nail plate, leading to discomfort and eventual popping off. Investing in a variety of sizes ensures you find the perfect match for each finger, which is essential for that seamless, realistic press on nails look that everyone admires.
Mastering Application Techniques for Beginners
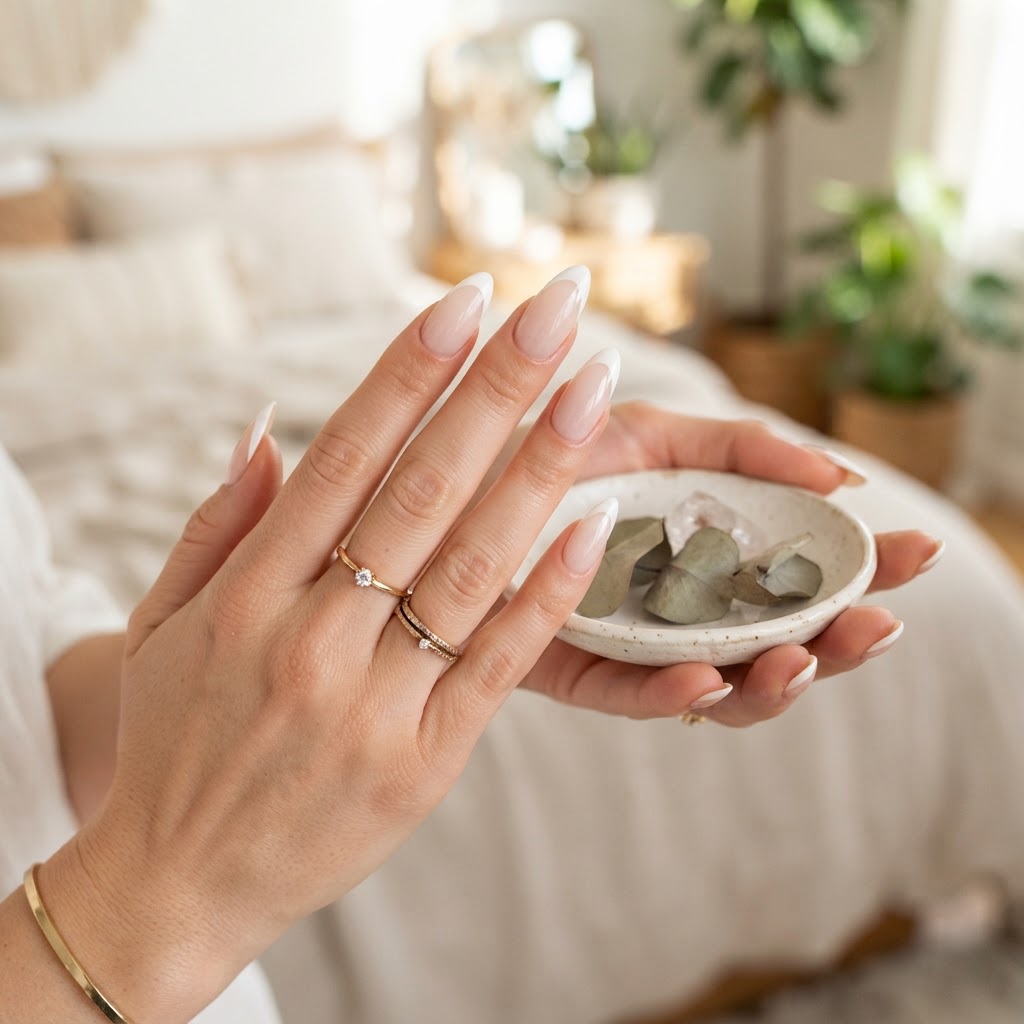
Learning how to apply press on nails step by step is a transformative skill that allows you to change your style as often as you change your outfit. Start at the pinky finger and work your way toward the thumb, as this gives you more dexterity while applying the glue. Hold the nail tip at a 45-degree angle starting at the cuticle, and then slowly lower it onto your natural nail to push out any air bubbles. This technique prevents air pockets from forming, which are the primary culprits for moisture buildup and lifting.
For those interested in how to make press on nails look acrylic, the trick is to choose tips that are slightly longer than your natural nail and to blend the cuticle edge with a bit of acetone on a brush. This creates a smooth transition that looks like a fresh salon manicure. Whether you are crafting fancy nails designs or opting for clean classic nails, the application speed and precision will improve with every session.
Customizing Your Nails for a Salon-Style Finish
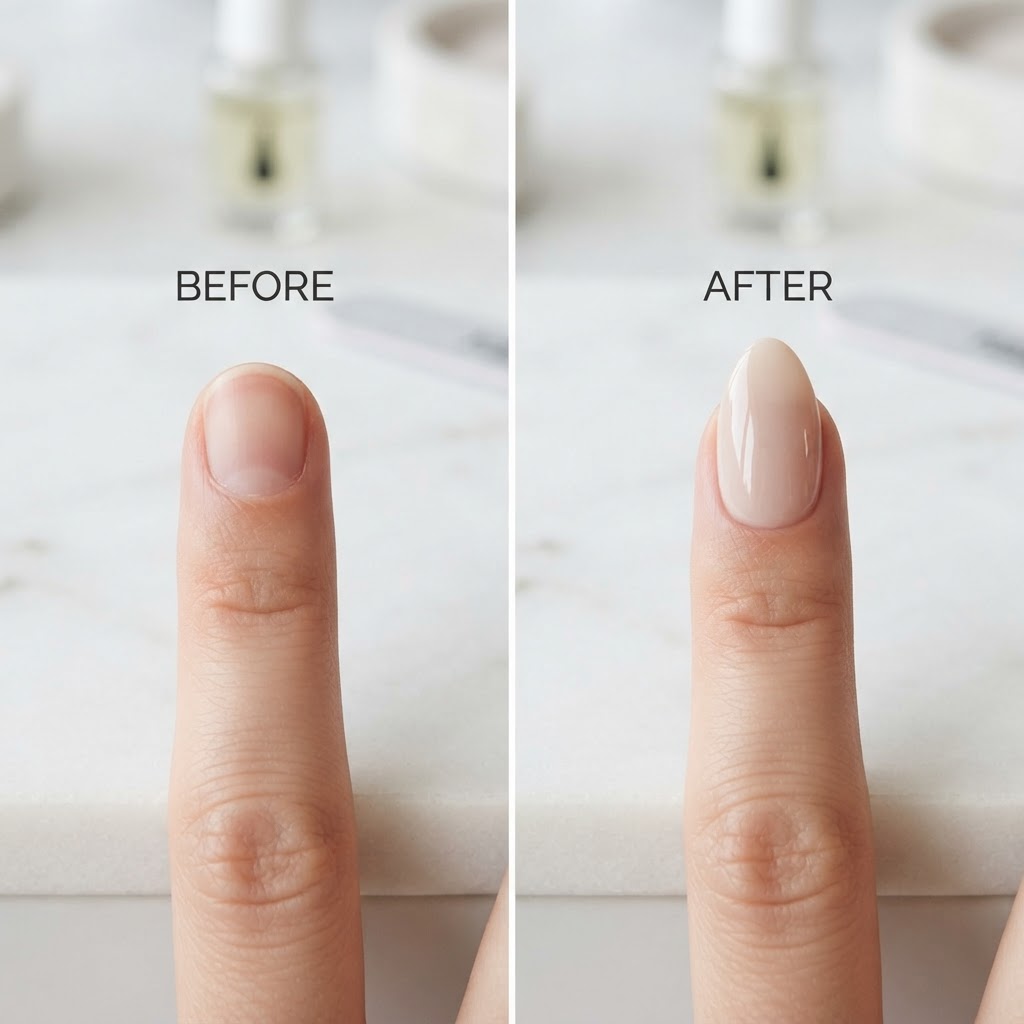
Personalization is the ultimate beauty hack for anyone who loves having trendy nails without the salon price tag. You can customize standard store-bought sets by adding your own flair, such as applying gold chrome powder, placing small jewels, or even creating your own custom press on nails. Many enthusiasts love experimenting with different nail art techniques, such as blooming nails tutorials or using magnetic cat eye polish to create depth and movement on the nail surface. The ability to design your own set means your manicure is truly one of a kind.