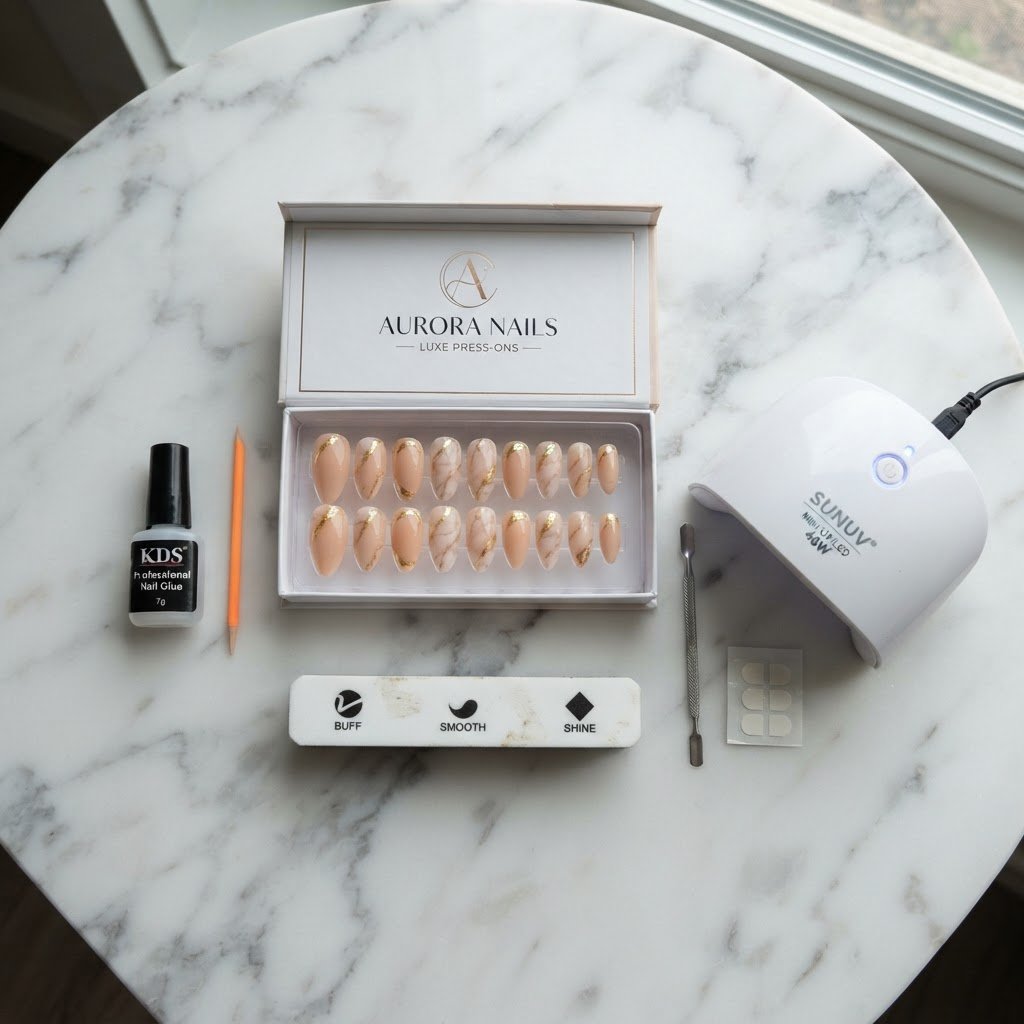
To learn how to make press-on nails look expensive, prioritize thorough nail bed preparation, select high-quality adhesive materials, and apply a thin layer of gel top coat. By focusing on cuticle care, correct sizing, and proper curing techniques, you can achieve a flawless, salon-quality manicure that lasts for weeks at a fraction of the cost of a professional appointment.
The Secret to Perfect Nail Preparation
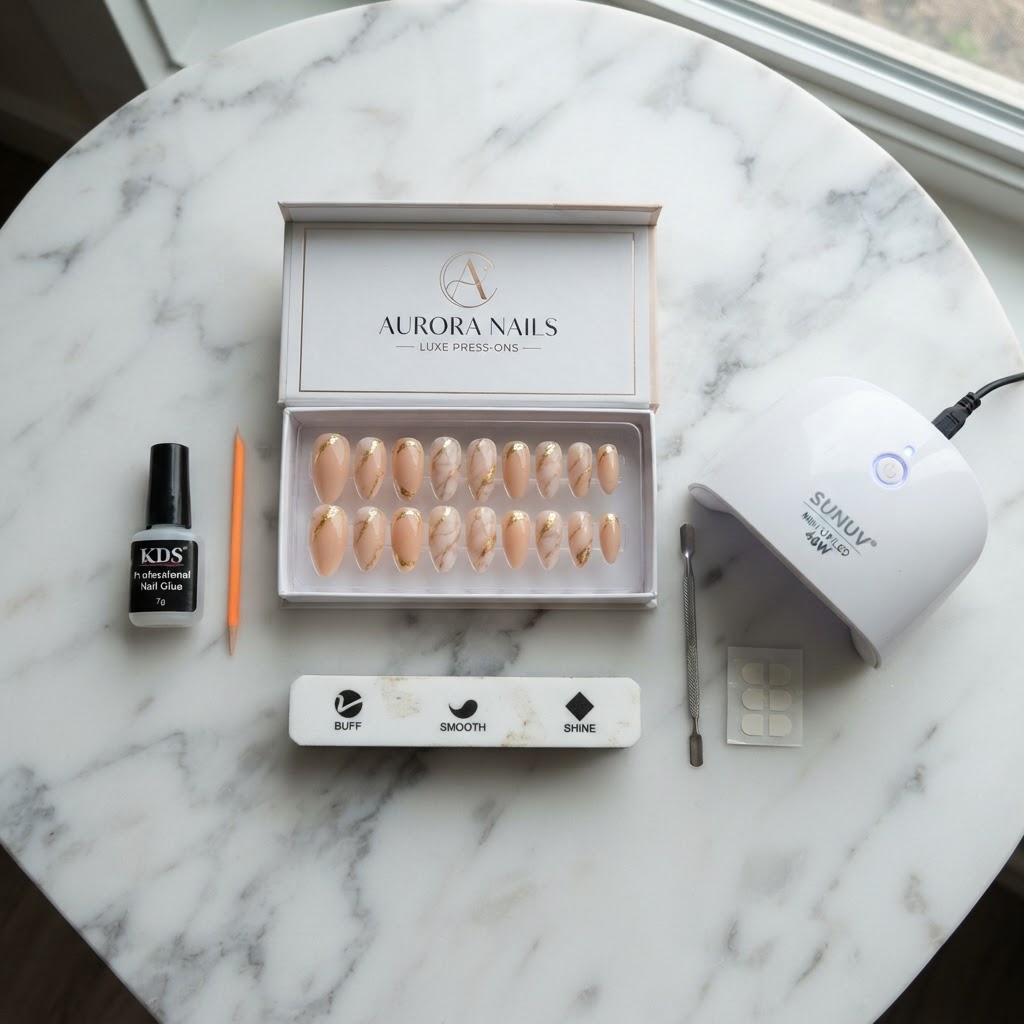
Proper nail prep is the most critical step if you want to know how to make press-on nails look expensive. Many people rush the cleaning process, but oils and debris are the primary causes of premature lifting and a “plastic” look. Start by pushing back your cuticles using a metal tool, which helps create a cleaner canvas and makes the nail plate appear longer. After pushing them back, use a light grit buffer to remove the natural shine from your nail surface. This texture gives the glue or adhesive tab something to grip onto. Finally, dehydrate your nails thoroughly using a lint-free wipe soaked in 90% isopropyl alcohol. This step removes every trace of natural oil, ensuring your salon-quality press-on nails bond perfectly without air bubbles.
Selecting High-Quality Materials
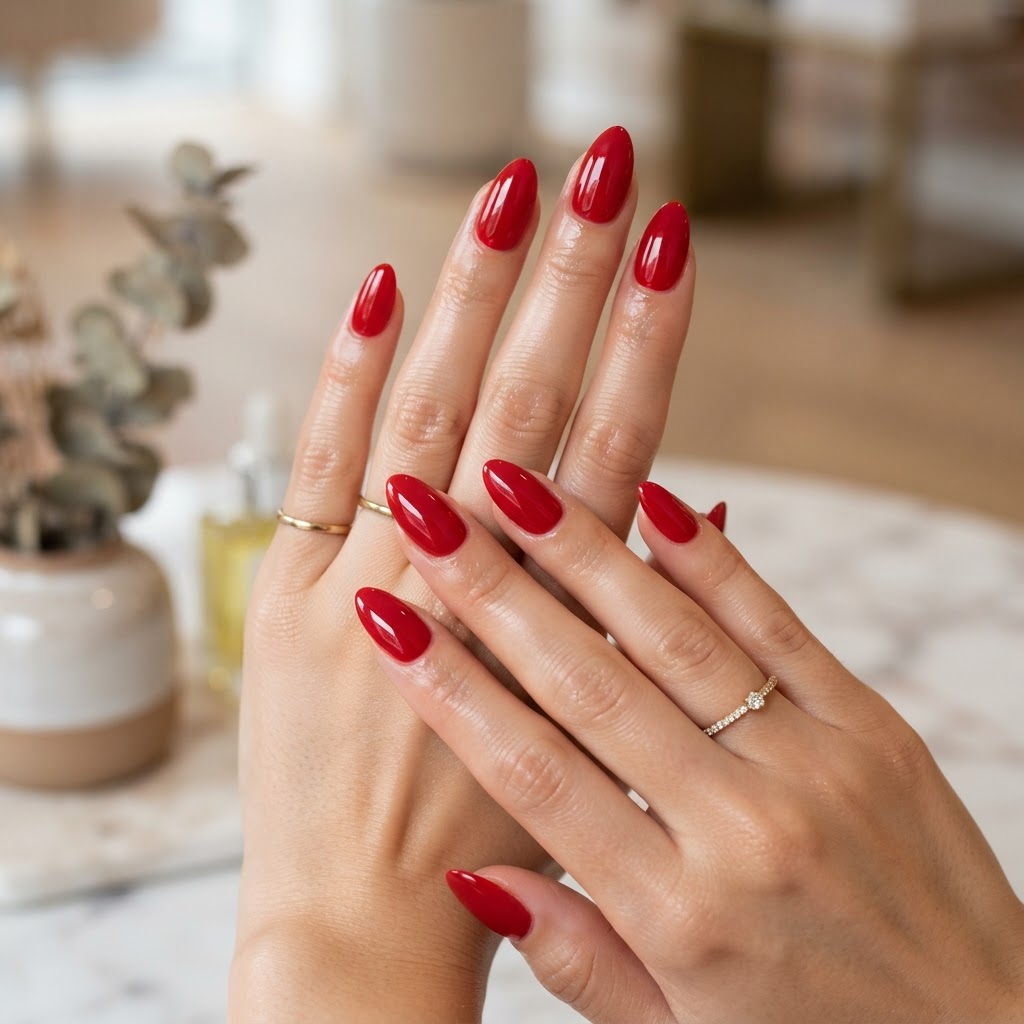
Not all press-ons are created equal, and investing in higher-end kits is essential for a realistic look. When learning how to make press-on nails look expensive, you must avoid thin, flimsy plastic options that bend easily. Look for brands that offer varying thickness, specifically focusing on nails that are thicker at the tip and slightly tapered at the cuticle line. This tapered design mimics the natural growth pattern of a real acrylic nail. Additionally, swap out the standard adhesive tabs that come in the box for high-performance nail glue or dual-layer adhesive strips. The quality of your adhesive is just as important as the quality of the press-on itself because it prevents the dreaded gaps between the press-on and your natural nail.
Expert Application Techniques
Precision in application distinguishes a messy DIY job from a professional result. When applying the adhesive, apply a thin, even layer to both your natural nail and the back of the press-on to maximize surface contact. Place the press-on at a 45-degree angle against your cuticle, then slowly lower it onto the nail bed to push out any trapped air. If any glue squeezes out from the sides, clean it immediately with a cuticle stick dipped in acetone. This ensures the edges remain flush with your skin. For those who want to level up, try using a small UV lamp to cure a thin layer of builder gel under the press-on for unparalleled strength.
Comparison: Standard vs. Luxury Application
Customizing the Fit
Most people fail to realize that press-ons can be filed just like acrylics. If a nail looks slightly too wide at the cuticle, use a 180-grit file to gently shape the edge until it sits perfectly against your cuticle line without overlapping your skin.
The Finishing Touches for Realism
Once the nails are applied, the final details make all the difference in how to make fake nails look real. Applying a layer of professional UV gel top coat over the entire press-on creates a seamless transition and adds a high-gloss finish that hides the artificial sheen of cheap plastic. Be sure to cap the free edge of the nail with the top coat to seal it against water and chipping. Furthermore, applying a nourishing cuticle oil daily will not only hydrate your skin but also make the entire manicure appear hydrated, expensive, and freshly done. This routine is essential for maintaining that salon-fresh glow.
Maximizing Durability and Wear
If you want your durable press-on nail routine to last longer than a few days, you must protect the seal. Avoid soaking your hands in hot water for long periods within the first 24 hours of application. While wearing the nails, use the pads of your fingers rather than your nails to open cans or type on keyboards. If you notice a tiny bit of lifting after a week, a small drop of professional-grade brush-on glue can reseal the edge. Staying consistent with your aftercare will ensure your nails remain secure and look impeccable until you are ready to remove them.
FAQ
How long should press-on nails typically last?
With proper preparation, a quality set can last anywhere from two to three weeks.
Can I reuse press-on nails?
Yes, if you use adhesive tabs, you can gently remove and reuse the nails multiple times.
How do I remove them without damage?
Soak your nails in warm, soapy water with a bit of oil for 15 minutes before gently lifting them with a wooden stick.
Is it bad for my natural nails?
As long as you avoid force during removal and prioritize nail health, press-ons are generally safer than acrylics.
How do I match the size correctly?
Always choose a size that fits wall-to-wall; if you are between sizes, go smaller and file the sides.
Conclusion
Achieving salon-quality results from the comfort of your home is entirely possible when you understand how to make press-on nails look expensive. By focusing on meticulous preparation, choosing high-quality components, and applying protective finishes, you can elevate your manicure routine. Experimenting with these techniques will save you money while keeping your hands looking polished and professional, regardless of your skill level.
Leave a Reply