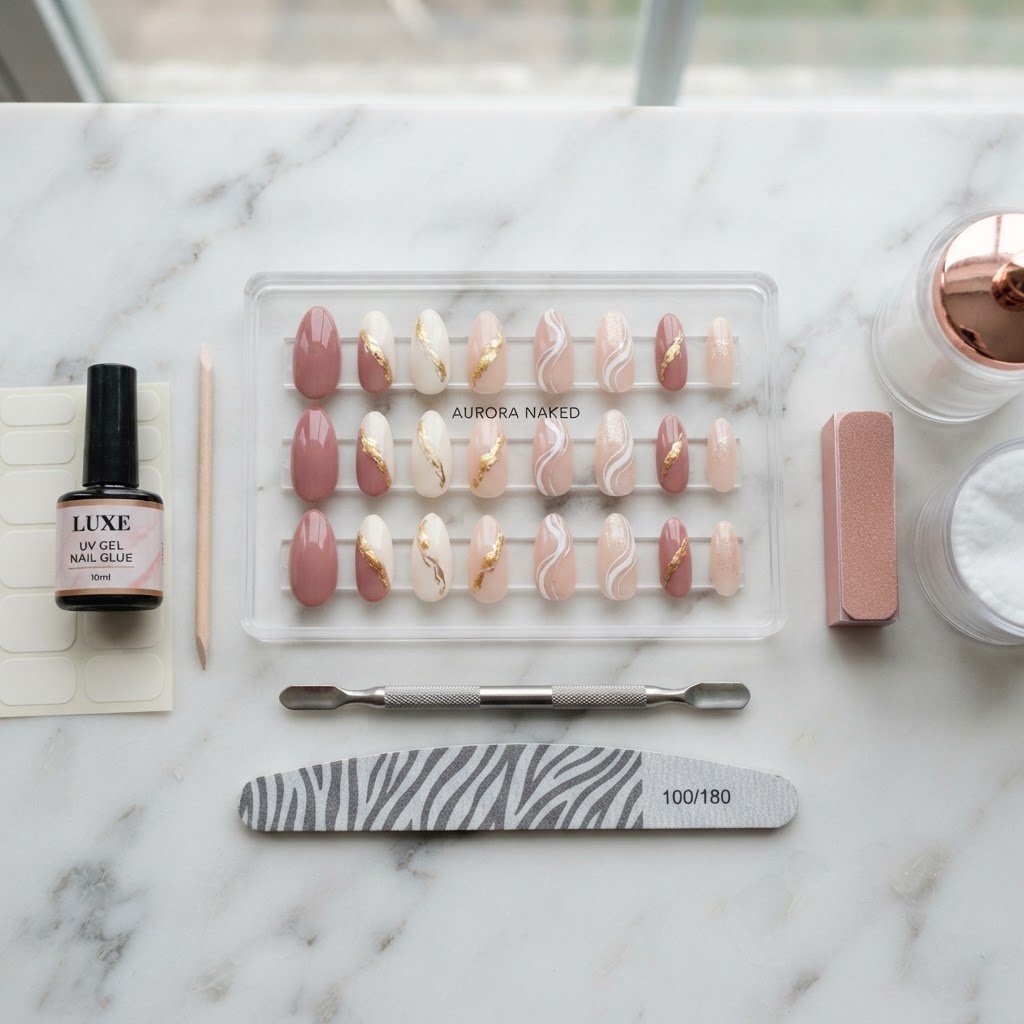
Mastering the perfect manicure is easier than ever with comprehensive press on nails tutorials that guide you through every step of the process. Whether you are aiming for short, functional nails or elegant almond shapes, proper preparation and application are the secrets to achieving a long-lasting, professional finish right from the comfort of your own home.
The Secret to Long-Lasting Press On Nails
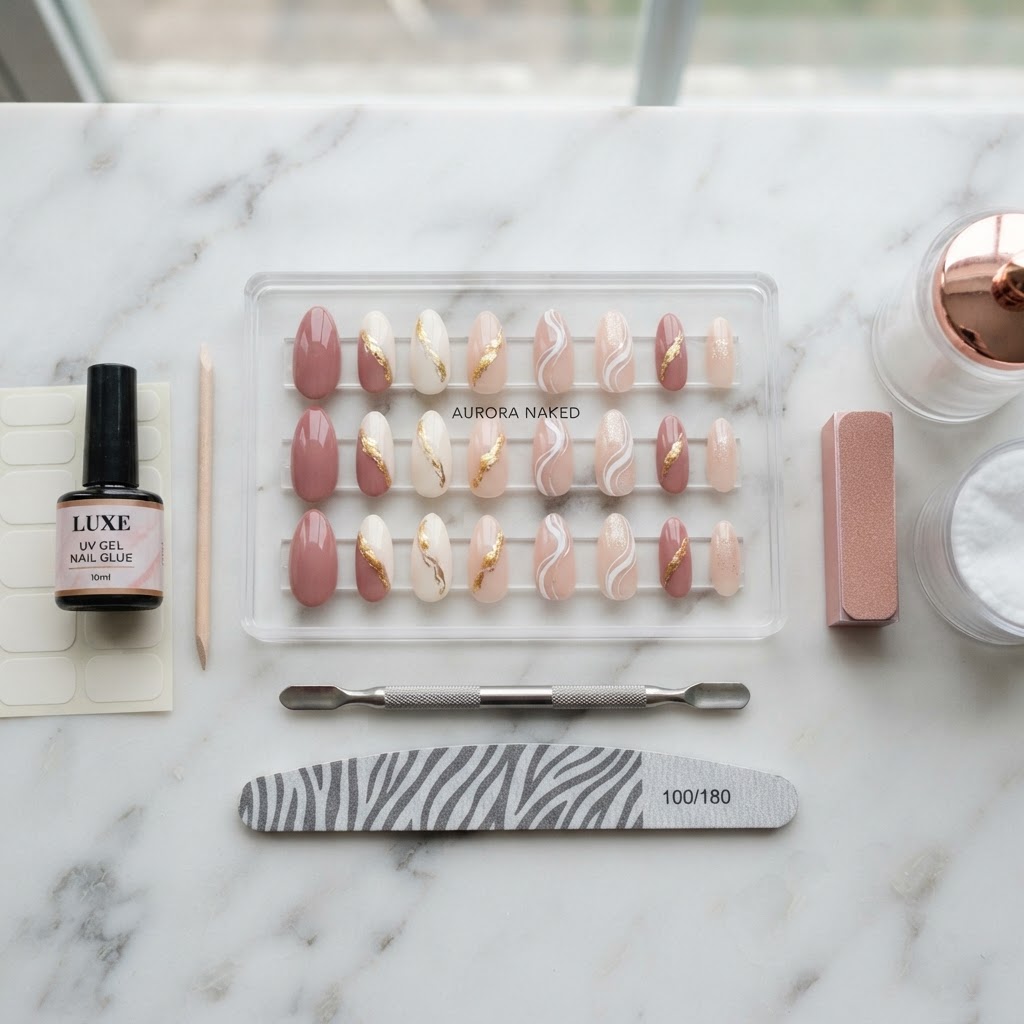
Preparation is the single most important factor when learning how to make your press on nails last longer. Many beginners fail because they skip the essential nail prep for press on nails, which involves removing oils from the nail plate. To start your manicure, ensure your hands are clean and dry, then use a cuticle pusher to gently push back your cuticles to create more surface area for the adhesive. Use a high-quality nail file to lightly buff the surface of your natural nails, creating a rough texture that helps the glue adhere much better. Always finish the prep by wiping each nail with an alcohol wipe or dehydrator to ensure a perfect, debris-free canvas for your art.
Essential Steps for Proper Prep
- Use a cuticle pusher to clean the nail bed.
- Gently buff your natural nails to increase surface area.
- Cleanse with alcohol to remove natural oils.
- Select the correct size for a comfort fit.
How to Apply Press On Nails Step by Step
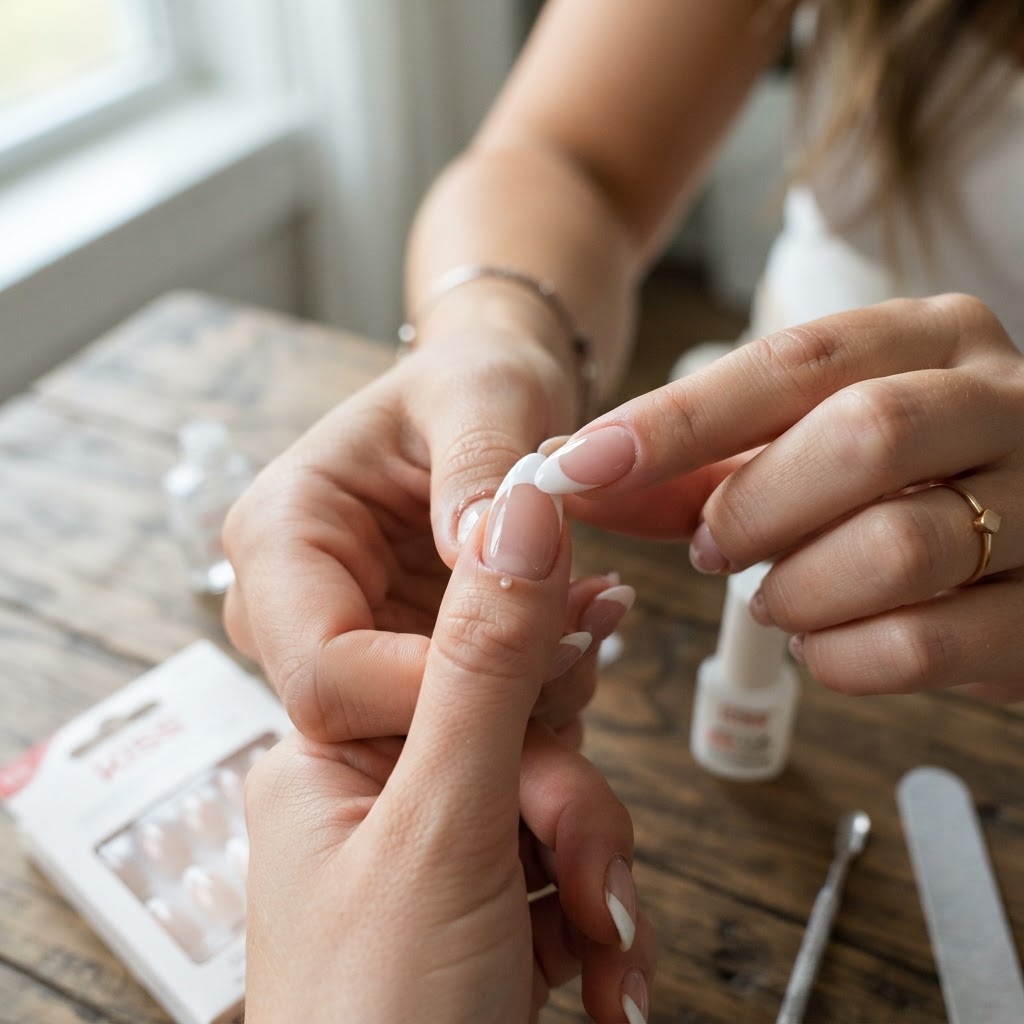
Knowing how to apply press on nails step by step ensures that your manicure stays secure and looks completely natural. Start by picking out all the right sizes before you even open your press on nails glue, laying them out in order. Apply a small dot of glue to your natural nail and another thin layer to the back of the press-on tip to maximize hold. Press the nail firmly at a 45-degree angle starting at the cuticle, holding it down for at least 20 seconds to remove any air bubbles. This technique is the best way to apply press on nails so they don’t pop off during your daily activities. You can even experiment with trendy shapes like french nails coffin shape or simple short box nails designs to keep your style fresh.
Selecting the Best Press On Nails for Your Shape
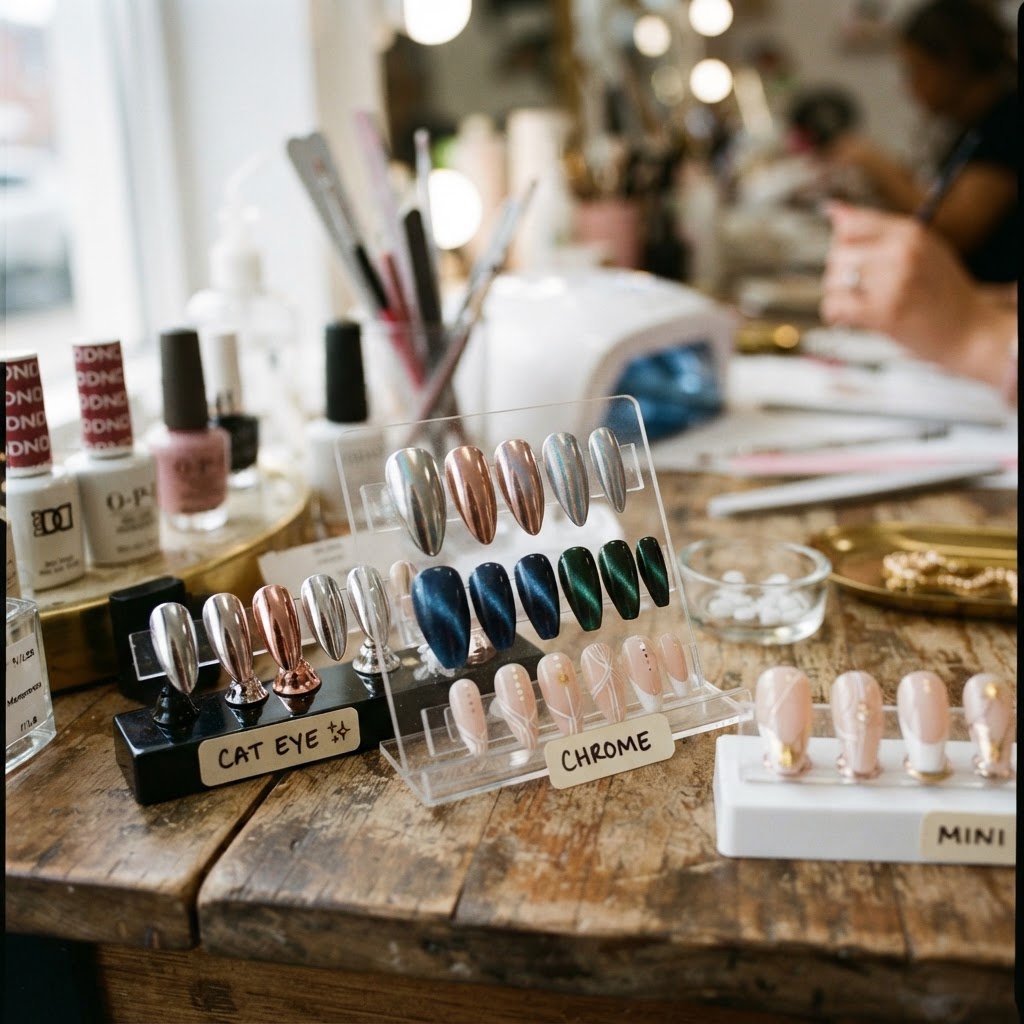
Choosing the right product is essential for a salon-style look, whether you prefer short press on nails or dramatic almond shapes. When you are looking for the best press on nails, consider the durability of the plastic and the flexibility of the fit. For those who want to learn how to design nails, purchasing a clear set allows you to use your own gel polish for custom nail art designs. If you are interested in a nail business from home, testing various brands helps you understand what types of nail tips provide the most realistic press on nails experience for your future clients. Always look for sets that offer a variety of sizes to ensure you find a perfect match for every finger, including extra small press on nails for pinky fingers.
Advanced Techniques and Beauty Hacks
Leveling up your manicure involves learning different nail art techniques that turn standard sets into professional masterpieces. Beauty hacks nails professionals use include applying a layer of base coat over your press-ons for extra shine or using a cat eye nail art tool to create magnetic effects on plain sets. If you want to know how to make press on nails look acrylic, apply a thin layer of structure gel over the top to add thickness and strength. You can also try simple beginner nails designs like french nail art designs or cute dot nails to build your skills. Once you master the basics, try incorporating 3d gel nail ideas or chrome powder tutorial methods to create trendy nails that stand out.
Troubleshooting Common Application Issues
Even with great press on nails tutorials, you might encounter issues like lifting or air bubbles that threaten your manicure. If you find your nails are lifting, it often means the nail prep for press ons was insufficient or the size was too flat for your natural nail curve. Always ensure you have the correct nail tip size to avoid tension that causes them to pop off. If you are struggling with how to make press on nails stay longer, try using high-quality gel glue and curing under a small UV lamp for an instant, rock-solid bond. This is a game-changer for anyone doing diy nails at home who wants that salon-style durability.
Expanding Your Skills as a Nail Technician
If you have fallen in love with the process, you might consider starting a nail business from home or simply expanding your hobby into a full-fledged creative outlet. Learn how to start a press on nail business by sourcing the best nail supplies and practicing on friends or practice nail sets for beginners. Developing your own unique nail design diy style will help you stand out in the beauty industry. Whether you are learning how to do tortoise shell nails with blooming gel or mastering the latest french tip nail color, continuous education is key. Practice new nail art techniques daily, and don’t be afraid to document your progress with nail design video tutorials to share your journey with other beauty lovers.
FAQ
How long do press on nails typically last?
With proper application and high-quality adhesive, your press-on set can last between one to three weeks. The secret is ensuring the nail plate is perfectly clean and using the right amount of glue.
Can you reuse press on nails?
Yes, you can reuse them if you use adhesive tabs instead of liquid glue, or if you gently remove the residue from the back of the nails after use. Be sure to clean them with alcohol before reapplying.
How to remove press on nails without damaging natural nails?
Soak your nails in warm soapy water with a little oil for 15-20 minutes, then use a cuticle pusher to gently lift the edges. Never force the nails off if they are still secure to avoid damaging your nail bed.
How to make press on nails look natural?
Focus on picking a size that fits from sidewall to sidewall and buffing the edge near your cuticle so it lays flat against your nail. Applying a top coat can also help blend the press-on seam with your natural nail.
Conclusion
Embarking on your journey with press on nails tutorials is the best way to elevate your personal style while saving time and money. By mastering the prep, applying with care, and experimenting with fun designs, you can achieve a professional, durable manicure that rivals any salon. Start practicing today, explore new techniques, and enjoy the confidence that comes with a beautiful, custom set of nails. Don’t wait to give your hands the glow up they deserve—grab your favorite kit and start creating your own press-on masterpieces right now!
Leave a Reply