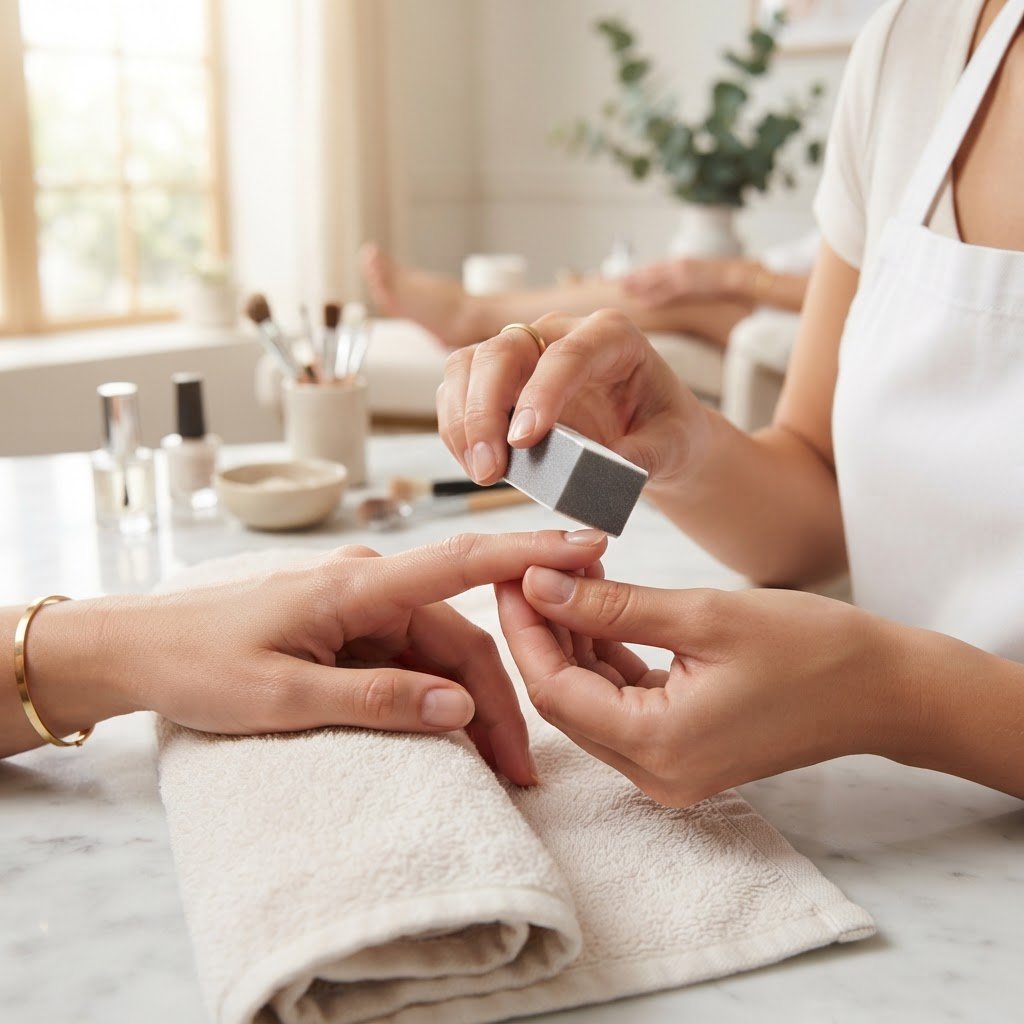
Applying your favorite set perfectly begins with understanding the core techniques found in our comprehensive press on nails tutorials. To avoid air bubbles and gaps, you must prioritize nail prep for press on nails, ensuring the surface area is completely clean, dehydrated, and free of oils. By using the right amount of press on nails glue and choosing a size that fits your natural nail curvature, you can achieve a salon-style manicure that lasts for weeks.
The Secret to Perfect Prep
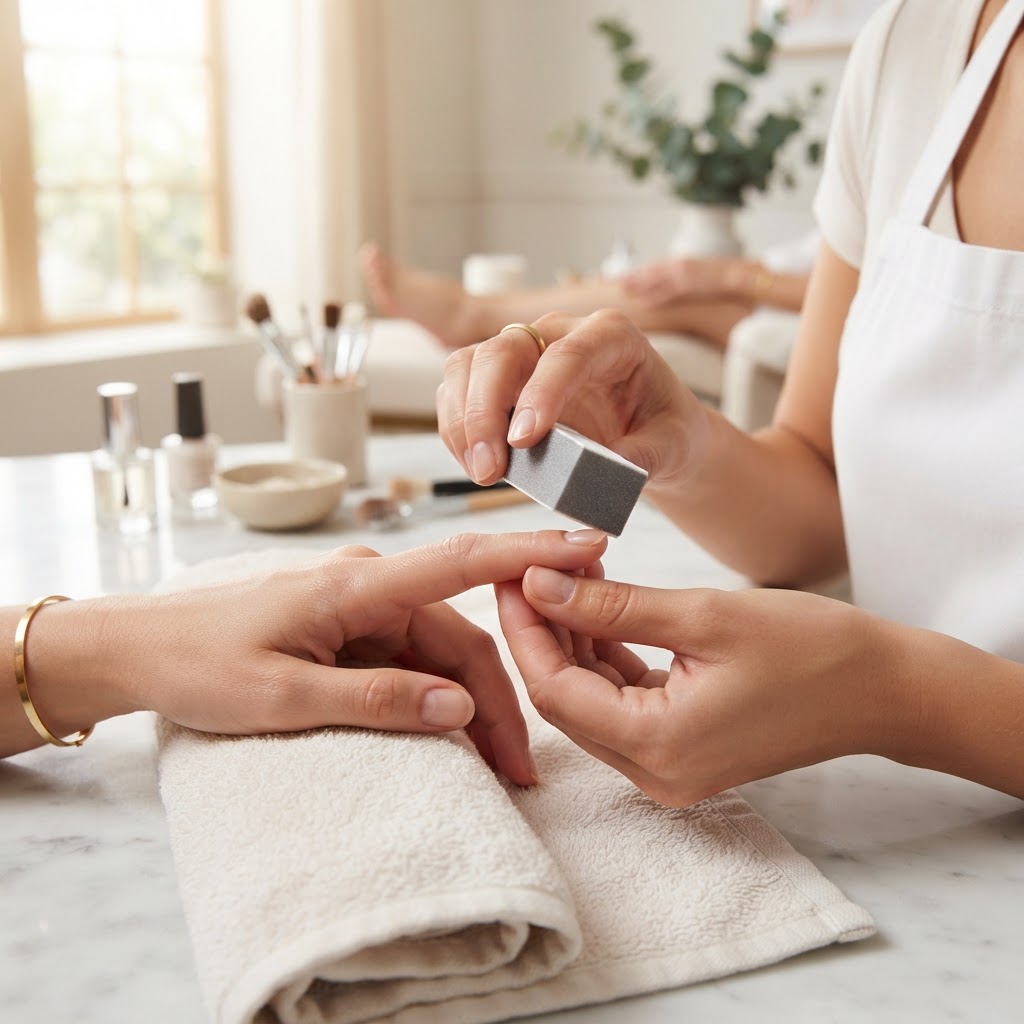
Properly preparing your natural nail is the most critical step to ensure a long-lasting, gap-free application. Start by using a cuticle pusher to gently push back your cuticles, creating a clean surface area for the nail to adhere to. If you skip this, you are likely to experience lifting near the base. It is essential to use a nail file to lightly buff the top of your nail plate, which provides a textured surface for the adhesive to grab onto. This step is a staple in all professional nail techniques and is fundamental to how to prep nails for press on nails effectively.
Once you have buffed your nails, you must remove all dust and natural oils. Using an alcohol wipe or a dehydrator is a vital beauty hack. If any oils remain, they will create tiny air bubbles when you apply the adhesive, leading to premature popping. Think of this as the foundation of your manicure; without it, the best press on nails in the world will struggle to stay put. Practice nail sets for beginners are great for testing this process before moving on to your favorite high-end press-ons.
Choosing the Right Size for a Comfort Fit
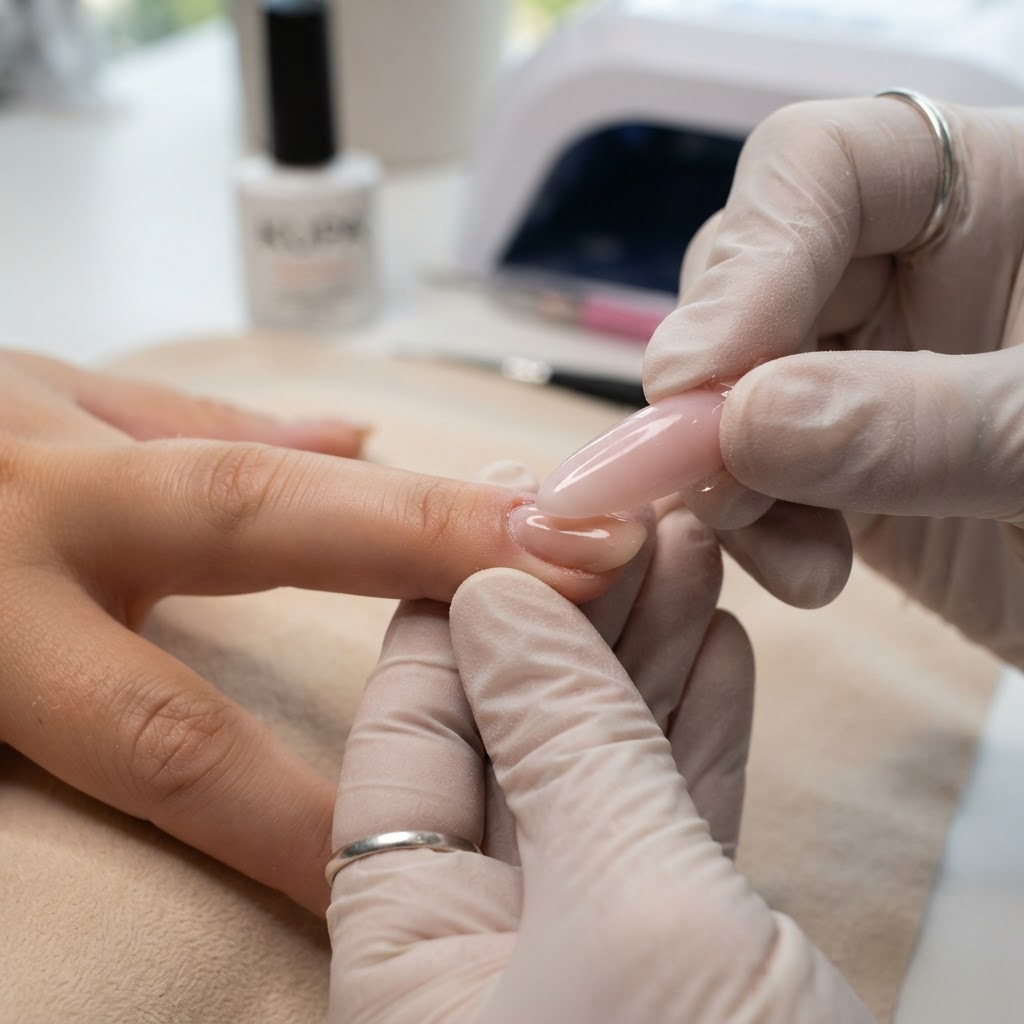
Selecting the correct size is the second most important factor in preventing gaps between your cuticle and the fake nail. A common mistake is choosing a tip that is too small, which creates a gap on the sides, or one that is too large, which can overlap onto your skin and cause the nail to lift. You want a comfort fit that aligns perfectly with your natural sidewalls. If you find yourself between sizes, it is almost always better to choose the slightly larger nail and file the sides down for a custom fit.
Many people enjoy exploring how to design nails by customizing their own press-on sets. When you are sizing your nails, ensure they lay flat across the nail bed without forced pressure. If the nail feels tight or “springs” back, it is likely too flat or too curved for your natural shape. This meticulous attention to detail is what sets apart a messy DIY attempt from a professional-looking result. Whether you are using press nails or custom-made designs, consistency in sizing is key to a chic, natural appearance.
Avoiding Air Bubbles During Application
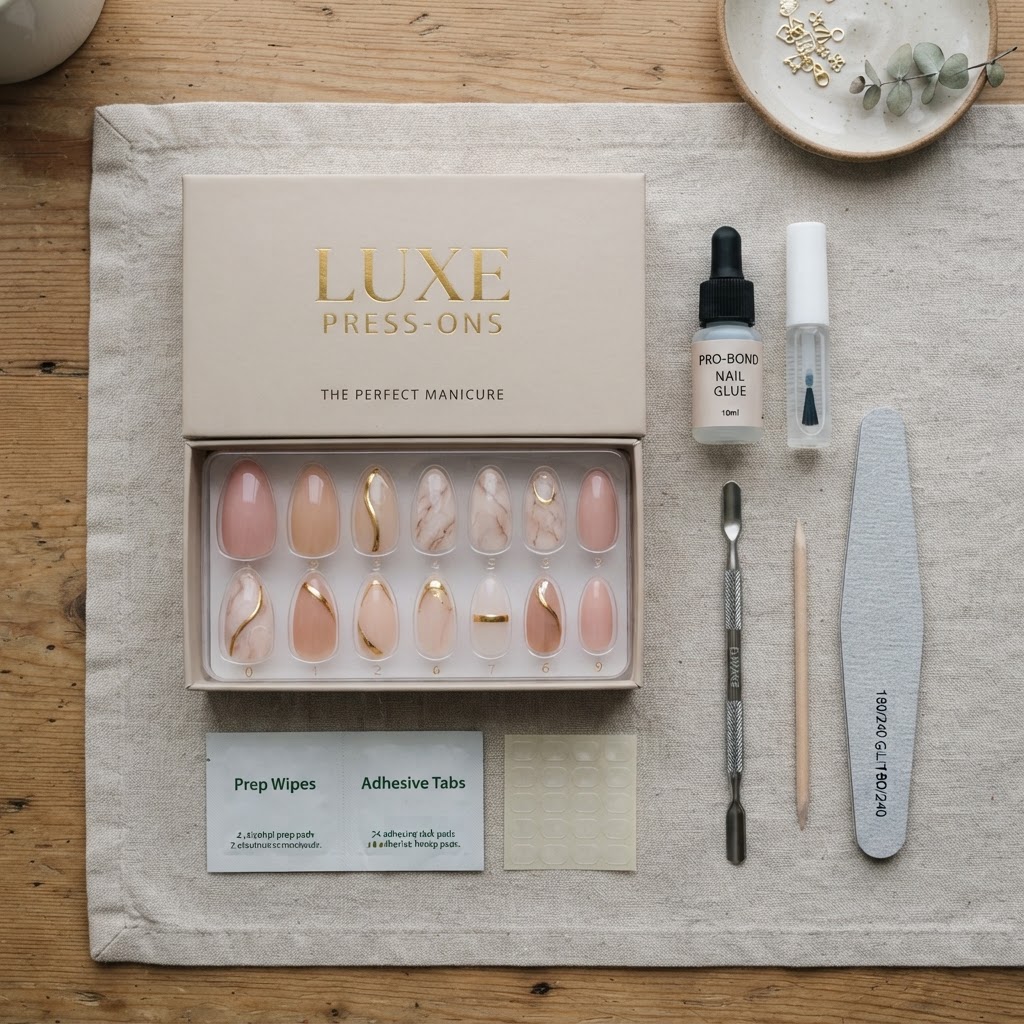
Air bubbles are the enemy of a long-lasting manicure and often occur when the glue is applied unevenly or when the nail is pressed down too quickly. To avoid air bubbles when applying, place a small drop of glue on both your natural nail and the back of the press-on nail. When you bring the two surfaces together, align the base of the nail with your cuticle at a 45-degree angle. This technique helps push the glue forward and pushes out any trapped air, preventing those stubborn air bubbles from forming.
Once the base is touching your cuticle, slowly lower the rest of the nail down. Hold it firmly in place for at least 30 seconds to ensure the glue spreads evenly across the entire surface. If you see glue seeping out the sides, gently wipe it away before it dries. Mastering these press on nails tutorials requires patience, but the payoff is a set of nails that look like you just walked out of a high-end salon. Remember, the pressure you apply is just as important as the glue itself.
Information Gain: Adhesive Comparison Table
Choosing the right bonding method depends on your lifestyle and how long you need the nails to last. Below is a comparison of the most common bonding options used in press on nails tutorials.
Using gel glue or “gel nails diy” methods provides a stronger, more flexible hold that mimics the durability of a real salon visit. If you want to take your skills to the next level, consider learning how to make press on nails look like acrylics by applying a top coat of clear gel and curing it under a UV lamp.
How to Achieve a Professional Finish
To make your press-on nails look truly professional, focus on the details, such as blending the cuticle area and choosing the right shape. You can use a nail file to slightly thin out the cuticle end of the press-on, which helps it lay flatter against your finger, creating a more realistic appearance. This tip is often highlighted in advanced press on nails tutorials because it prevents the “ledge” look that gives away the fact that they are artificial.
Additionally, consider the overall nail art design. Whether you prefer minimalist clean classic nails, trendy chrome nails, or intricate nail designs, the finish is what makes them pop. You can add your own touches, such as small rhinestones or magnetic polish effects. Don’t be afraid to experiment with different nail techniques to find what suits your personal style, whether it is kawaii nails, deep winter shades, or simple summer nails.
FAQ
Why do I keep getting air bubbles under my press on nails?
Air bubbles occur primarily because of improper nail surface prep or trapping air during the application process. Ensure you have removed all natural oils with an alcohol wipe and try placing the nail at a 45-degree angle against the cuticle before lowering it slowly to push air out.
What is the trick to getting press-on nails to stay on?
The trick is to focus on thorough nail prep, including buffing the nail plate to create texture and using a high-quality, professional-grade nail glue. Clean, dry nails are essential for the adhesive to form a strong, lasting bond.
How to apply press on nails without getting glue everywhere?
Use a small dot of glue on your natural nail rather than covering the whole press-on, and use a toothpick or a small brush for precision. If excess glue escapes, quickly wipe it with a lint-free wipe before it cures.
How do you keep press-on nails from popping off?
To prevent popping, avoid water and heavy moisture for at least one hour after application so the adhesive can fully set. Additionally, ensure the press-on fits your natural nail width perfectly, as tight-fitting nails are more likely to pop off under tension.
Conclusion
Learning to apply press-on nails like a pro is a rewarding skill that saves time and money while keeping your hands looking gorgeous. By mastering these press on nails tutorials, focusing on prep, and using the correct application angles to avoid bubbles, you can achieve a durable and beautiful manicure at home. Whether you are prepping for a special event or just want to maintain a daily chic look, these steps will ensure your nails remain flawless. Start your journey toward perfect DIY nails today and see the difference that proper technique makes!
Leave a Reply