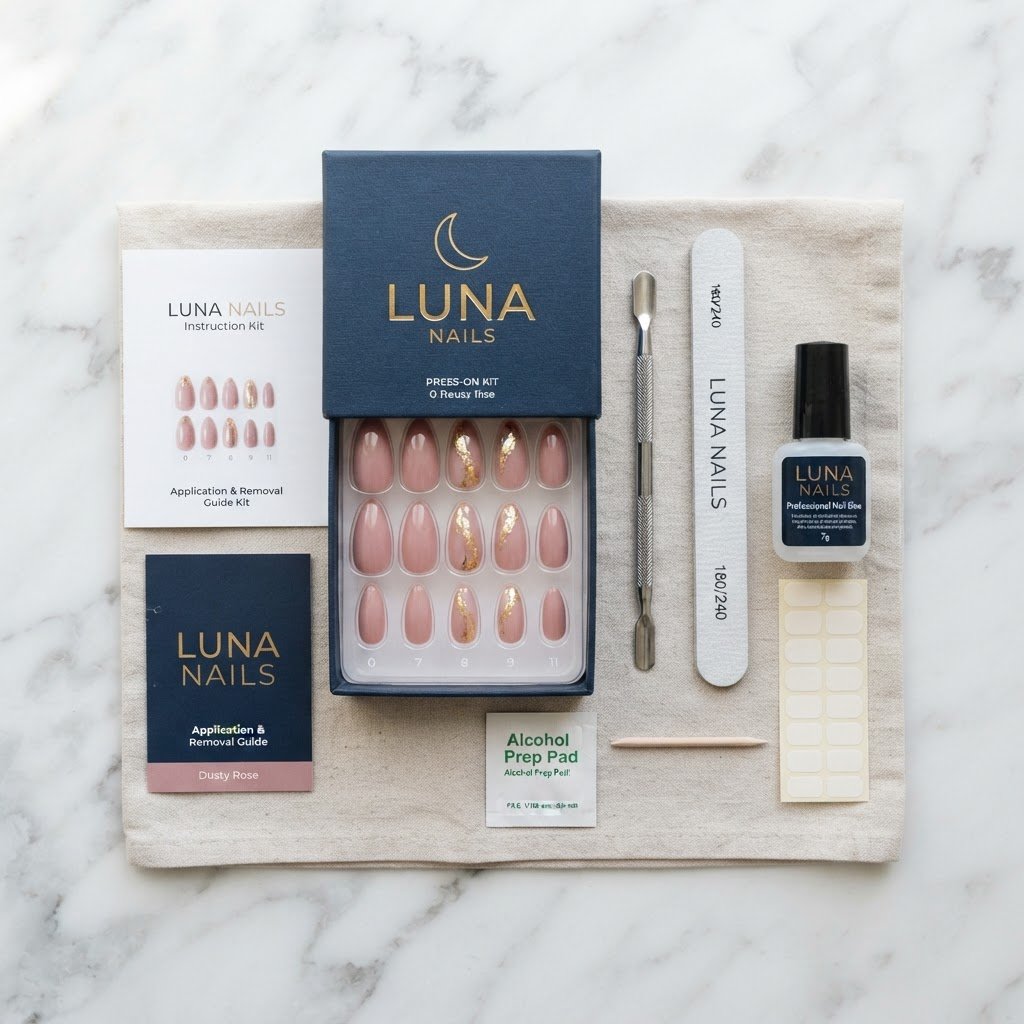
Applying DIY press on nails is a straightforward process that allows you to achieve salon-style results from the comfort of your own home. By following these professional press on nails tutorials, you can ensure a long-lasting, durable, and chic manicure that mimics the look of professional acrylics or gel extensions without the high price tag or long salon wait times.
Getting Started: Understanding Your Press On Set
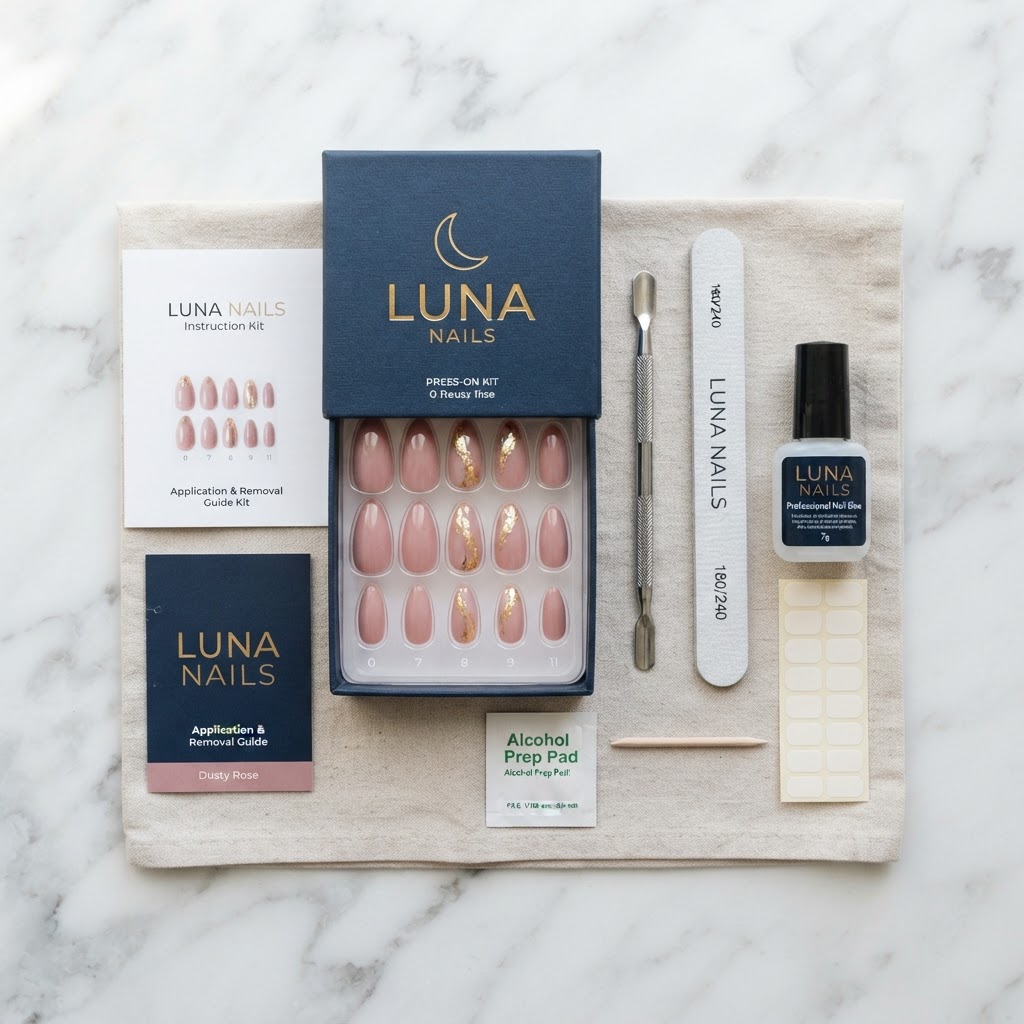
Before you begin your nail transformation, it is essential to gather the right supplies to ensure a successful application that lasts for weeks. Whether you are using stick on nails, clear gel nails designs, or even trying to start a nail business from home, preparation is the foundation of a great manicure. Most kits include a nail file, a cuticle pusher, an alcohol prep pad, and your chosen press on tips. You might also want to invest in professional-grade press on nails glue or adhesive tabs to guarantee your artificial nails remain secure through daily tasks. Familiarizing yourself with these basics helps bridge the gap between amateur results and salon-level beauty.
The Anatomy of a Perfect Application
To achieve that coveted salon style, you must understand how to size your nails correctly. Each nail tip should cover the entire natural nail bed without overlapping onto your skin, which can cause premature lifting. If you are struggling with sizing, consider extra small press on nails for smaller nail beds or standard sizes for a comfort fit. Proper sizing is the most critical nail tip for longevity, as it prevents air bubbles from forming under the adhesive.
Essential Prep Work for Long-Lasting Results
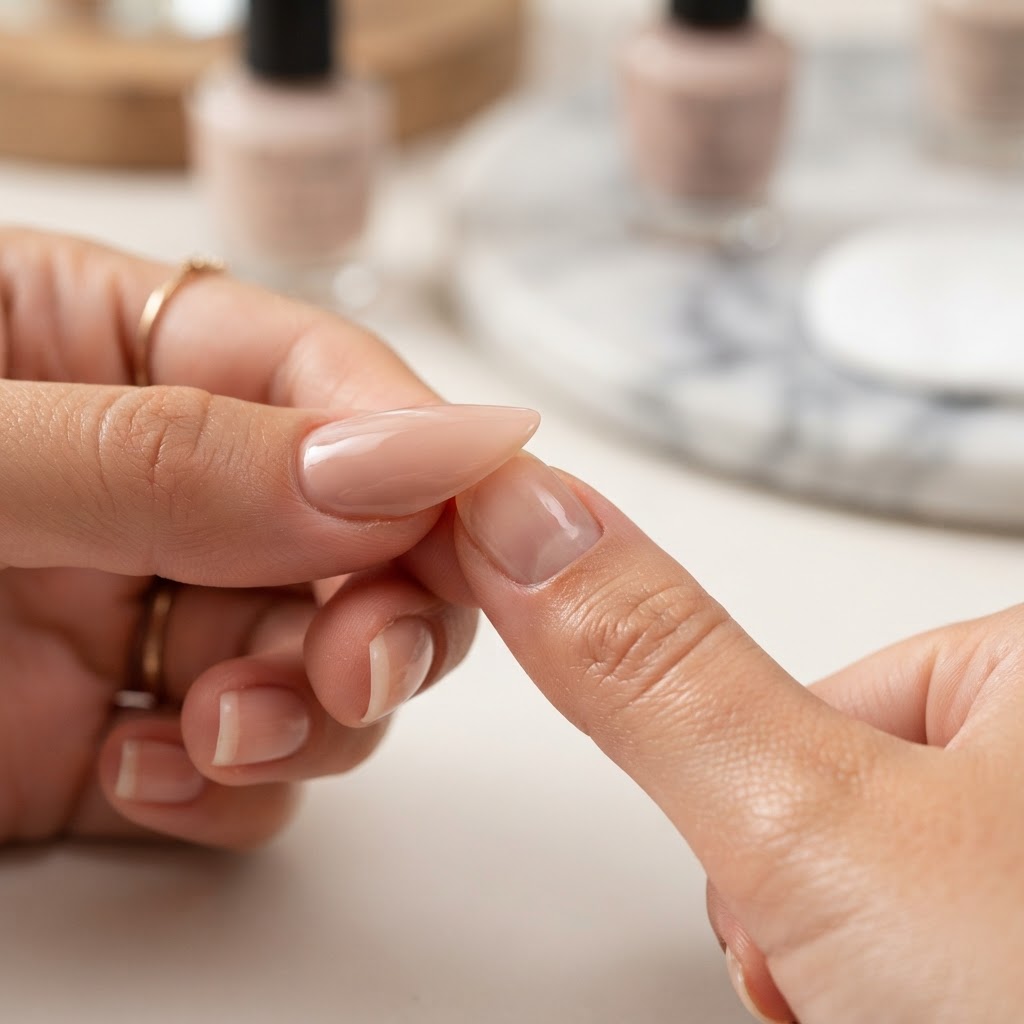
Nail prep for press on nails is the secret to a manicure that stands the test of time, keeping your nails looking fresh for up to two weeks. You should start by removing any old nail polish or residual oils from your natural nails, as a clean surface area is non-negotiable for proper adhesion. Use a cuticle pusher to gently push back your cuticles, and then lightly buff the surface of your natural nail to create a slightly rough texture that helps the glue bond more effectively. This step-by-step nail prep is what professional nail technicians emphasize to ensure their clients’ nails stay put.
Why Preparation Matters
Think of your nail bed as a canvas; the better you prep, the better the final design will look. If you skip the filing or cleansing steps, your nails are likely to pop off within hours. Always use an alcohol wipe or dehydrator to remove moisture, which is the number one enemy of nail glue. By focusing on these initial stages, you save yourself the headache of re-applying nails frequently and enjoy a worry-free experience.
Step-by-Step Application Guide
Once your nails are prepped and sized, it is time to move on to the actual application phase of our press on nails tutorials. Start by applying a thin layer of glue to both your natural nail and the back of the press on tip. Press the tip down at a 45-degree angle starting from the cuticle, holding it firmly for 20-30 seconds to allow the bond to set. This technique ensures that no air bubbles are trapped, which is a common reason for early lifting. For those learning how to put on press on nails, consistency and patience are your best friends.
Creative Design Ideas and Inspiration
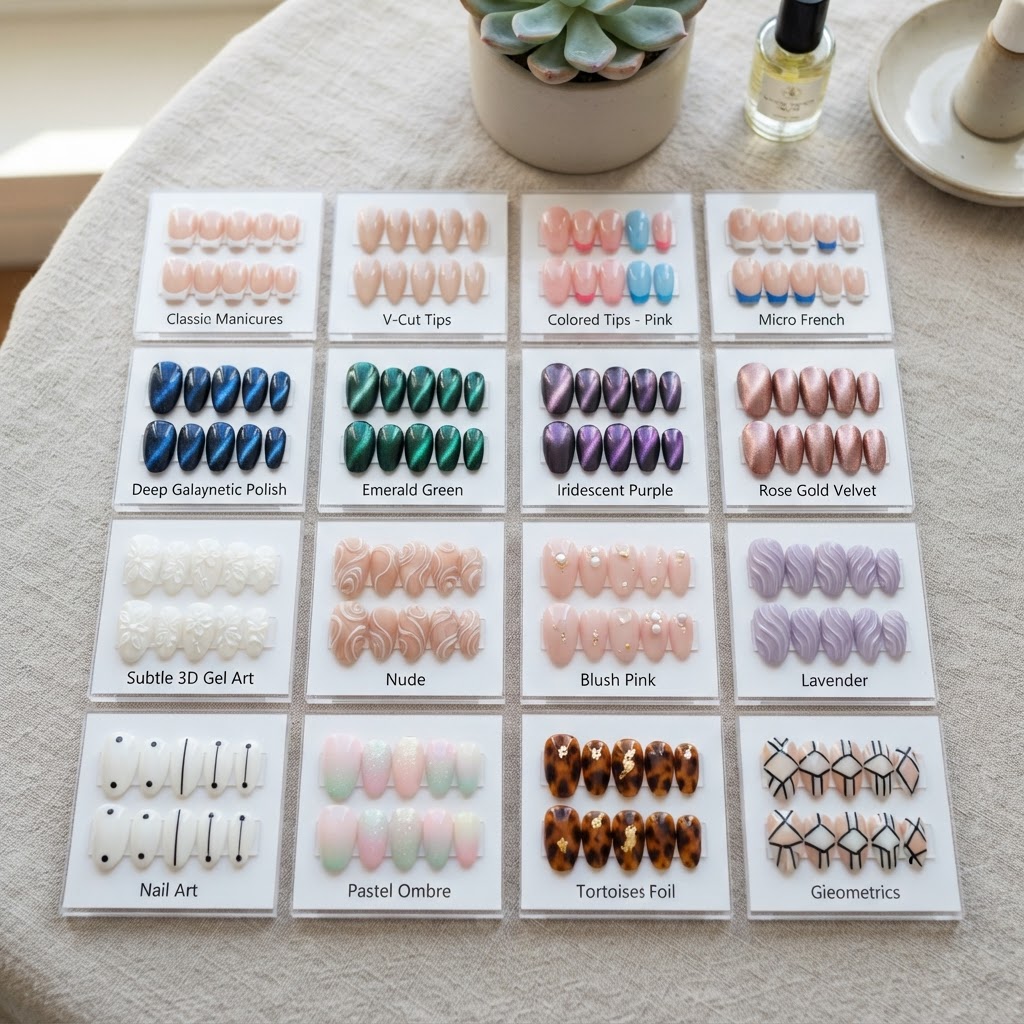
There are endless ways to express your personality through your manicure, from girly acrylic nails to simple beginner nails that anyone can pull off. If you are looking for specific trends, consider trying French nails coffin shape, which offers a sophisticated, elongating effect that works for both work and play. You can also explore tortoise shell nails tutorial videos to learn how to create intricate, moody designs that are perfect for autumn. Whether you prefer cute simple nails, artistic art deco nails, or trendy chrome nails, there is a design out there for every aesthetic preference.
Expanding Your Nail Art Repertoire
Once you have mastered the basics, it is time to experiment with more advanced techniques like 3D gel nail art design or magnetic nails to elevate your look. You can even combine different techniques, such as using blooming gel for a marble nail design or adding small jewels to create fancy nail art. Don’t be afraid to try nail inspo easy designs that allow you to practice your brush skills without needing to be a professional nail technician. The more you practice, the more confident you will become in your ability to create unique, salon-grade designs at home.
Troubleshooting Common Issues
Even with the best tutorials, you might encounter minor hurdles, such as your press on nails lifting or catching on clothing. The best way to make your press on nails last longer is to avoid prolonged exposure to hot water for the first 24 hours after application. If a nail does lift, simply clean the area with a bit of alcohol and apply a tiny drop of glue to secure it back into place. For those wondering how to make press on nails look like acrylics, focus on using a high-quality top coat to seal the cuticle area, which creates a seamless, natural transition between the artificial tip and your natural nail.
FAQ
How do I choose the right size for my press-on nails?
Selecting the right size involves measuring the width of your nail bed and ensuring the tip sits flush against your skin without overlapping. You should test the fit of each tip against your nail before applying any glue to ensure you have the perfect comfort fit.
Can I reuse my press-on nails?
Yes, you can reuse many high-quality press-on nails if you use adhesive tabs instead of liquid glue during the initial application. Simply remove any old glue from the back of the tip using a nail file or a professional glue remover to restore them for your next manicure.
How do I remove press-on nails without damaging my natural nails?
To remove your nails safely, soak your fingertips in warm, soapy water with a bit of oil for 15-20 minutes until the adhesive softens. Gently use a cuticle pusher to lift the edges, never forcing them off, to keep your natural nail health intact.
How long should press-on nails typically last?
With proper preparation and high-quality glue, your press-on nails can last anywhere from one to three weeks. Factors such as daily activities, water exposure, and the thickness of the glue will ultimately determine how long your set stays on.
Are press-on nails bad for your natural nails?
Press-on nails are generally not damaging to your natural nails if they are applied and removed correctly. The primary cause of damage is often incorrect removal techniques, so always take your time during the removal process to prevent peeling your natural nail layers.
Conclusion
Mastering these DIY press on nails tutorials is the key to maintaining a stunning, salon-quality manicure without the recurring costs. By focusing on proper nail prep, choosing the right size, and experimenting with creative nail art, you can easily achieve the perfect set of nails for any occasion. Whether you are prepping for a summer vacation or just want a fresh look for the work week, press-ons are the ultimate beauty hack for any fashion lover. Start practicing your technique today and enjoy the confidence that comes with a flawless, DIY manicure! Click here to subscribe to our newsletter for more weekly nail tips and tricks.
Leave a Reply