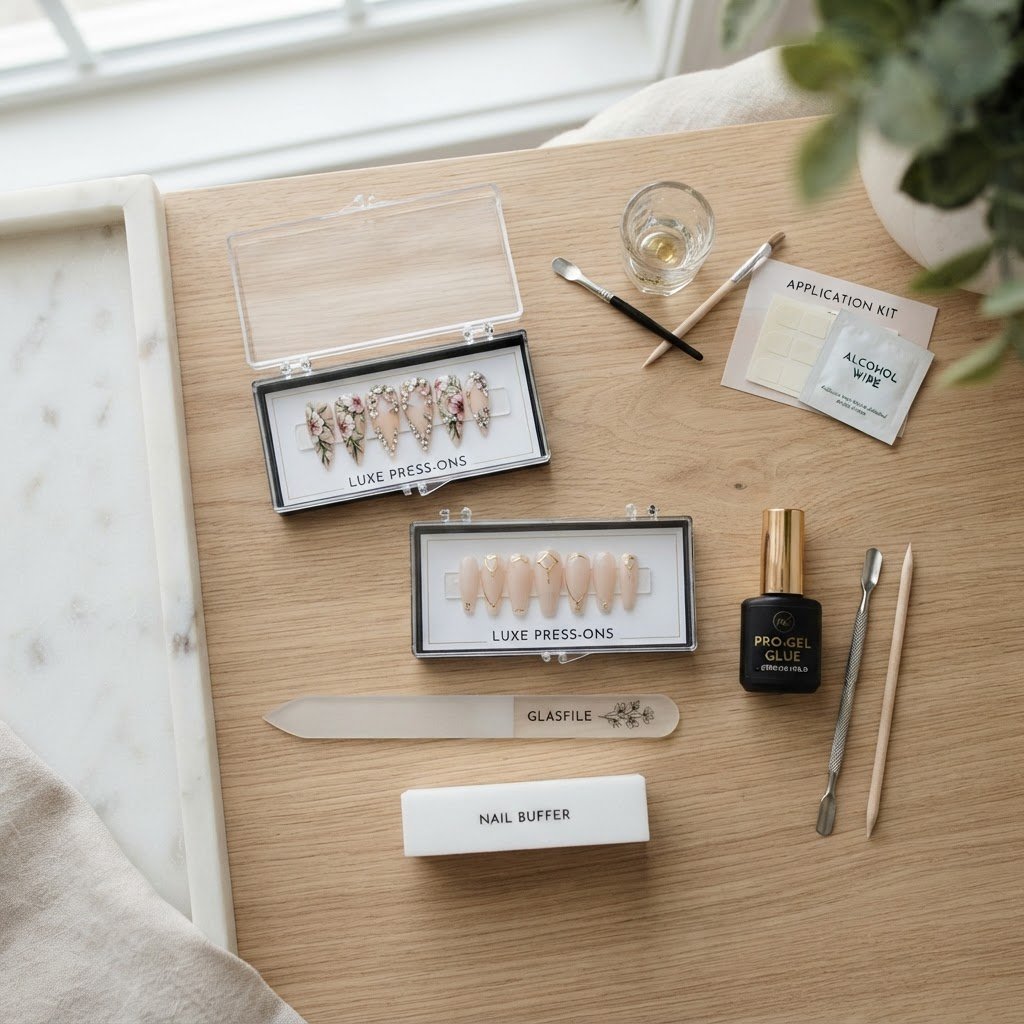
To learn how to apply press-on nails for a salon-quality manicure, you must prioritize thorough nail bed dehydration and perfect sizing. By carefully pushing back your cuticles, buffing the nail plate to remove natural oils, and selecting press-ons that fit sidewall-to-sidewall, you ensure a professional, long-lasting bond that mimics a visit to the nail salon.
The Professional Foundation: Essential Tools and Supplies
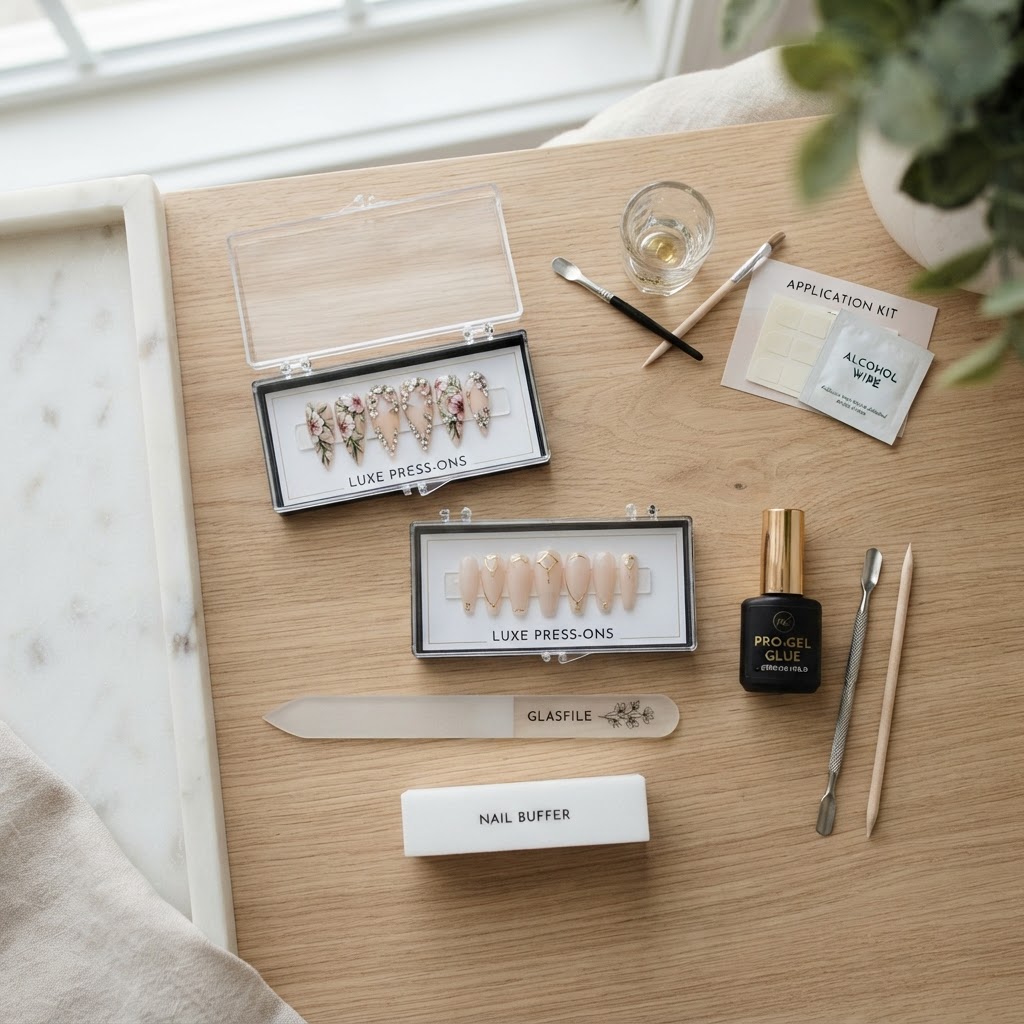
Achieving a professional-grade look requires more than just the nails in the kit; you need a curated set of professional tools. Before you begin your journey to learn how to apply press-on nails, gather a glass nail file, a 180-grit buffer, 100% pure acetone or isopropyl alcohol, a cuticle pusher, and high-quality brush-on nail glue. While many kits include basic items, a professional nail tech knows that the quality of your prep tools determines the longevity of your manicure. Invest in a sturdy cuticle pusher to clear away invisible skin from the nail plate, as this is the most common point of failure for press-on adhesion. A clean, debris-free nail bed is the secret to ensuring that your press-ons stay put for two weeks or longer.
Precision Prep: The Nail Tech Secret to Durability
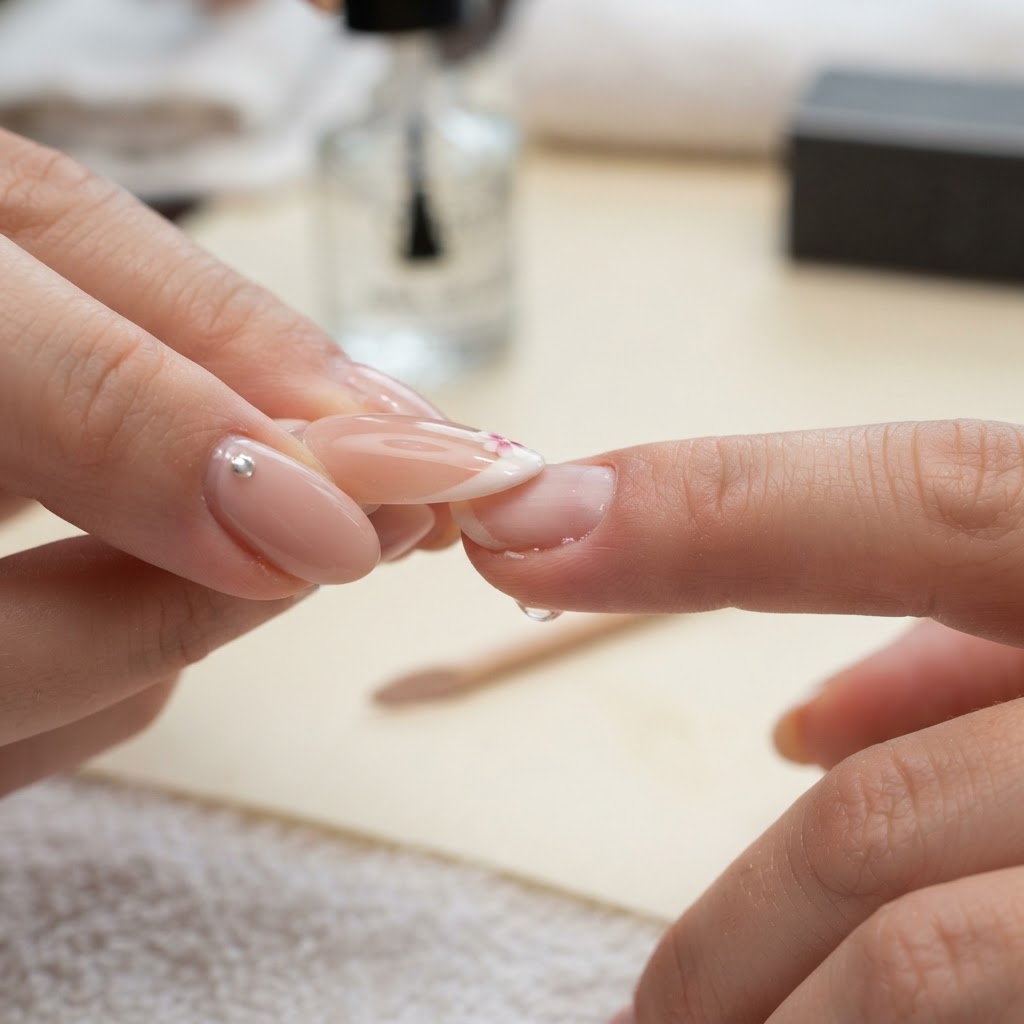
Proper nail prep is the most critical step in ensuring your manicure lasts. You must treat your natural nails as a canvas, which requires removing all moisture and surface debris. Start by gently pushing back your cuticles to expand the surface area for the nail tip. Next, use a 180-grit buffer to lightly scuff the entire surface of your natural nail; you are looking for a matte finish, not a deep groove. This creates the texture necessary for the glue to anchor securely to the nail plate. After buffing, wipe each nail thoroughly with a lint-free wipe saturated in 90% or higher isopropyl alcohol. This removes the dust and the natural oils that naturally secrete from your nail bed, which act as a barrier against glue adhesion. Never skip this step if you want a professional, long-lasting press on manicure.
Mastering Sizing for a Natural Fit
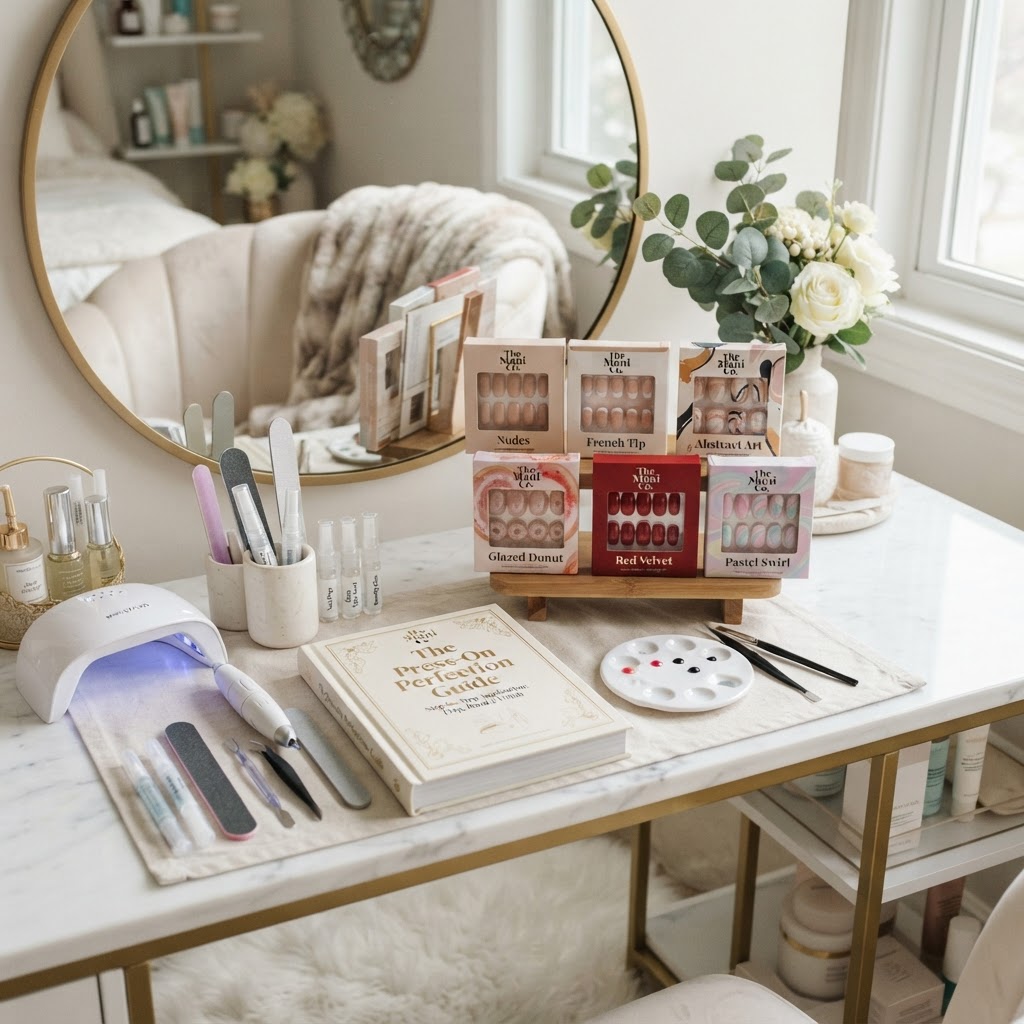
Selecting the correct size for every finger is what separates a DIY attempt from a professional set. When sizing your press-ons, the nail should sit flush against your sidewalls without overlapping onto your skin. If you are stuck between two sizes, always choose the smaller nail and lightly file the sides to achieve a custom, glove-like fit. A common mistake is using a nail that is too wide, which creates pressure points and can cause the press-on to pop off prematurely. Test the fit by placing the press-on on your bare nail; if it does not lay flat or feels like it is “bouncing” back, it is likely too large or too curved for your natural nail bed. Precision here is essential for achieving the look of DIY gel nails at home.
Comparing Glue Types for Maximum Hold
Choosing between adhesive tabs and liquid glue depends entirely on your needs. For those who want a manicure that lasts 2-3 weeks, liquid brush-on glue is the professional standard. Adhesive tabs are ideal for temporary wear, lasting 1-3 days, and are excellent for those who switch colors frequently. To maximize durability, some pros use a hybrid technique: applying a small dot of glue on the natural nail and a small amount on the inside of the press-on nail tip. This creates a stronger, more flexible bond.
The Expert Application Technique
Applying the press-on with the right angle and pressure is the final piece of the puzzle. When you are ready to apply, place a drop of glue on your natural nail and a thin, even coat on the back of the press-on nail. Hold the press-on at a 45-degree angle, aligning the base of the nail with your cuticle line, then gently lower it down onto your nail bed. Applying pressure for 15 to 30 seconds is non-negotiable. This prevents air bubbles from forming between the glue and your nail. If air bubbles are trapped, moisture can enter, leading to lifting and potential bacterial growth. Using this professional technique ensures the most durable press-on nail application possible.
Troubleshooting Common Application Issues
Even with the best techniques, sometimes you may experience lifting or sizing issues. If a nail feels like it is lifting at the cuticle, you likely used too much glue or failed to prep the cuticle area properly. Always clean the cuticle area with a small brush dipped in acetone if you notice any glue seepage during application. If a nail pops off within the first 24 hours, it is almost always due to residual oil on the nail plate; re-buff and re-clean the area before reapplying. Keeping your hands dry for at least one hour after application allows the glue to cure completely, significantly extending the lifespan of your set. These nail tech secrets for durability are the difference between a one-day wear and a two-week wear.
FAQ: Expert Tips for Press-On Success
How long should press-on nails actually last?
With proper professional prep and application, a high-quality press-on manicure should last between 14 and 21 days. Longevity is highly dependent on how well you cleaned the nail surface and avoided water contact during the initial curing phase.
Can I reuse my press-on nails?
Yes, you can reuse press-on nails if you use adhesive tabs for application. If you use liquid glue, the residue buildup often makes them difficult to reuse unless you carefully buff the underside of the press-on clean with an e-file.
Why do my press-on nails keep popping off?
They are likely popping off because of natural oil buildup on the nail bed. Ensure you are using 90% isopropyl alcohol to dehydrate the nail completely and that you are not touching your nails with your fingers after the cleaning step.
Is it bad for my natural nails?
Press-ons are generally safe, provided they are removed correctly. Never force them off. Soak them in warm, soapy water or use a cuticle oil to dissolve the glue gently. Forcing them off can strip the top layer of your natural nail plate.
Can I shower right after application?
It is highly recommended to avoid water, excessive heat, or steam for at least two hours after application. This gives the glue enough time to form a solid chemical bond with your natural nail.
Conclusion
Learning how to apply press-on nails is a transformative skill for anyone who loves a flawless manicure without the high cost of the salon. By mastering the art of professional prep, choosing the perfect size, and using the correct application technique, you can enjoy a salon-quality press on manicure that lasts for weeks. Remember, the secret lies in the foundation—clean, dry, and textured nails will always result in a more durable and beautiful finish. Practice these techniques, stay consistent with your prep, and enjoy the convenience and style of your perfect at-home nails.
Leave a Reply