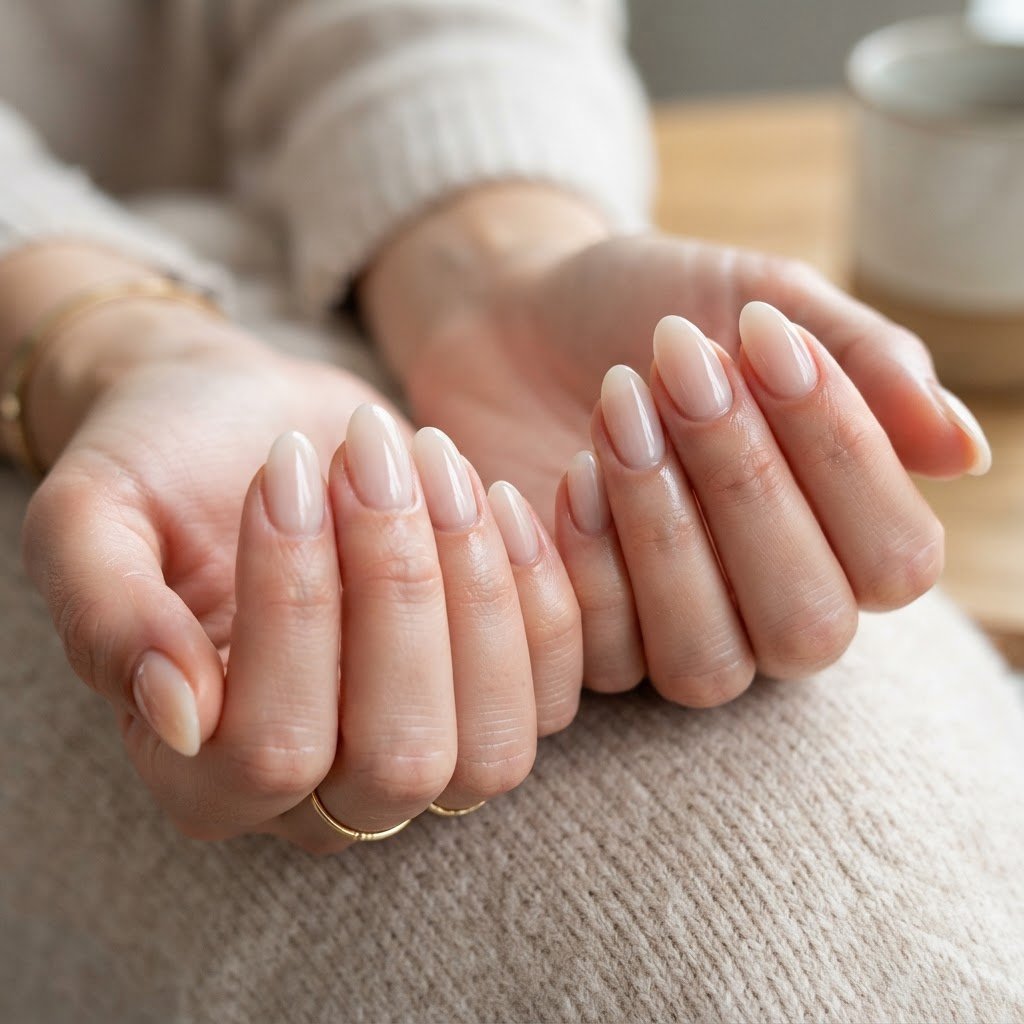
To learn how to make press-on nails look real, focus on proper cuticle preparation, size selection, and the use of high-quality adhesive. By thoroughly cleaning your natural nail plate, selecting a size that fits flush against your cuticle, and applying glue sparingly, you can achieve a seamless, professional appearance that mimics a salon gel manicure every single time.
Perfecting Your Nail Bed Preparation
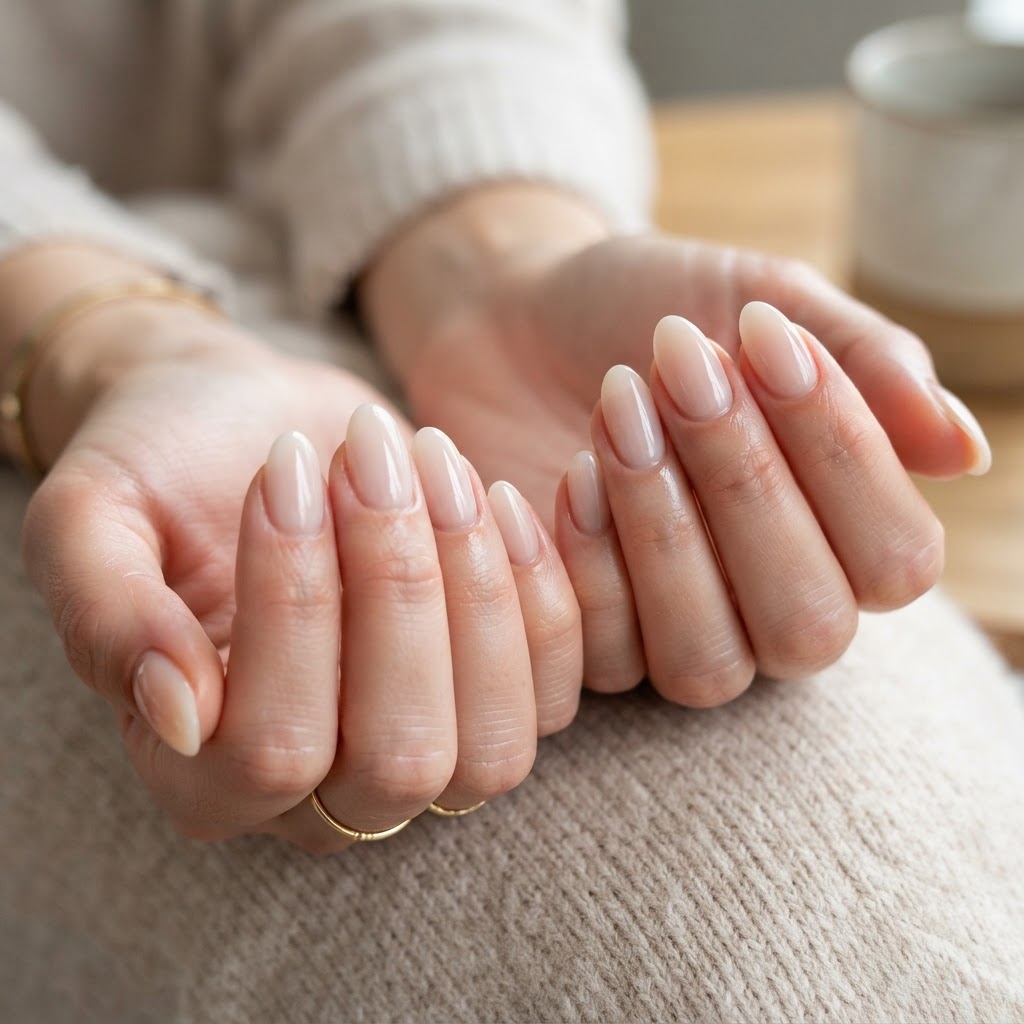
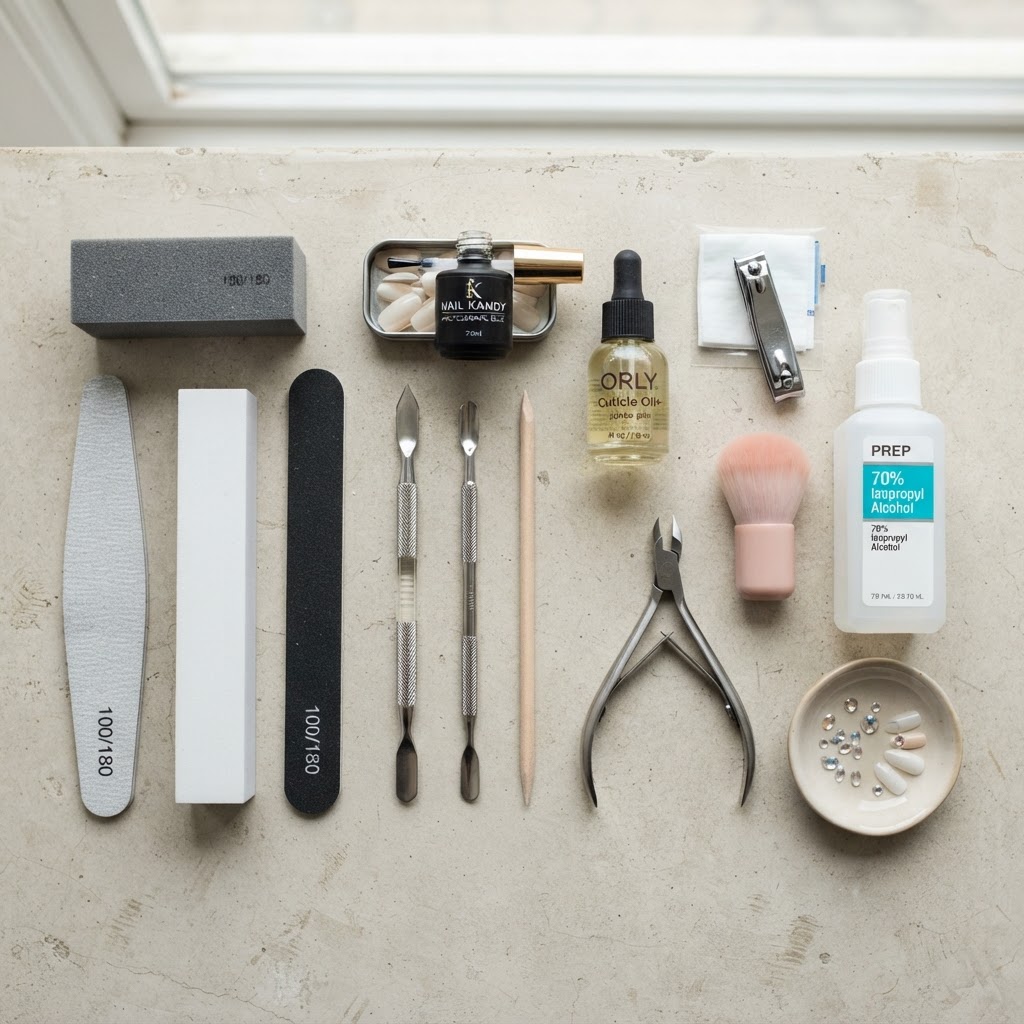
Preparation is the absolute cornerstone of a natural-looking manicure. Before applying any adhesive, you must ensure your natural nail plate is completely free of oils and debris. Start by pushing back your cuticles gently to create a clean canvas. Use a fine-grit buffer to lightly remove the shine from your natural nails; this textured surface allows the adhesive to bond significantly better. Removing surface oils with rubbing alcohol or a specialized dehydrator is the secret step most beginners skip. When your nails are dry and prepped correctly, the artificial tips sit flush against your skin rather than hovering, which prevents that tell-tale fake aesthetic.
Consistency in this prep stage is the difference between a manicure that pops off in two days and one that lasts for two weeks.
The Art of Selecting the Right Size
Finding the perfect size is arguably the most important factor in learning how to make press-on nails look real. If you choose a tip that is too wide, it will overlap your skin and look bulky, while a tip that is too narrow will leave gaps that reveal your natural nail underneath. Always aim for a size that covers your entire nail plate from sidewall to sidewall without touching your skin. If you find yourself between two sizes, it is almost always better to choose the smaller size and file the sides down slightly to ensure a custom, tailored fit. Testing the tip against your bare nail before applying any glue is a mandatory diagnostic step. When the tip curves naturally with your nail bed, the finished product looks indistinguishable from a professional set.
Professional Glue Application Techniques
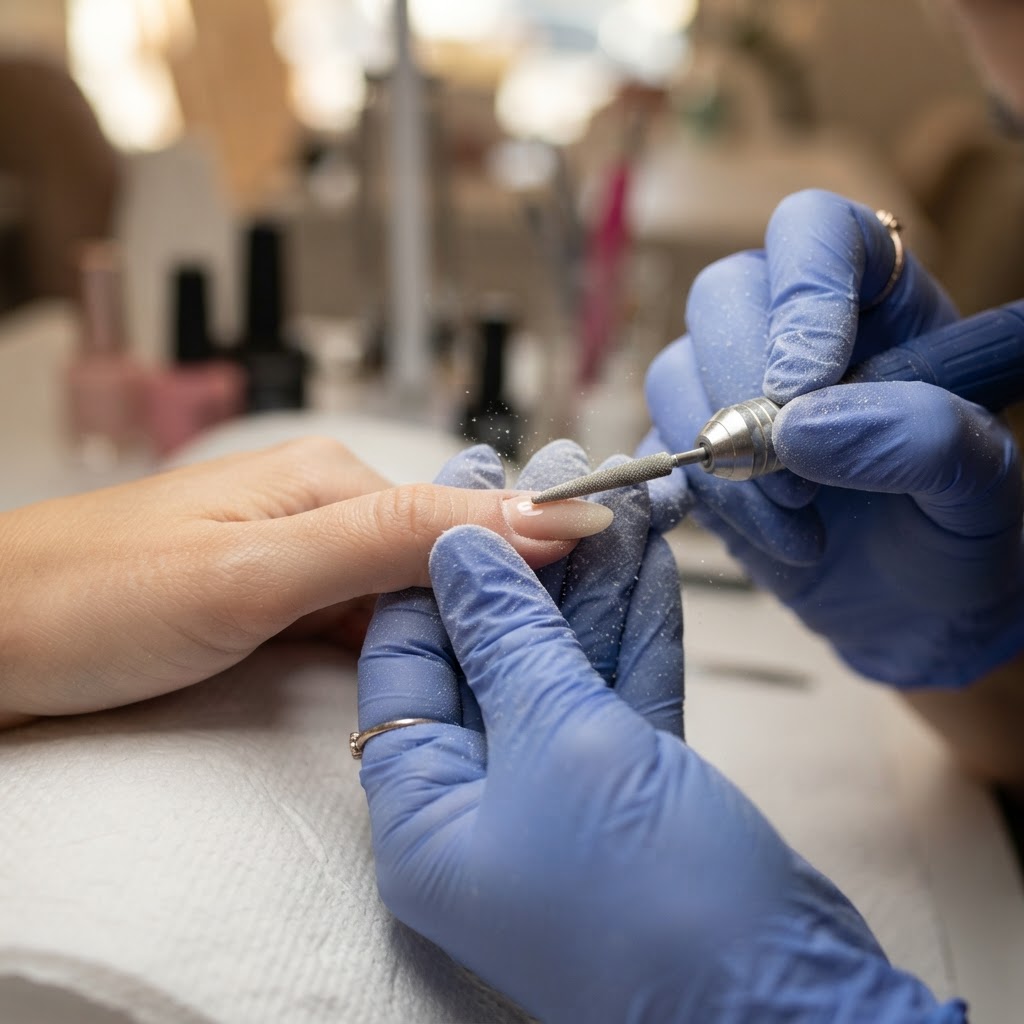
How you apply the adhesive directly impacts the longevity and natural appearance of your press-ons. Applying too much glue will cause it to seep out onto your skin, creating a messy, artificial look that is difficult to clean up. Instead, apply a small dot of glue to the back of the press-on nail and a thin line across your own nail bed. ### Choosing the Right Adhesive Type
When deciding between sticky tabs and liquid glue, understand the trade-offs. Liquid glue provides a stronger, more permanent bond ideal for those who want their manicure to last up to two weeks. Sticky tabs, however, are perfect for short-term wear and are much kinder to your natural nails. For the most realistic look, combine the two: use a thin layer of glue to anchor the press-on, ensuring a tight seal that prevents water from getting trapped underneath.
Filing and Shaping for a Custom Finish
Even the best press-ons can look slightly manufactured right out of the box. You can easily elevate your set by filing the tips to match the shape of your cuticle line. Use a hand file to gently bevel the base of the press-on nail so that it is thinner near the cuticle; this reduces the height of the “step” between the artificial nail and your natural nail bed.
This subtle thinning technique creates a seamless transition that mimics the appearance of a natural nail growing from the cuticle. Don’t be afraid to reshape the tips into your preferred almond, square, or coffin styles to match your personal aesthetic and hand shape perfectly.
Comparison: Press-On Methods
Maintenance and Long-Term Wear
To ensure your DIY manicure stays looking fresh, avoid soaking your hands in hot water for long periods during the first 24 hours. This initial cure time is critical for the glue to set fully. If you work with your hands frequently, keep a small file in your purse to buff away any minor snags or chips immediately. Applying a high-quality top coat over the entire set can also help blur the edges where the press-on meets your cuticle, adding an extra layer of protection and shine.
By treating your press-ons with the same care as a salon gel set, you can extend their lifespan significantly.
FAQ
How do I stop air bubbles under my press-on nails?
Air bubbles occur when the glue isn’t spread evenly or when the press-on is applied at the wrong angle. Always apply the nail starting from the cuticle line and press down slowly toward the free edge to push out air.
Can I paint my press-on nails?
Yes, you can apply standard or gel polish over press-on nails. Using a base coat is recommended to help the polish adhere properly to the plastic surface.
How do I safely remove press-on nails?
Soak your hands in warm, soapy water with a little bit of cuticle oil for 15 minutes. Use a wooden stick to gently lift the sides; never force them off, as this can damage your natural nails.
Why do my press-on nails look fake at the cuticle?
This is usually due to the thickness of the press-on base. Filing the base of the press-on until it is very thin ensures it sits flush against your cuticle, making it look much more natural.
How long should press-on nails actually stay on?
With proper preparation, a quality set can last anywhere from 10 to 14 days. If you use sticky tabs, expect them to last about 3 to 5 days.
Conclusion
Learning how to make press-on nails look real is a manageable skill that saves time and money. By focusing on prep, custom sizing, and careful adhesive application, you can achieve a salon-quality result at home. Remember that patience during the application process is just as important as the materials you use. Follow these expert tips consistently, and your DIY manicures will look professional every single time.
Leave a Reply