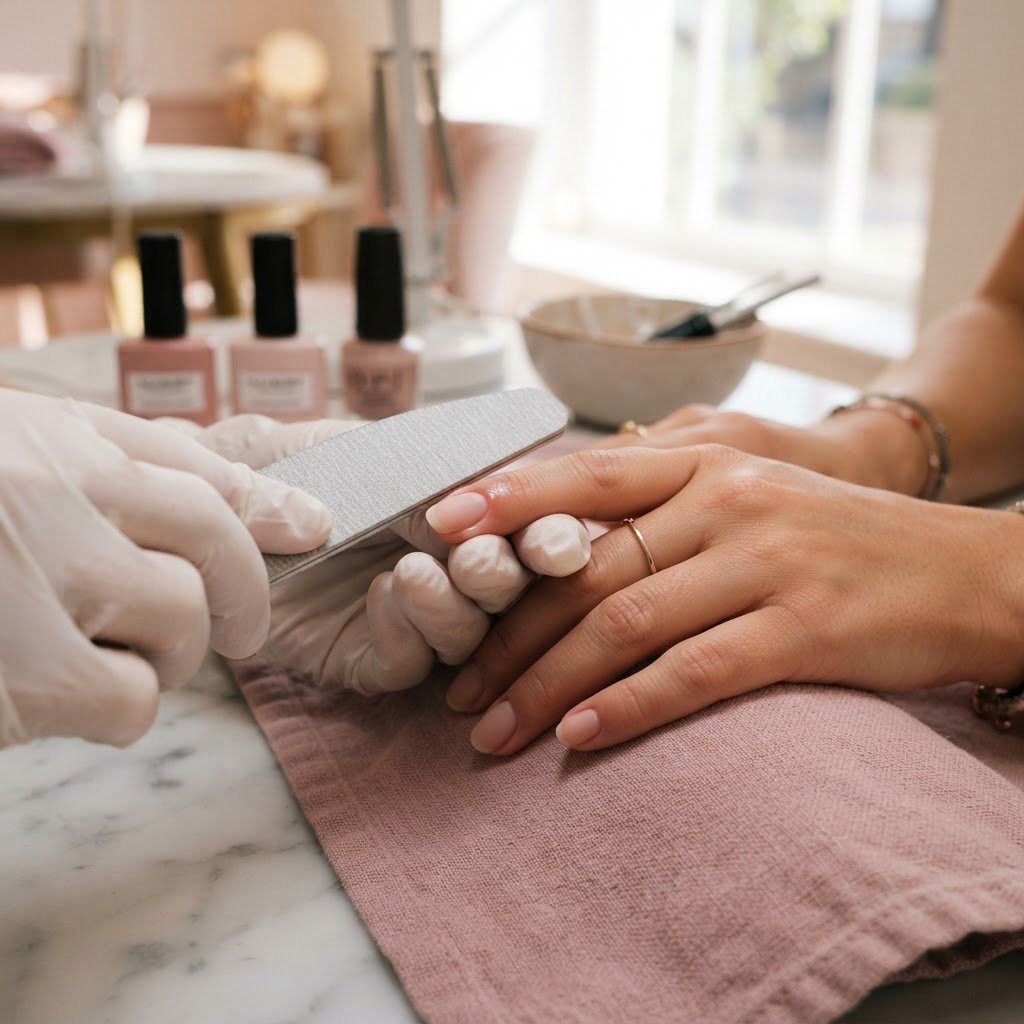
Achieving a professional-looking manicure at home is easier than ever with the right techniques. By following these expert-led press on nails tutorials, you can ensure your artificial nails look like high-end salon work, remain secure for weeks, and avoid common pitfalls. The secret lies in diligent preparation and applying the correct adhesive methods for a lasting, seamless finish.
Perfecting Your Nail Prep For Press On Nails
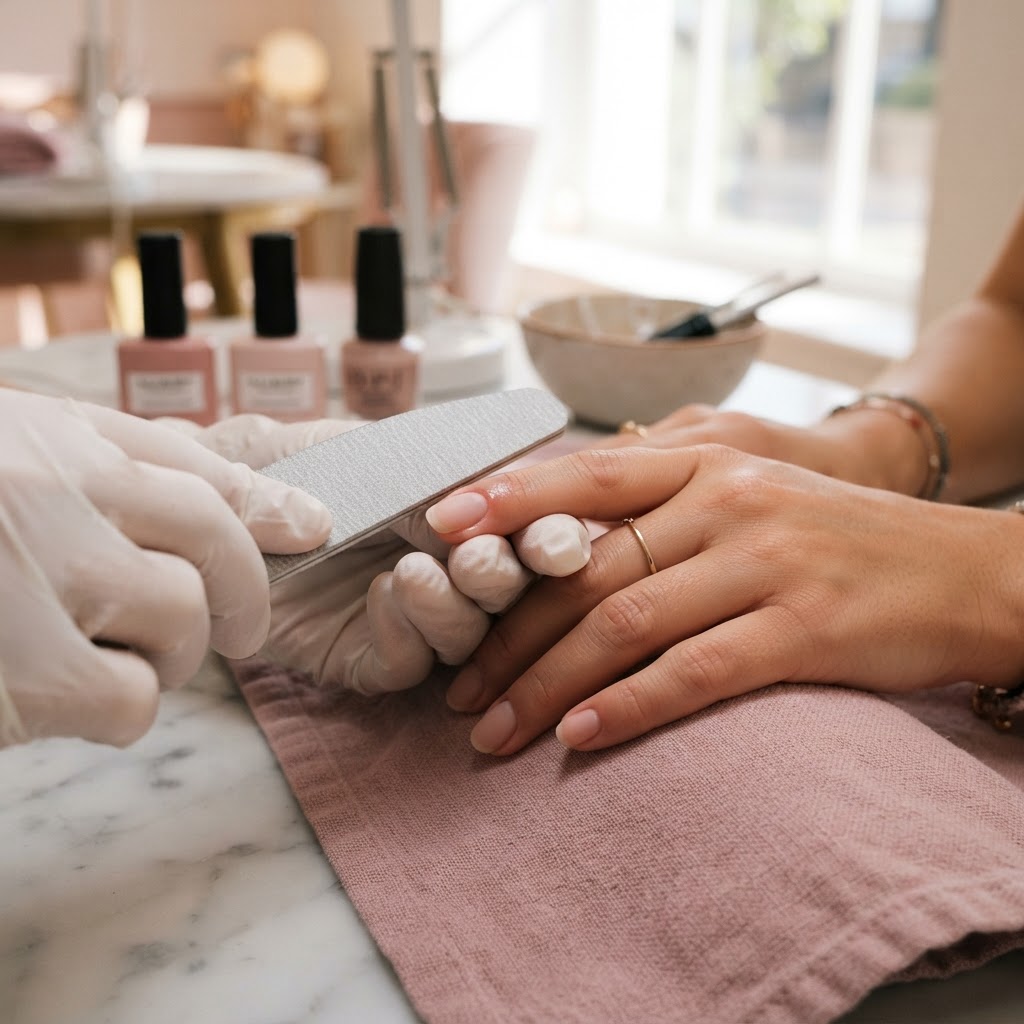
Nail prep for press on nails is the single most important factor in how long your set will last. If you skip this step, your nails will pop off within hours regardless of how high-quality the glue is. Start by pushing back your cuticle gently using a stainless steel pusher to create a clean surface area. This ensures the press-on sits flush against your natural nail bed rather than over your skin, which prevents lifting.
After pushing the cuticles, use a nail file to buff the surface of your natural nail. You want to remove the shine to create a “tooth” for the glue to grip. Clean the nail thoroughly with an alcohol pad to remove any lingering oils or dust. This deep cleanse is vital for ensuring the adhesive bond stays strong. If you are doing gel nails diy, this step is non-negotiable for success.
Choosing The Best Press On Nails And Tools
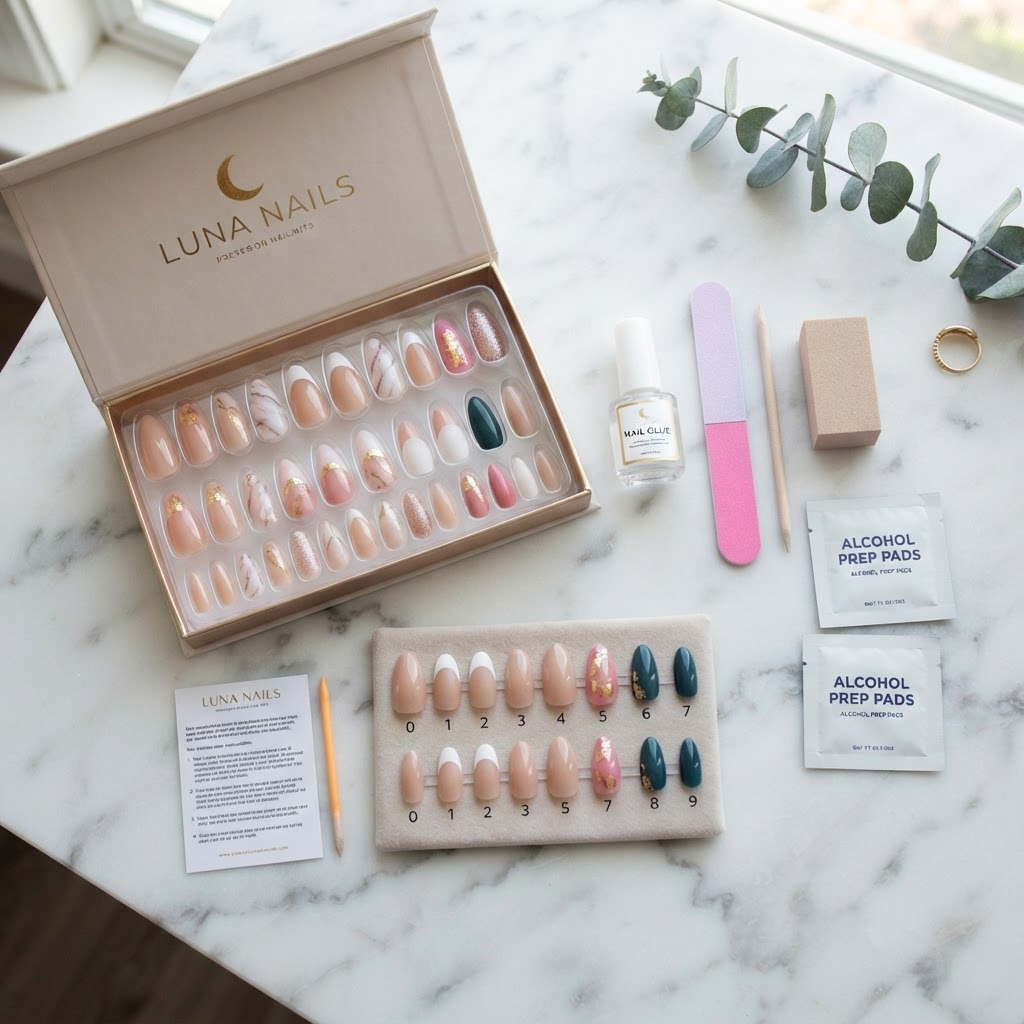
When searching for the best press on nails, consider the quality of the ABS plastic and the variety of sizes included in the nail kit. Higher quality sets provide a better fit, which contributes to a more realistic look. Look for comfort fit designs that mimic the natural curvature of your nail bed. Using a professional-grade nail glue is essential, but you can also experiment with gel glue for a more durable, cured bond.
If you want to create your own looks, you might be interested in how to make press on nails. Whether you are using press ons, girly acrylic nails, or even trying out cute simple nails, the goal is always durability. You can customize your look by using a nail tip and nail art techniques to match current trends like french nails coffin shape or trendy nails. For those interested in a nail business from home, understanding these material differences is a great first step.
Advanced Application Hacks For Realistic Results
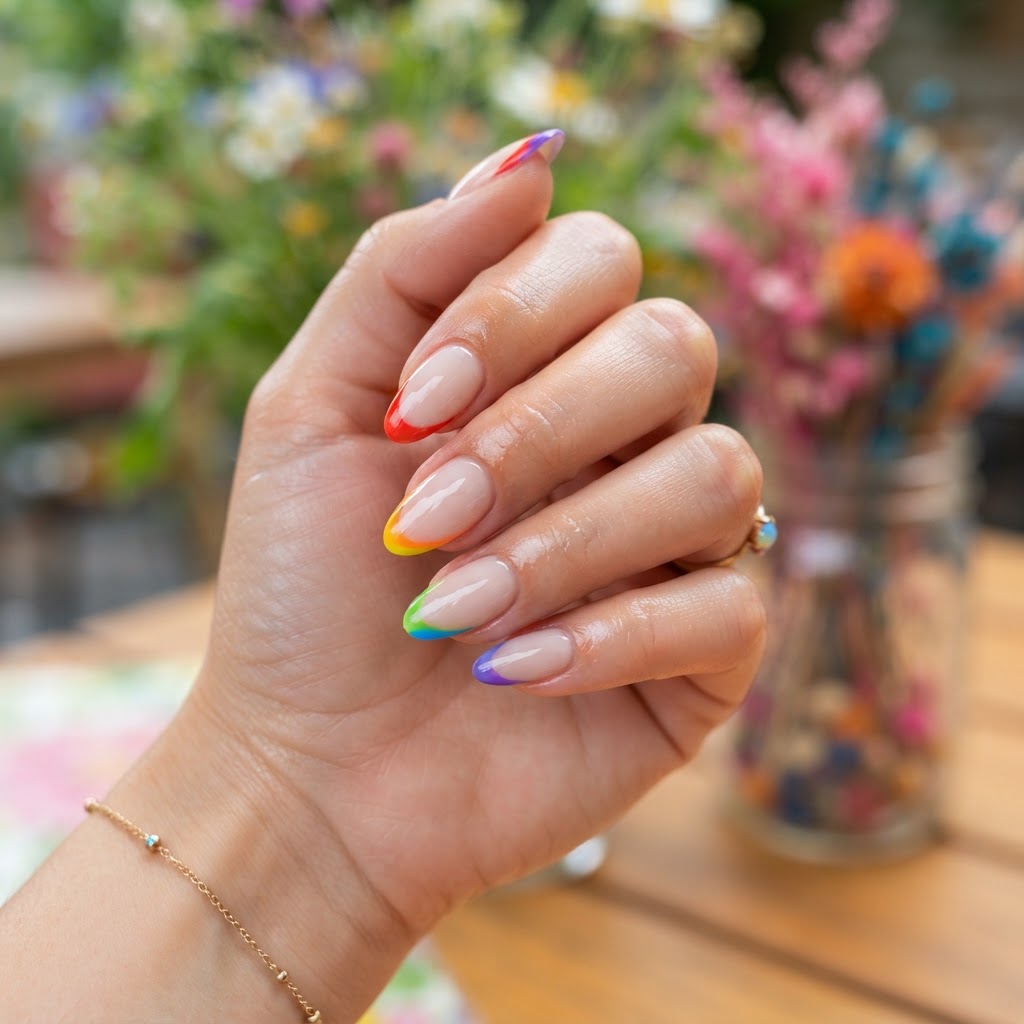
How to make your press on nails last longer often comes down to the application technique. Apply a thin, even layer of glue to both your natural nail and the back of the press on. This “double-glazing” method creates a vacuum-like seal that keeps nails secure. When applying, press and hold for at least 30 seconds to remove air bubbles, which are the main cause of premature lifting.
If you find your press ons feel too flat or artificial, use a nail file to trim the sides so they taper perfectly to your cuticle. You can also mix and match techniques; for example, try out cat eye nails polish or add 3d gel nail art design for a custom touch. Using a cuticle oil daily is a simple beauty hack that keeps your natural skin hydrated, making even the most intricate nail designs look more professional. Don’t forget that how to apply press on nails step by step is a skill that improves with every practice set.
Customizing Your Look With Nail Art Techniques
Once your set is applied, you can take them to the next level by learning how to design nails or incorporating art deco nails styles. Use a fine-tip brush for blooming nails tutorial effects or experiment with tortoise shell nails tutorial patterns. If you are into summer nails, vibrant colors and fun shapes are perfect for achieving a trendy look. You can also explore how to get better at nail art by watching various nail art videos to learn shading and line work.
Whether you prefer pretty gel nails, kawaii nails, or something more classic like french nail art designs, the possibilities are endless. You can even try your hand at beginner 3d nail art using a small amount of sculpting gel to add texture. Remember to practice your techniques on a practice nail set for beginners before moving on to your own hands. This builds muscle memory and ensures your final application is precise.
Troubleshooting And Long-Term Care
Even with the best preparation, you might encounter issues like a nail snagging or slight lifting. Keep a high-quality nail file in your purse to buff down any rough edges or to trim if you have an accident. To keep your nails looking fresh, avoid soaking them in hot water for extended periods, as this can weaken the adhesive. Always carry a small bottle of nail glue in your “nail kit” for emergency repairs.
Learning how to put on nail tips correctly or mastering how to prep nails for press ons can save you time and money. If you decide to take them off, never force them. Use a proper removal process by soaking them in acetone or using a specialized bond remover to protect your natural nail plate. For those interested in nail education, keeping a log of what worked and what didn’t will help you refine your skills over time.
FAQ
Are there press-on nails that actually work?
Yes, there are many high-quality, professional-grade press-on nails that work exceptionally well when applied with the correct techniques. By using professional nail glue and performing thorough nail prep, you can achieve a bond that lasts for two weeks or more.
What is the trick to getting press-on nails to stay on?
The main trick is the preparation of your natural nail surface, specifically buffing it to remove natural oils before application. Applying a thin layer of glue to both your nail and the back of the press-on creates a stronger, airtight seal that prevents popping.
What does vaseline do to your fingernails?
Applying a small amount of vaseline to your cuticles helps keep the surrounding skin hydrated and prevents dry, peeling skin. While it should not be on the nail plate during application (as it prevents glue adhesion), it is an excellent post-manicure care product.
What are the easiest press-on nails to use?
The easiest press-on nails for beginners are those that come with pre-applied adhesive tabs or high-quality stick-on nails that require minimal filing. These sets are perfect for those who want a quick, damage-free manicure without dealing with liquid glue.
Comparison Table: Glue vs. Adhesive Tabs
Conclusion
Mastering these press on nails tutorials will completely change how you approach your personal grooming and nail art. Whether you are aiming for a simple, clean look or elaborate salon-style designs, the foundation is always in the details of your preparation and application. Start experimenting with these techniques today, build your own nail kit, and enjoy the confidence of a perfect manicure. For more tips on nail health and artistry, keep exploring the latest trends and continue practicing your skills at home!
Leave a Reply