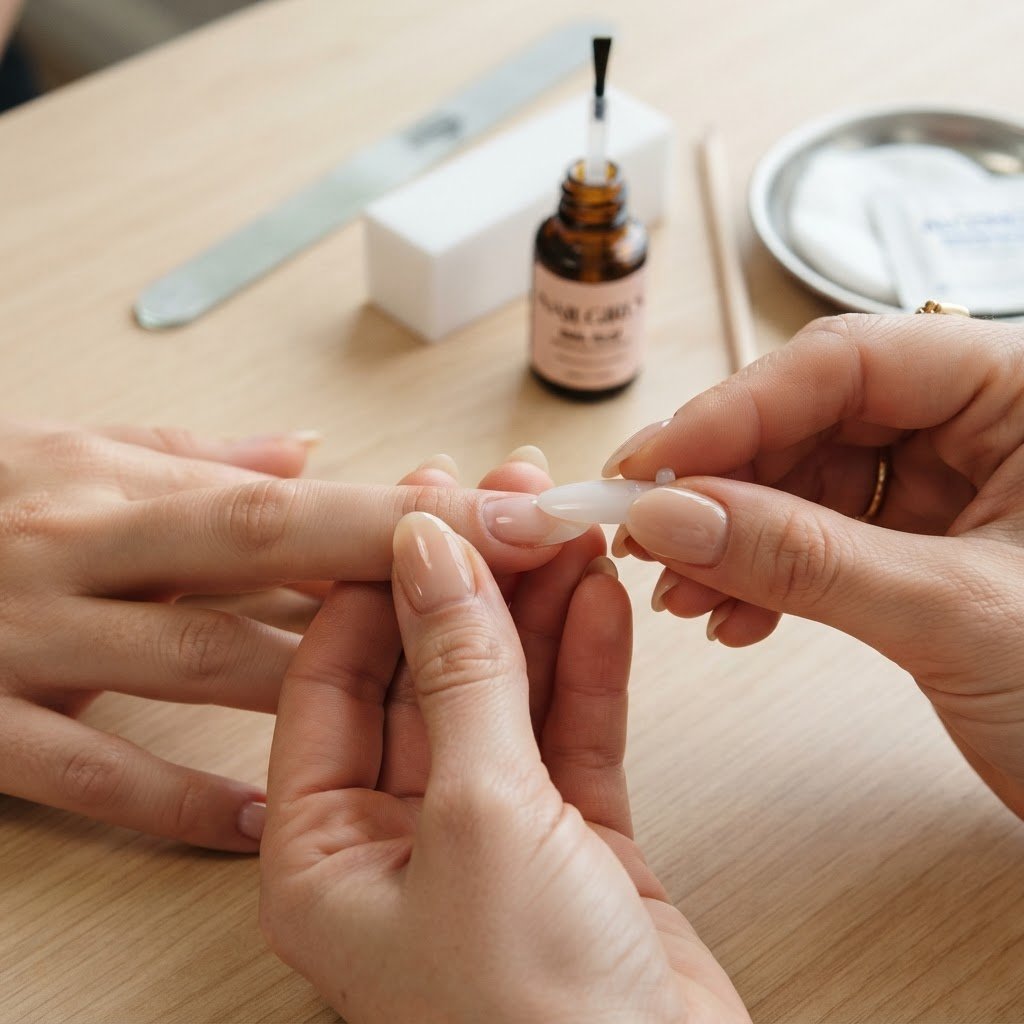
To make your manicure last longer, the secret lies in proper preparation and high-quality adhesive, which our press on nails tutorials demonstrate step-by-step. By buffing the natural nail bed, using acetone to remove oils, and choosing the right size for a comfort fit, you can ensure your press-ons stay secure for up to two weeks without popping off. Mastering these basic techniques transforms your nail game into a professional experience.
The Foundation of Long-Lasting Manicures
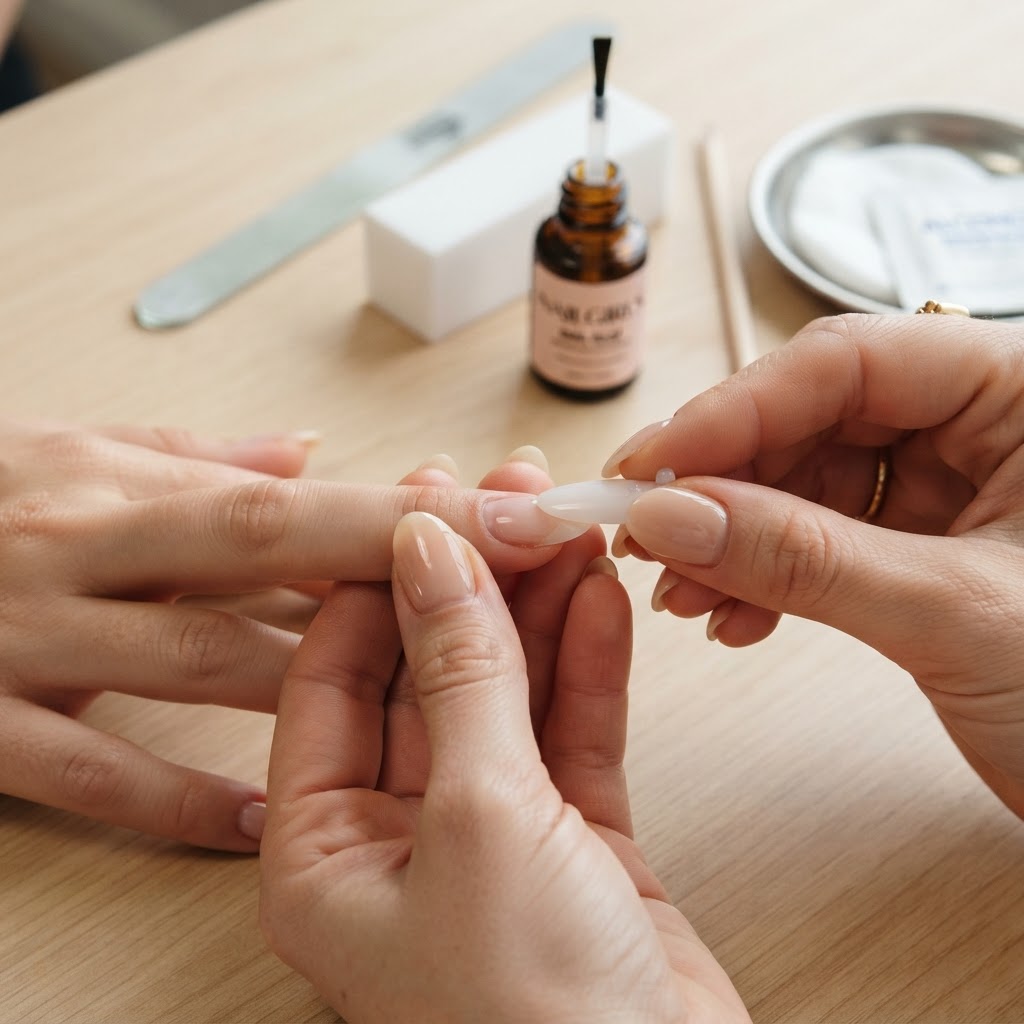
Proper nail prep for press on nails is the single most important step in your entire beauty routine. Before applying any adhesive, you must clean your nails thoroughly and buff the surface of your natural nail bed to create texture that the glue can grip effectively. This process removes natural oils that otherwise act as a barrier between your nail and the artificial nail, leading to premature lifting. Using a cuticle pusher to clean up your nail bed ensures that the press-on sits flush against your skin, providing a natural look that mimics salon style results.
When you follow these press on nails tutorials, you learn that hygiene is the backbone of great nails. Skipping the step of using acetone to dehydrate the nail plate is a common mistake that causes sets to fail within days. Investing in a good nail kit that includes a high-quality nail file and orange wood sticks will make the prep work feel like a simple, enjoyable part of your beauty ritual. Proper application is not just about the final look; it is about the structural integrity of the bond you create.
Choosing the Right Products for Your Nails
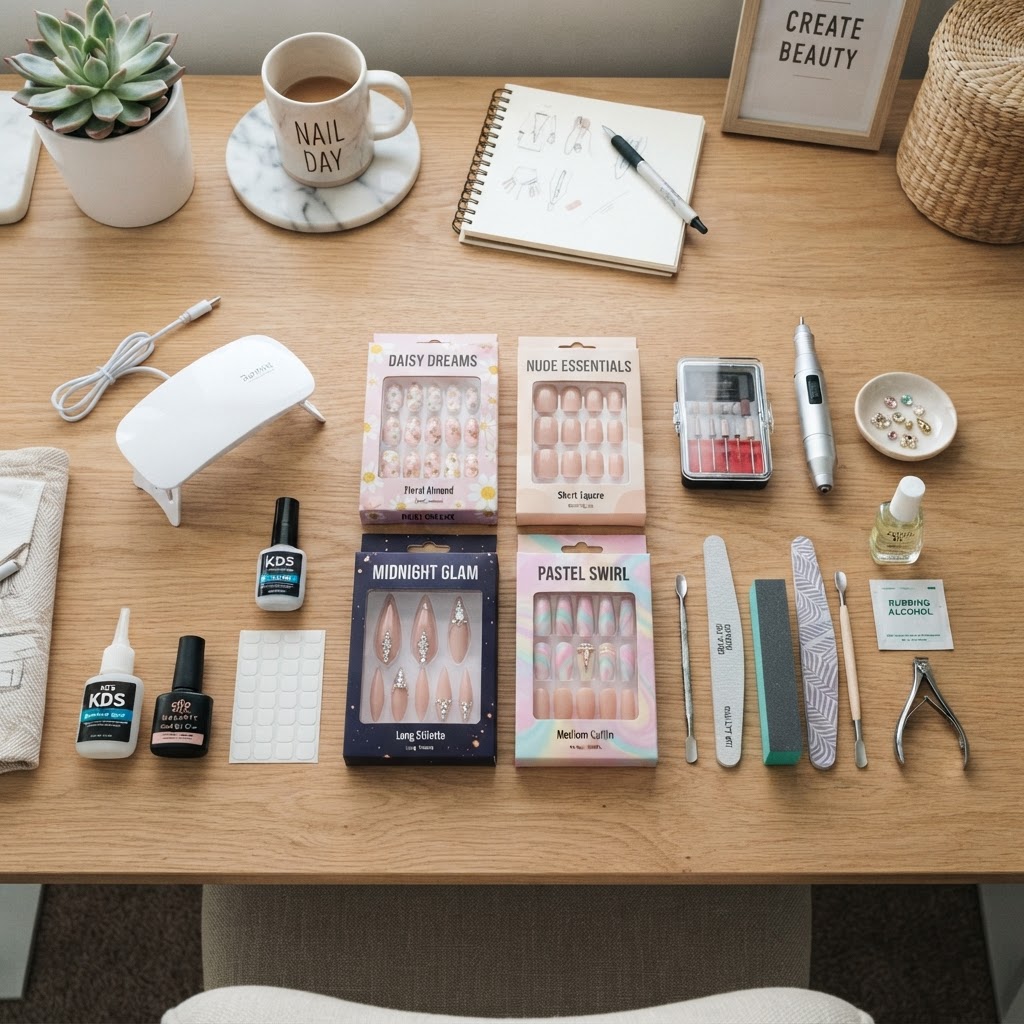
Selecting the best press on nails often involves finding a balance between aesthetic appeal and the durability of the materials. Whether you prefer gel nails diy, cute simple nails, or intricate nail designs, the quality of the press-on matters for how long they will actually stay on. For beginners, using a professional-grade nail glue or specialized adhesive tabs can make a world of difference in your daily wear. If you are interested in making your own, our guide on how to make press on nails can help you customize shapes like French nails coffin shape or trendy almond nails to suit your lifestyle.
When selecting your set, consider the flexibility of the artificial tip. A comfort fit allows the nail to flex slightly without breaking the seal of the adhesive. If you are into beauty hacks, trying different types of glue or even using a hybrid approach—applying a layer of soft gel and curing it under a lamp—can turn standard stick on nails into a long-lasting, realistic press on nails set. Always look for trendy options that fit your personal style, whether that is minimalist French nail art designs or bold, glamorous acrylic nail designs classy.
Expert Application Techniques

Learning how to apply press on nails step by step is a skill that every beauty lover should possess to save time and money. Once you have prepped your nails, apply a small drop of glue to both your natural nail and the back of the press-on to maximize surface area contact. Press the nail firmly at a 45-degree angle starting from the cuticle line, holding it in place for at least 30 seconds to ensure no air bubbles are trapped. Air pockets are the enemy of longevity; if they exist, water will seep in, weakening the adhesive and causing your nails to pop off prematurely.
If you are a beginner, practice makes perfect. Try doing your nails at home in a well-lit area so you can see exactly where the nail bed ends. Our press on nails tutorials provide a visual guide for everything from simple designs to complex art deco nails or cat eye nails polish. By following these press on nail tips and tricks, you can elevate your manicure, making your press on nails look like acrylics in minutes. Remember to trim your own nails if necessary before starting to ensure a perfect fit that stays on for days.
Comparing Application Methods
There are several ways to secure your artificial nails, and each has its own benefits depending on your desired wear time. The following table highlights the differences between common application techniques used in modern press on nails tutorials.
Using these different techniques, you can tailor your nails to your schedule. For instance, if you want a fun look for a concert, simple tabs are great. However, for work nails that need to look polished for weeks, a strong brush-on glue combined with proper buffing techniques is the superior choice. Always remember that the way you treat your nails after the manicure is also vital; wearing gloves while doing dishes and avoiding using your nails as tools will help your nails last longer.
Troubleshooting Common Issues
Even with the best preparation, you might encounter issues like lifting or cracking. If you notice a nail starting to peel, do not rip it off, as this causes significant damage to your natural nail plate. Instead, use a little cuticle oil to loosen the adhesive gently or soak them in warm soapy water. Many beginners search for how to do press on nails to avoid these pitfalls, but the real key is knowing how to react when something goes wrong.
Another common concern is the appearance of the cuticle area. If the press-on looks too fake, try filing the base slightly to match your cuticle shape. Using a sheer nude polish over the base can also blend the line between the artificial nail and your skin, creating a more realistic look. From simple beginner nails to fancy nails designs, the attention to detail at the cuticle is what separates a amateur attempt from a salon-quality set.
FAQ
What is the trick to making press-on nails last longer?
The primary trick to making press-on nails last longer is ensuring you thoroughly prep your natural nail by buffing the surface and using an alcohol wipe or acetone to remove all oils before application. This creates a clean, dry surface area that allows the adhesive to bond permanently without air bubbles.
How do I get my press-on nails to stay on?
To get your press-on nails to stay on, apply a thin, even layer of professional nail glue to both the natural nail and the back of the press-on. Hold each nail firmly at a 45-degree angle against your cuticle for at least 30 to 60 seconds to ensure a strong, air-tight seal.
How to make press-ons last 3 weeks?
To make your press-ons last for three weeks, you should use the gel glue hybrid method, which involves curing a gel-based adhesive under a UV light for maximum strength. Additionally, avoid prolonged water exposure and use cuticle oil daily to maintain the flexibility of the bond.
How do I stop my press-on nails from popping off?
To stop your press-on nails from popping off, focus on proper sizing by choosing tips that fit from sidewall to sidewall without overlapping your skin. If you select a size that is too small, the tension will cause the nail to snap off, while a size that is too large will catch on things and lift the edges.
Conclusion
Mastering your manicure at home is empowering and fun once you have the right techniques under your belt. By utilizing these press on nails tutorials, you can achieve salon-level quality without the high price tag. Remember that longevity starts with prep, so take your time, keep your tools clean, and always finish with a high-quality oil to keep your natural nails healthy underneath. If you found these tips helpful, subscribe to our newsletter for more weekly beauty tutorials and nail design ideas to keep your style fresh and trendy all year round. Start your nail journey today and show off your new look!
Leave a Reply