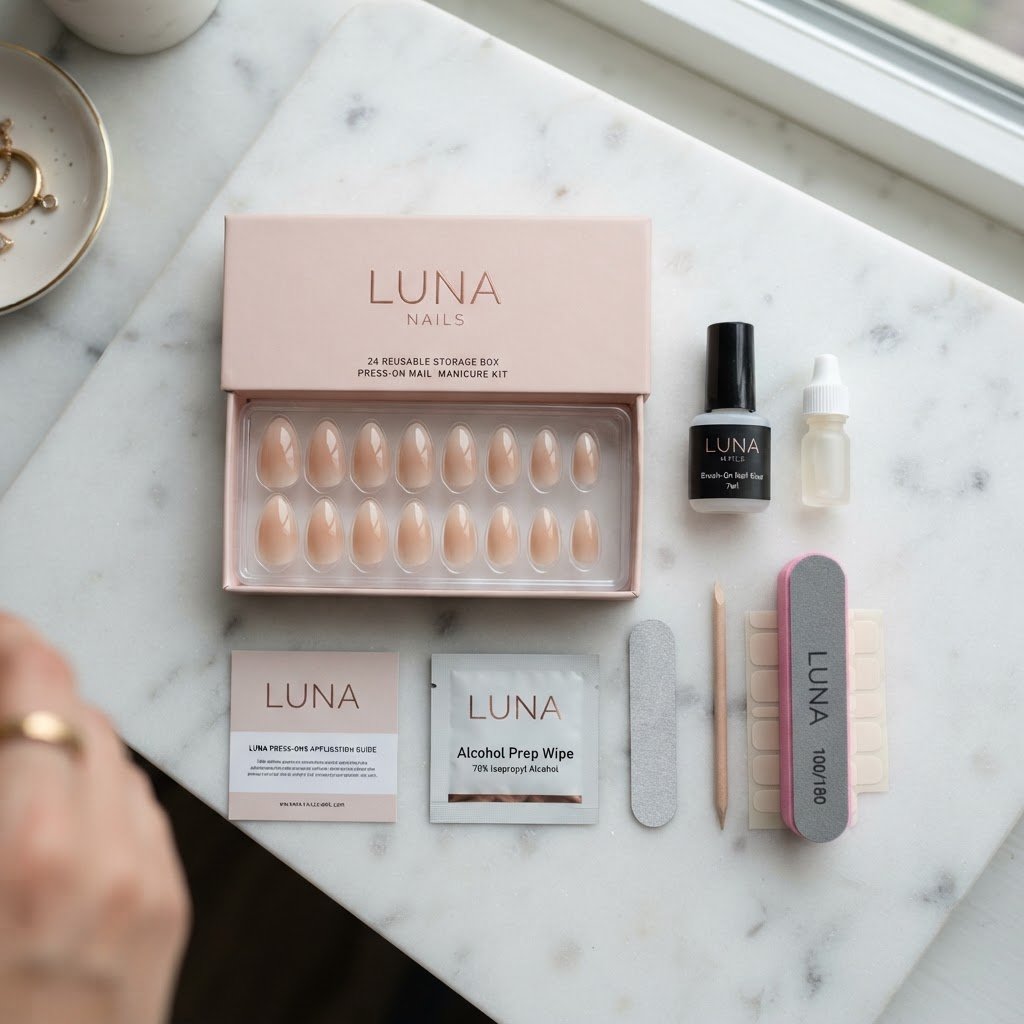
To achieve reusable press-on nails that last 2 weeks or more, the secret lies in impeccable nail bed preparation, high-quality adhesive selection, and careful cuticle sealing. By removing all natural oils, using a strong bond glue, and curing with a UV lamp, you can enjoy a durable, salon-quality manicure at home for a fraction of the cost.
The Anatomy of Long-Lasting Press-Ons
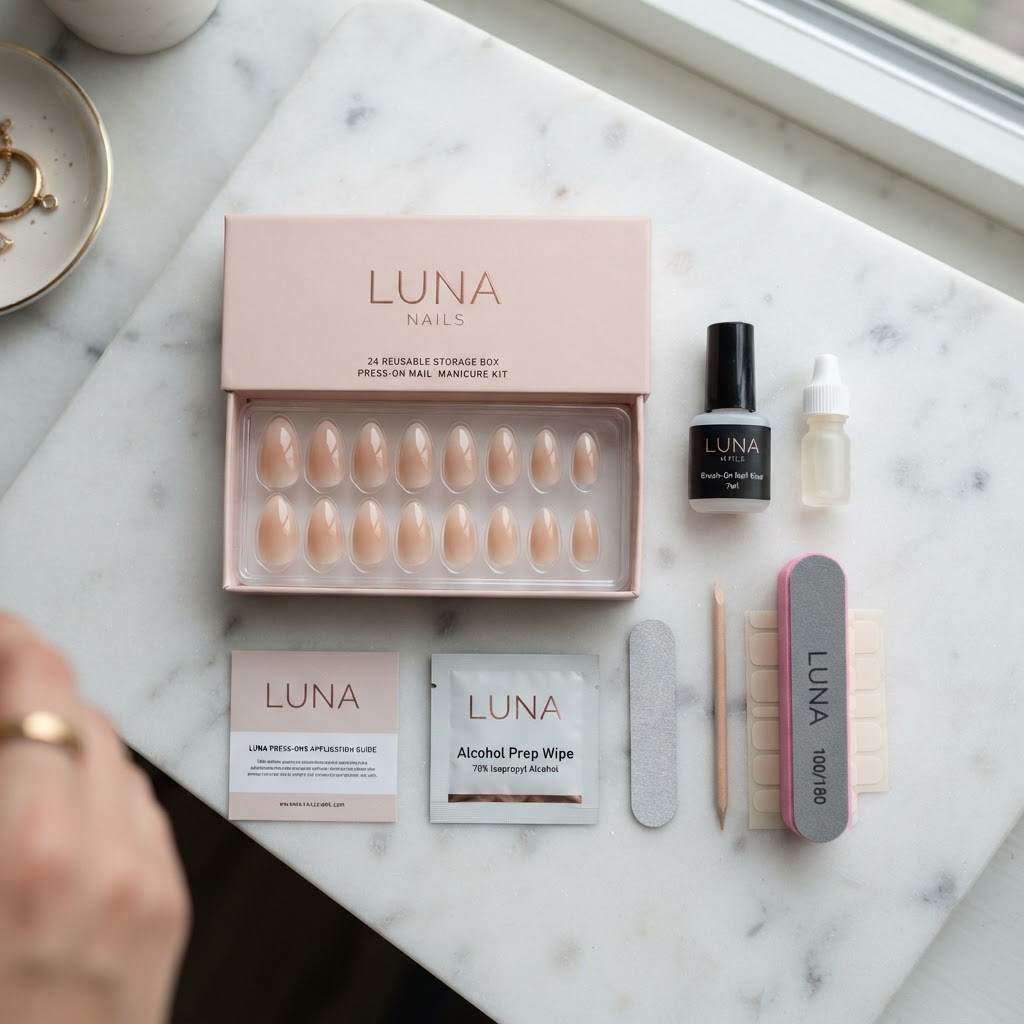
Understanding why some sets fall off while others last is key to mastering the art of the DIY manicure. Reusable press-on nails are crafted from durable ABS plastic or high-grade gel, allowing them to withstand daily wear without cracking or losing their shape. When you invest in high-quality options, you aren’t just buying convenience; you are choosing materials designed for longevity. The difference between a set that lasts two days and one that lasts two weeks often comes down to the structural integrity of the nail tip and how well it conforms to your natural nail bed curvature.
Your natural nails must be completely clean and dehydrated to ensure the adhesive creates a long-lasting, airtight seal. Start by pushing back your cuticles gently to expand the application area and remove any invisible “skin” that grows onto the nail plate. Next, use a buffer to remove the shine from your natural nails, creating a rougher surface for the adhesive to grab onto. Skipping this step is the most common reason for early lifting.
The Dehydration Routine
After buffing, wipe each nail thoroughly with 90% isopropyl alcohol or an acetone-based nail cleanser. This removes the natural oils produced by your nail bed, which act as a barrier against glue. Many enthusiasts also use a primer—a liquid acid or non-acid solution often used in professional acrylic services—to further dehydrate the surface. This step effectively ensures that your reusable press-on nails bond directly to the keratin of your nail rather than a layer of oil.
The Science of Adhesive Selection
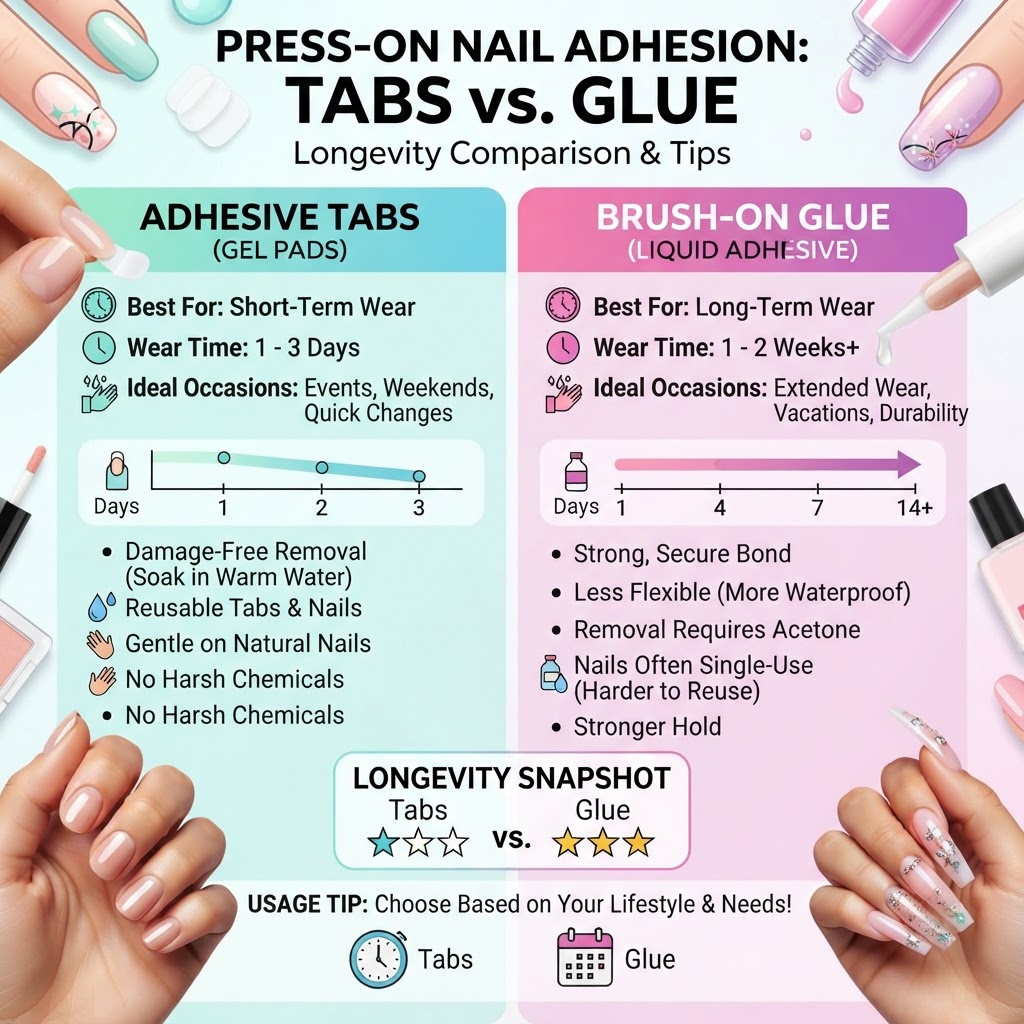
Selecting the right adhesive is critical for achieving a hold that lasts two weeks or more. Traditional nail glue works by creating a chemical bond between the plastic and your nail, but it can be drying. Gel adhesive tabs are easier to apply but often lack the staying power for long-term wear. The gold standard for longevity is a professional-grade brush-on nail glue or a “gel-cure” method using soft gel adhesive.
When applying glue, avoid “flooding” your cuticles, as this creates a weak point where moisture can enter. Apply a thin layer to your natural nail and a small dot to the back of the press-on. Hold the nail down with steady pressure for 30 seconds to ensure there are no air bubbles. Air bubbles act as a vacuum that will pull your press-on off prematurely. If you notice any glue squeezing out, clean it up immediately with a wooden cuticle stick before it cures.
Comparison: Press-On Methods
Original Insight: Most users fail because they treat the application like a temporary event. By applying a layer of top coat over the base of the nail where it meets the cuticle, you can create a “seal” that prevents water and hair from getting caught under the nail edge, significantly extending the life of the application.
Maintenance During the 2-Week Window
Maintaining your manicure requires mindfulness regarding your daily habits and manual dexterity. Even with the best reusable press-on nails, you must treat your hands with care during the first 24 hours. Avoid prolonged exposure to hot water, such as long baths or washing dishes, for at least 6 hours post-application. The heat can soften the adhesive bond before it has fully cured to its maximum strength.
For daily care, wear gloves when cleaning with harsh chemicals or scrubbing surfaces. If you notice a tiny amount of lifting at the very edge of a nail, do not pull it off! Instead, use a tiny drop of brush-on glue to reseal the gap. Carrying a small bottle of high-quality nail glue in your purse is the ultimate life hack for long-lasting press-ons. This simple habit keeps your manicure looking crisp and prevents snagging, which is the primary cause of nail loss.
Removing Reusable Nails Safely
To reuse your nails multiple times, you must avoid aggressive removal techniques that damage the plastic or your natural nail. Never pry off the press-on nails while the glue is still strong. Instead, soak your hands in warm, soapy water with a tablespoon of cuticle oil for 15 to 20 minutes. The oil will break down the bond of the glue, allowing you to gently lift the nails off without residue.
After removing them, store your nails back in their original packaging or a dedicated organizer. If there is leftover glue on the underside, use an electric nail file with a sanding band to carefully buff away the residue until the surface is smooth again. By keeping the undersides clean, your reusable press-on nails will be ready for the next application, helping you save money while maintaining a perfect salon look.
FAQ
Can I reuse press-on nails more than once?
Yes, if you remove them properly using oil and warm water, they can be cleaned and reused multiple times.
How do I stop them from popping off?
Ensure you thoroughly dehydrate the natural nail bed and avoid air bubbles during the initial application process.
Is it bad for my natural nails?
As long as you remove them gently using an oil soak rather than force, they are generally safer than acrylics.
Can I paint my own press-on nails?
You can, but ensure you use a UV-cured top coat to prevent the polish from peeling off the plastic surface.
How long should I wait before getting them wet?
It is highly recommended to keep your hands dry for at least 6 hours after application for the best results.
Conclusion
Achieving reusable press-on nails that last 2 weeks or more is entirely possible with the right technique and attention to detail. From careful surface preparation to the right adhesive choice and maintenance rituals, these tips ensure your manicure remains flawless. Start applying these expert methods today to enjoy salon-quality nails on your own schedule.
Leave a Reply