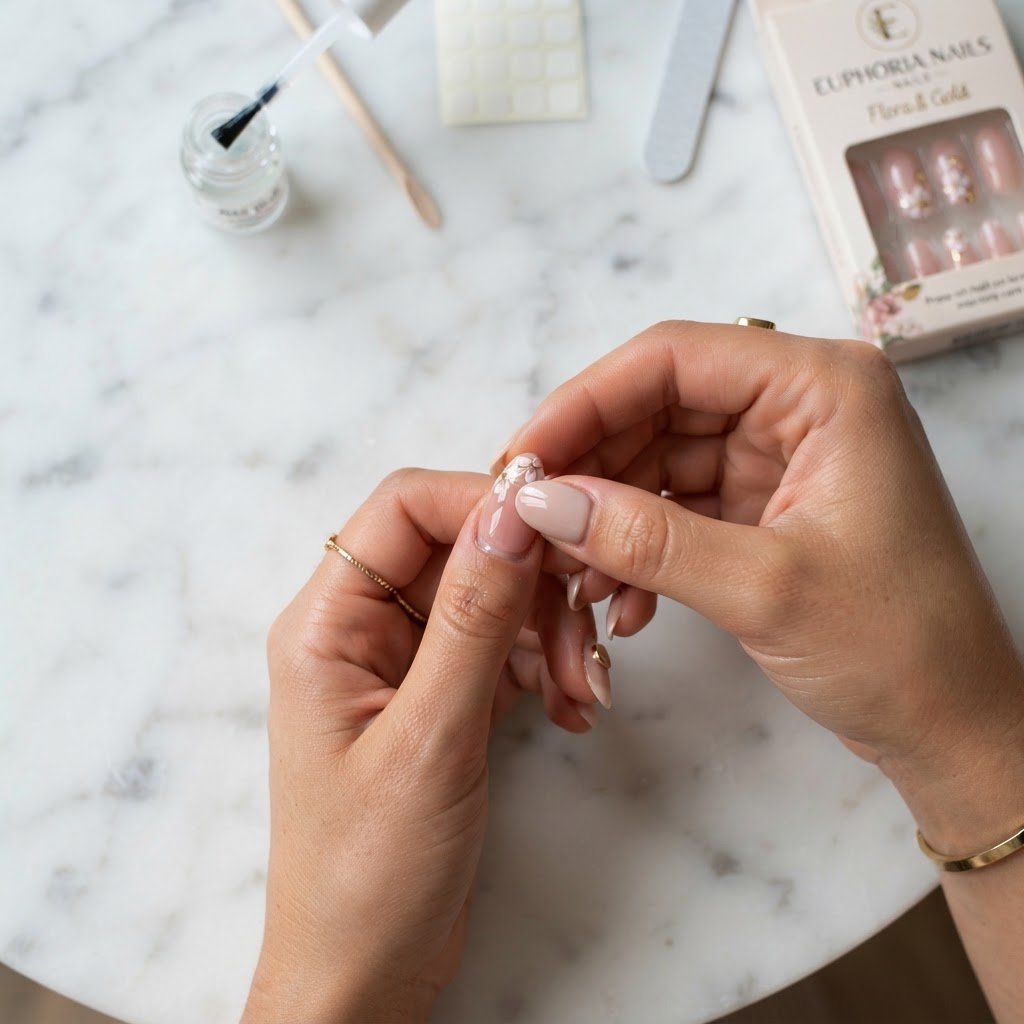
Achieving a professional-looking manicure at home is easier than ever when you follow effective press on nails tutorials. By properly prepping your natural nail surface and choosing high-quality adhesive, you can create salon-style results that last for weeks, saving both time and money compared to frequent professional visits.
Master the Perfect Press-On Application
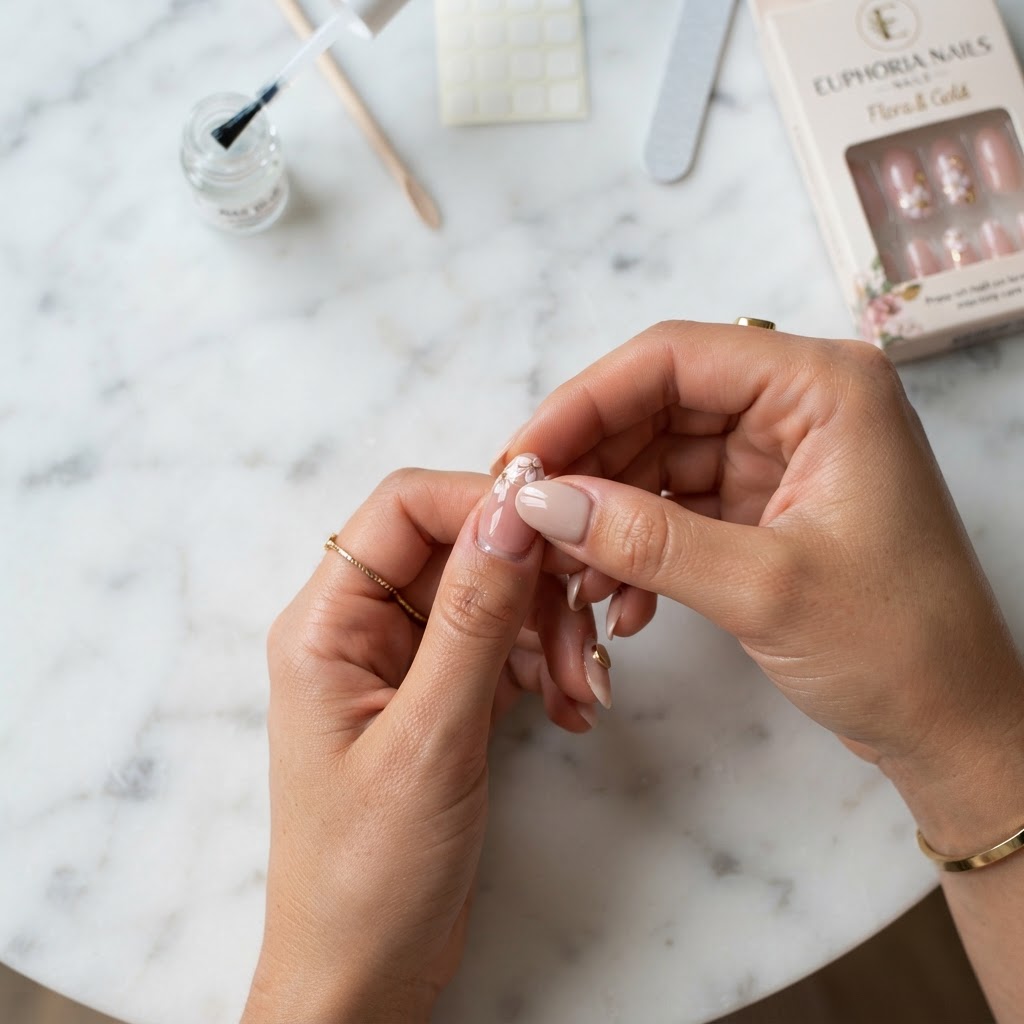
Learning how to apply press-on nails starts with the essential step of nail prep for press on nails, which ensures a long-lasting bond. A clean, oil-free surface is the secret to making sure your artificial nails stay secure and look like natural extensions of your fingertips.
Essential Prep Steps
Begin by sanitizing your hands and removing any old nail polish with a quality polish remover to ensure a clean canvas. Use a cuticle stick to gently push back your cuticle, which creates more surface area for the adhesive to grab onto. Buffing the nail plate lightly with a nail file removes shine and oils, providing a textured base for the glue or sticker to cling to effectively. Following these steps consistently will help you avoid early lifting.
Choosing the Best Press On Nails for Your Style
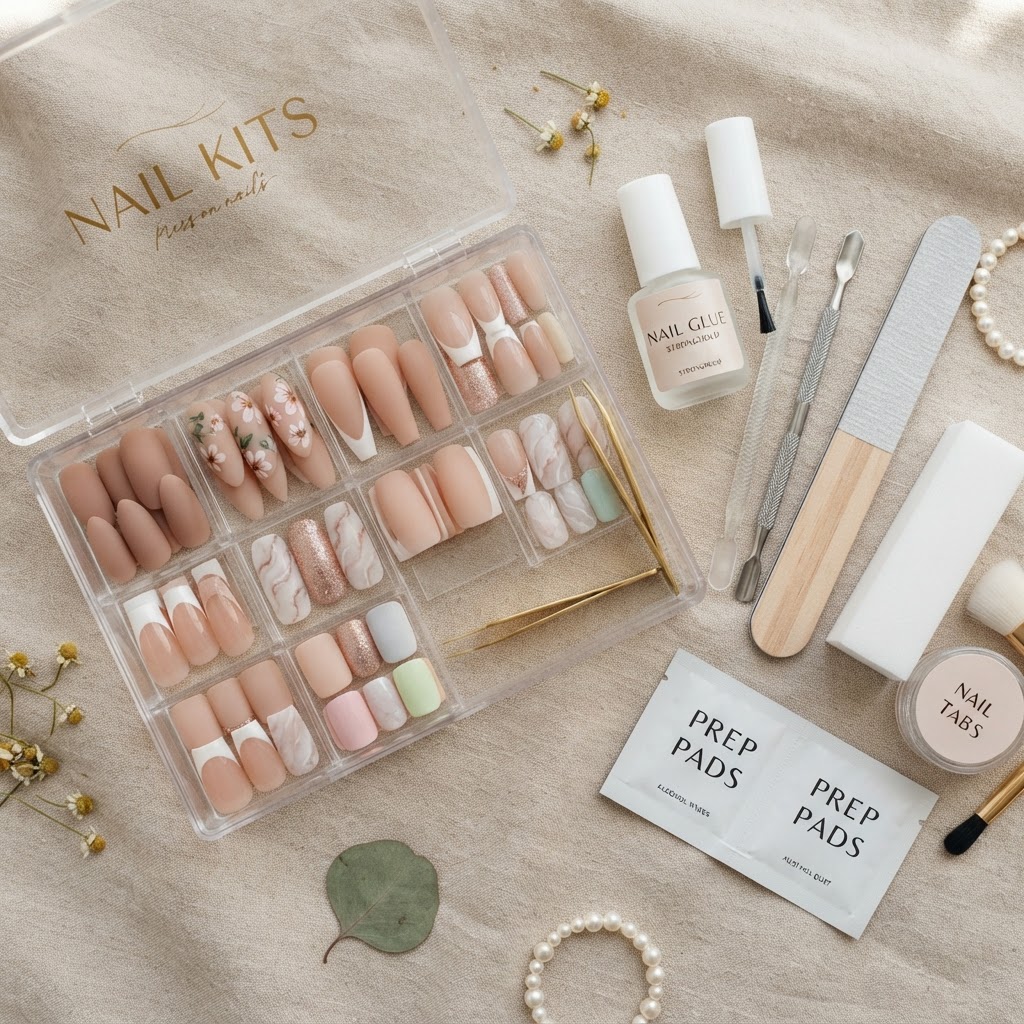
With so many options available, from press on nails french designs to trendy chrome nails, selecting the right set is part of the fun. Consider whether you prefer short box nails designs for daily wear or long coffin nails for a dramatic, chic look. When shopping, look for sets that offer a comfort fit and include a variety of sizes to match each finger perfectly, ensuring your manicure looks as realistic as possible.
Advanced Application Techniques for Professionals
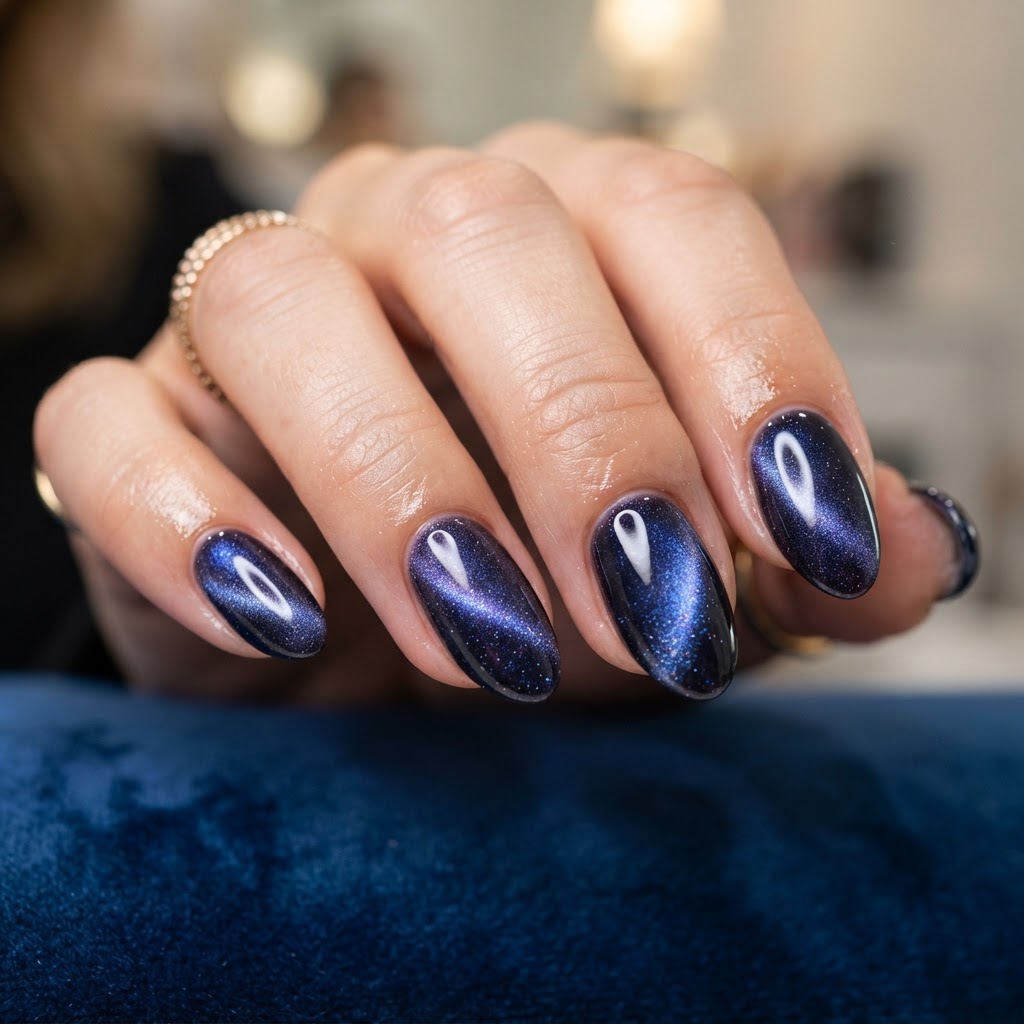
If you want to know how to make press on nails look acrylic, the trick lies in how you blend the base near your cuticle. Using a small amount of liquid nails or gel glue, you can create a seamless transition that mimics a professional set. Adding a thin layer of top coat over the entire nail can also give them that extra shine associated with high-end salon designs.
Nail Inspo and Design Trends
Whether you are into cute simple nails or want to try complex art deco nails, there is a design out there for every personality. Many people are now exploring press on nails business opportunities by creating custom designs, from marble nail design styles to trendy magnetic nails. Exploring different nail techniques like blooming art or intricate nail designs allows you to express your creativity without needing a cosmetology degree.
How to Customize Your Set
Don’t be afraid to trim your press-ons to get that perfect shape, whether you prefer almond nails or a classic square cut. You can also add embellishments like rhinestones or stickers to elevate your look from basic to fancy nails. Using a nail printer or hand-painting details allows you to transform simple press-ons into unique wearable art.
Maintaining Your Manicure
To ensure your hard work pays off, focus on how to make your press on nails last longer by avoiding excessive exposure to water and chemicals. Wearing gloves while doing dishes and applying nail oil daily keeps both your natural nails and the press-ons healthy and hydrated. If you notice a tip starting to lift, re-apply a small amount of glue immediately to prevent moisture from getting trapped underneath.
FAQ
How to make press-ons look like salon nails?
To make your press-ons look like salon nails, focus on thorough nail prep by buffing the nail plate and pushing back your cuticles before application. Select a size that fits each finger perfectly without overlapping onto the skin, and use a high-quality gel glue to provide a strong, professional-grade bond that mimics an acrylic manicure.
How do I apply press-on nails step-by-step?
Start by cleaning your nails with polish remover, then gently push back your cuticles and buff the surface of your natural nails. Choose the correct size for each finger, apply a small dot of glue to both your nail and the press-on, then press firmly at a 45-degree angle starting from the cuticle line.
How to put on press on nails professionally?
Applying press-ons like a professional involves matching the tip size to your natural nail precisely so that it covers the entire nail bed without touching the surrounding skin. Use a cuticle stick to clean up any excess glue immediately after pressing the tip down to ensure a clean, seamless finish that looks like it was applied in a studio.
How long does it take to apply press on nails?
Most people can complete an entire set of press-on nails in just 5 to 10 minutes once they have mastered the preparation steps. The process is significantly faster than traditional salon methods, making it an excellent choice for beauty lovers who have a busy schedule but still want to maintain a polished appearance.
Conclusion
Learning to master press on nails tutorials empowers you to take control of your beauty routine, providing endless possibilities for expression. From cute concert nails to elegant business nails, the right tools and techniques make all the difference. Start experimenting today and enjoy the confidence that comes with a perfect, salon-quality manicure from the comfort of your own home.
Leave a Reply