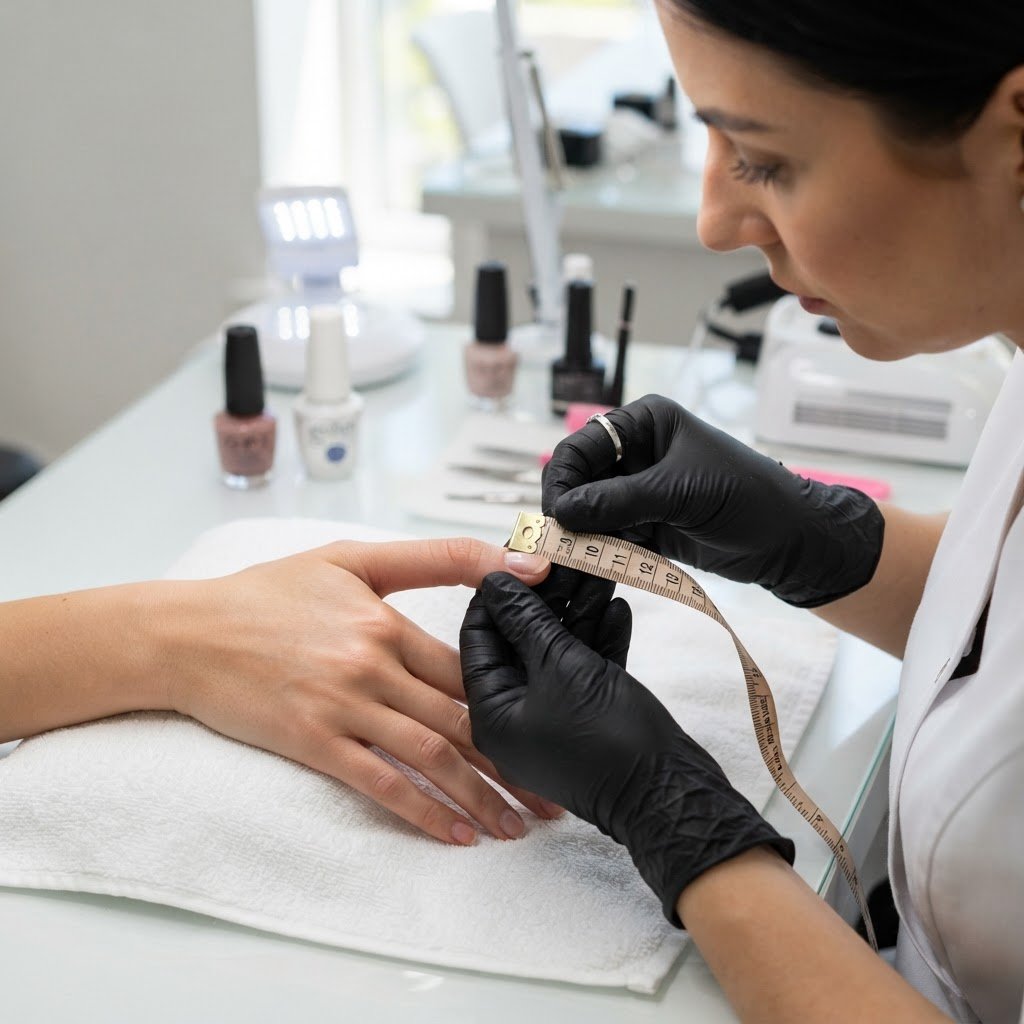
To learn how to choose and size nail tips effectively, measure the widest part of your natural nail bed from sidewall to sidewall using a soft measuring tape. Select a tip that covers the entire width without gaps, ensuring it matches your natural curvature for a seamless, long-lasting, and comfortable professional fit.
Understanding Natural Nail Bed Geometry
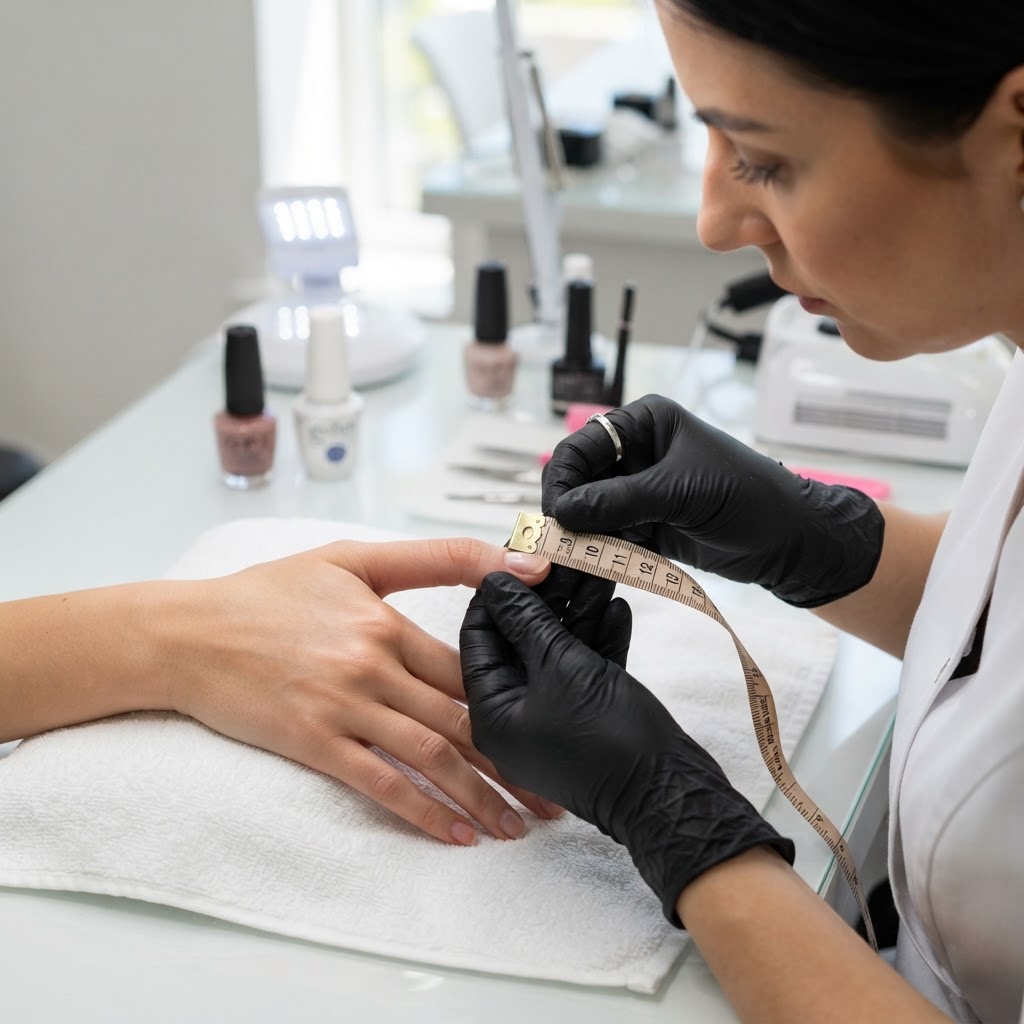
Understanding the geometry of your natural nail plate is the foundational step in learning how to choose and size nail tips. Every individual has a unique nail bed width and curvature, which dictates the type of tip you need. Using a flexible measuring tape, measure the width of your nail in millimeters at the widest point, typically located at the stress area or near the cuticle. Record these measurements for all ten fingers, as dominant hands often have wider nail beds. When you understand your specific measurements, you stop guessing and start selecting extensions that align with your natural anatomy, reducing the risk of lifting or discomfort.
The Importance of Tip Curvature and Flexibility
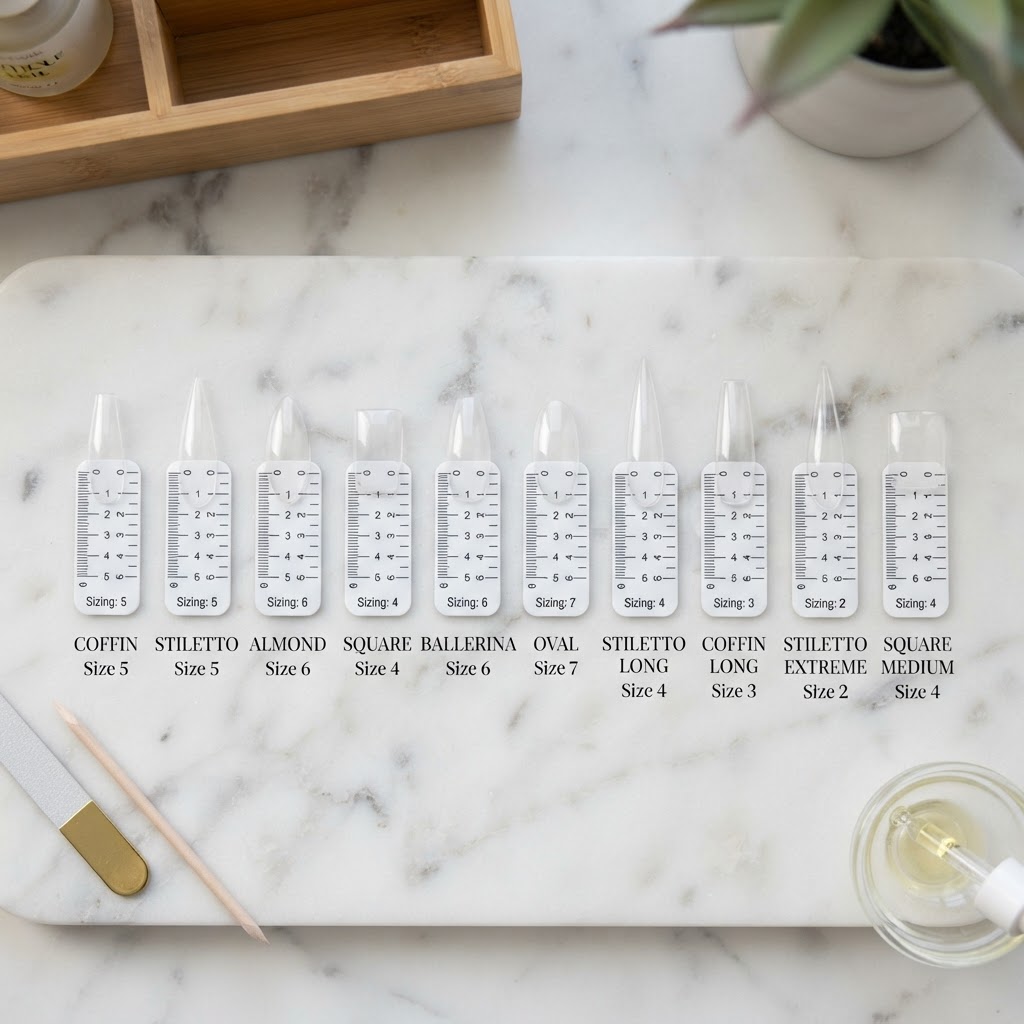
Choosing the right material and curvature is just as vital as width when mastering how to choose and size nail tips. Tips come in varying degrees of ‘C-curve’—the arc of the plastic. If your natural nails are flat, using a highly curved tip will cause pressure, leading to ‘pop-offs’ or even damage to your natural nail. Conversely, if your nails are highly arched, a flat tip will bridge over the center, creating air pockets where moisture and bacteria can gather. Always look for tips labeled with your specific curvature type. High-quality tips should be flexible enough to flatten slightly when pressed but durable enough to maintain their structure during the curing process for DIY acrylic nails or gel tip application.
Step-by-Step Measurement Technique
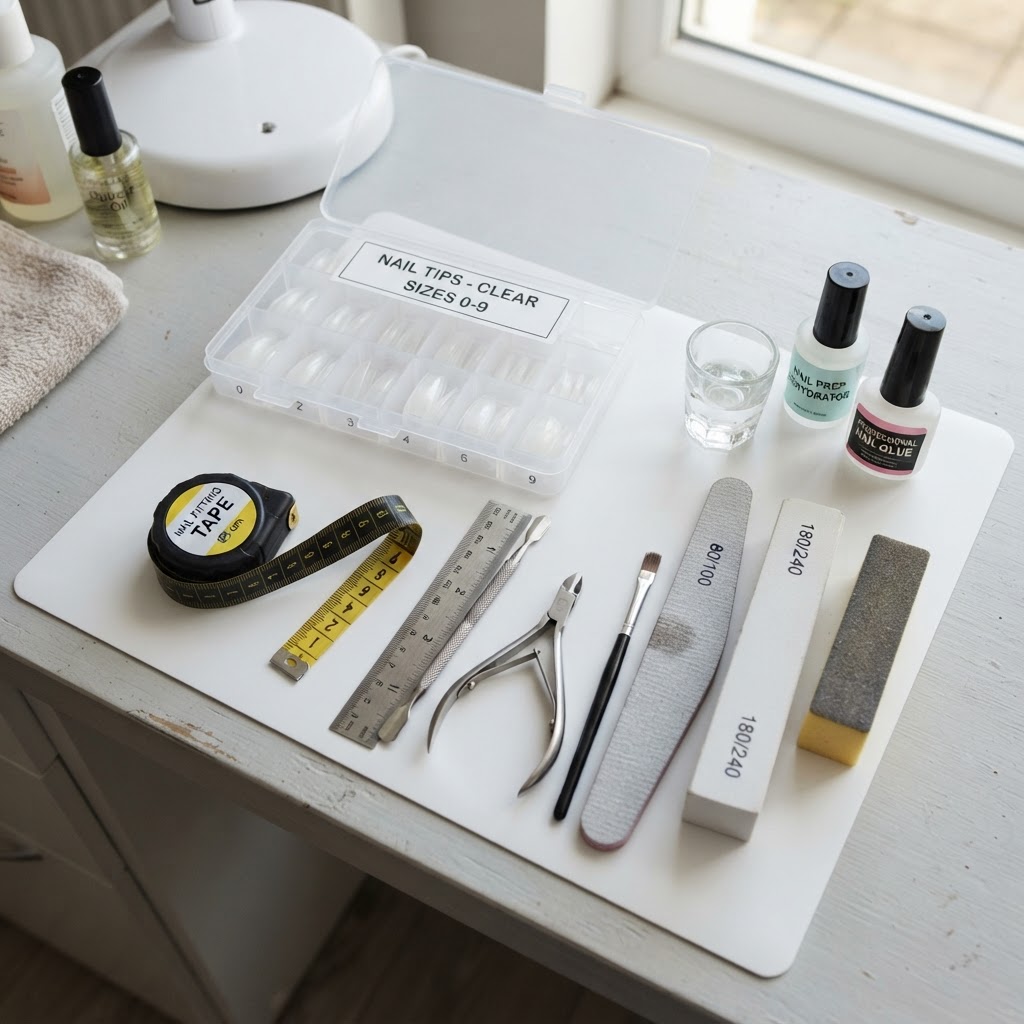
Accurate measurement prevents the common mistake of choosing tips that are either too small or too wide. Follow this professional fitting process to ensure perfect results every time:
- Prepare your natural nails by removing oils with a dehydrator.
- Place a piece of clear tape across the widest part of your nail.
- Use a fine-point pen to mark the sidewalls on the tape.
- Remove the tape and place it against a millimeter ruler.
- Compare this number to the sizing chart provided by your nail tip manufacturer.
Following this protocol ensures precision in professional nail fitting, saving you time and avoiding the frustration of reapplying extensions that do not fit properly.
Comparative Analysis: ABS Plastic vs. Soft Gel Tips
When considering how to choose and size nail tips, the material matters significantly for your end result. The following table illustrates the key differences in sizing and application.
Customizing Tips for a Perfect Fit
Even with the best sizing, you may occasionally find that a nail tip is slightly too large for your nail bed. Professional nail technicians rarely use a tip straight out of the box without some form of customization. You can easily modify a tip that is a fraction too wide by gently filing the sidewalls with a 180-grit nail file. Never file the contact area too heavily, as this can weaken the structure of the extension. By refining the sidewalls, you ensure the tip sits flush against your natural cuticle line, which is essential for preventing lifting and ensuring that your manicure lasts for two to three weeks without professional intervention.
Common Sizing Pitfalls to Avoid
Many DIY enthusiasts struggle with sizing because they prioritize the look of the tip over the health of their natural nail plate. Avoid choosing a tip that is too small, as the tension required to press it onto your nail can cause the tip to snap or put unnecessary stress on your natural nail bed. Similarly, do not pick a tip that is too wide, as it will overlap your skin and sidewalls, leading to painful lifting and potential allergic reactions from uncured products. When you learn how to choose and size nail tips properly, you prioritize the integrity of the nail unit while still achieving the aesthetic results you desire for your DIY acrylic nails or gel extensions.
FAQ
Can I resize a nail tip if it is too small?
No, you cannot safely resize a nail tip that is too small. If the tip is too narrow, it will not cover your entire nail bed, which leads to premature lifting. It is always better to size up and file the sides down to fit.
How often should I re-measure my nails?
Natural nails can change shape due to nail growth, lifestyle changes, or even changes in moisture levels. We recommend re-measuring your nail beds every six months to ensure your kit remains accurate.
Does the shape of the tip affect sizing?
Yes, coffin and stiletto shapes often require more precise sizing because they taper significantly. Always ensure the contact point of the tip fits your sidewalls perfectly.
What if my nails are different sizes on each hand?
This is completely normal. Most people have one hand that is slightly wider. Always measure each finger individually rather than assuming both hands are identical.
Conclusion
Mastering the skill of how to choose and size nail tips is the most critical step in your journey to salon-quality DIY nails. By taking the time to measure your nail beds, selecting the right material, and customizing your tips for a flush fit, you significantly increase the durability and aesthetic appeal of your manicures. Whether you prefer gel or acrylic, professional nail fitting ensures your extensions are comfortable and long-lasting, providing you with the confidence to experiment with new styles and shapes at home.
Leave a Reply