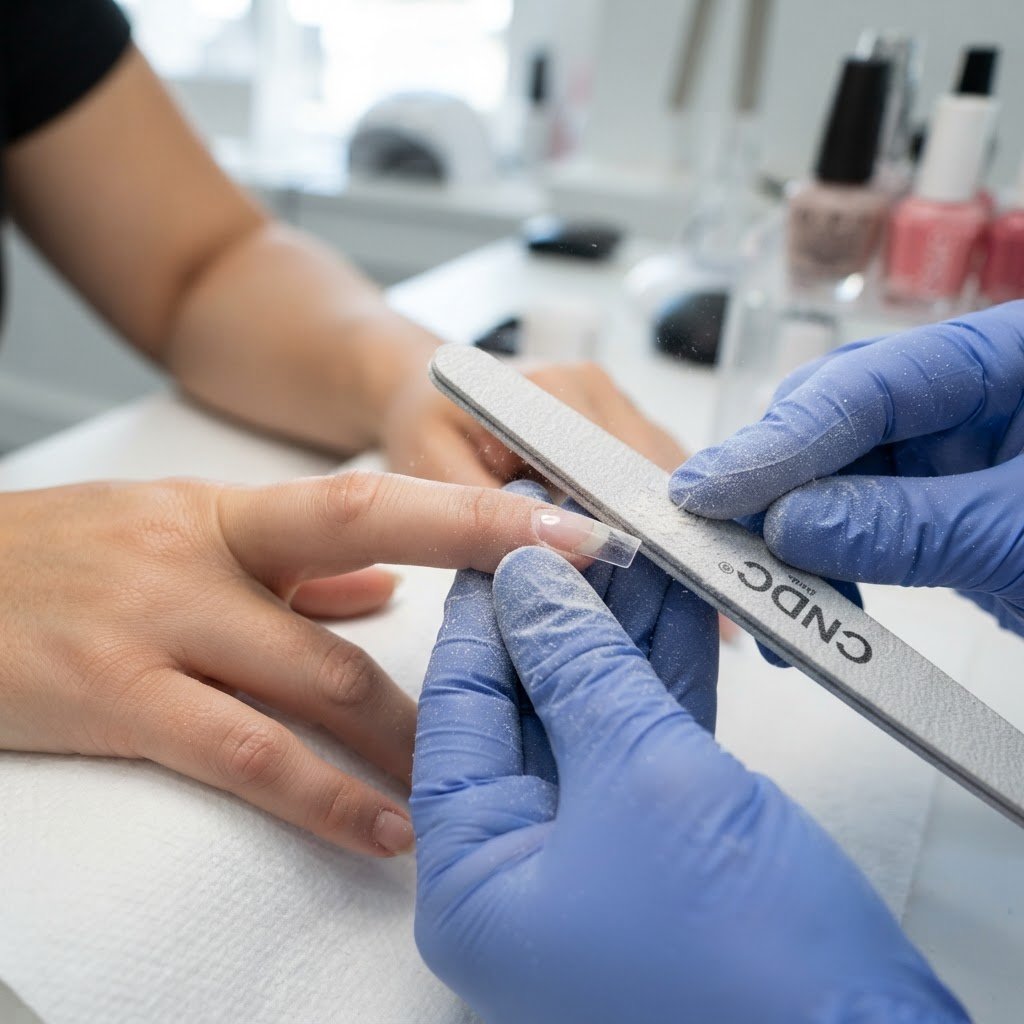
To blend nail tips seamlessly with a hand file, you must carefully thin the contact area where the plastic tip meets your natural nail. By using a medium-grit file to gently bevel the plastic edge until it is flush with the nail plate, you eliminate any visible ridge, ensuring a smooth surface for your acrylic overlay or gel extensions that looks perfectly natural.
The Art of Seamless Integration
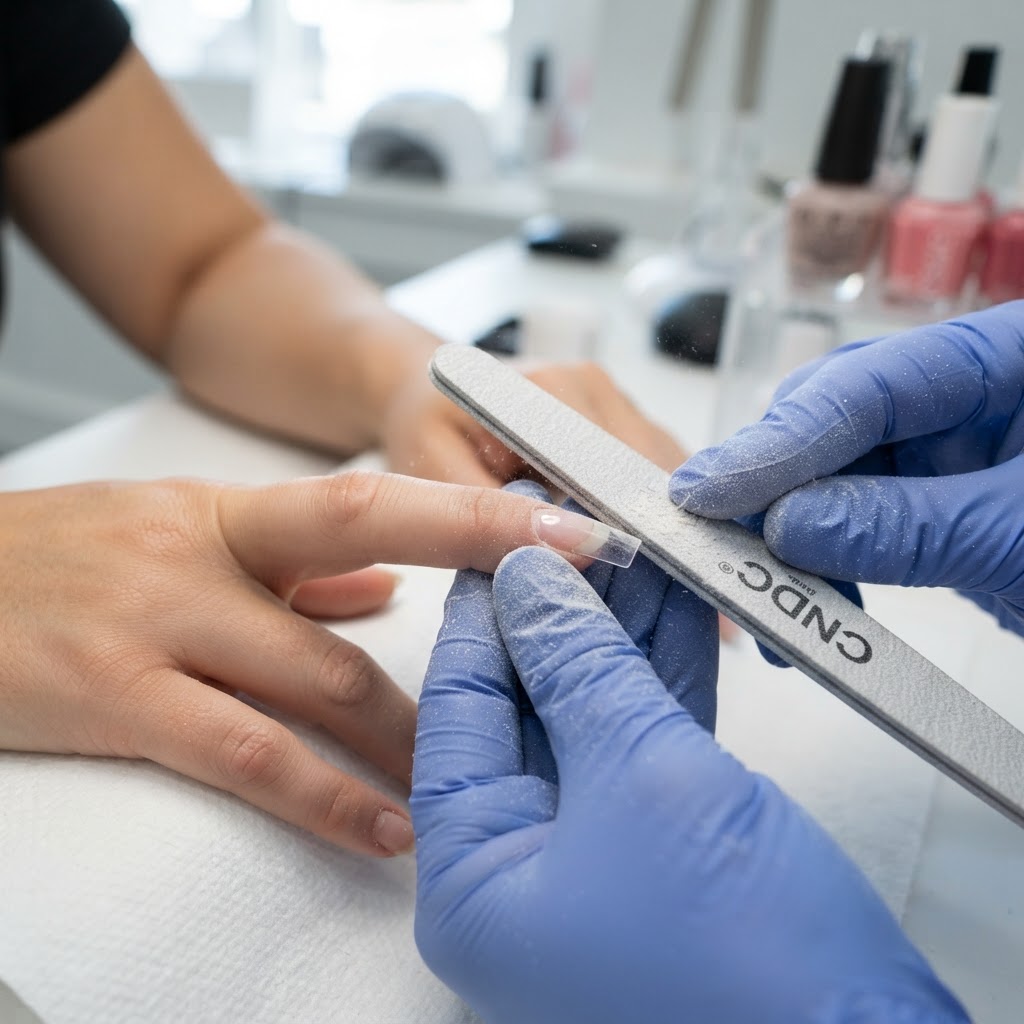
Achieving a professional-looking manicure relies heavily on how well you prepare your base. When working with nail tips, the transition point between the plastic extension and your actual nail is the most critical area for creating a polished look. If this step is rushed or skipped, the finished result will appear bulky and unnatural, often leading to premature lifting.
Blending requires patience and the right tools. You want to remove just enough material to make the step disappear without thinning your own nail bed. This process is essential for maintaining strong nails and ensuring the longevity of your nail art. Whether you are using clear nails, white french tip styles, or standard tips, the technique remains the same. Focus on the contact zone, keeping your file angle consistent to avoid digging into your natural nail plate.
Essential Manicure Tools and Preparation
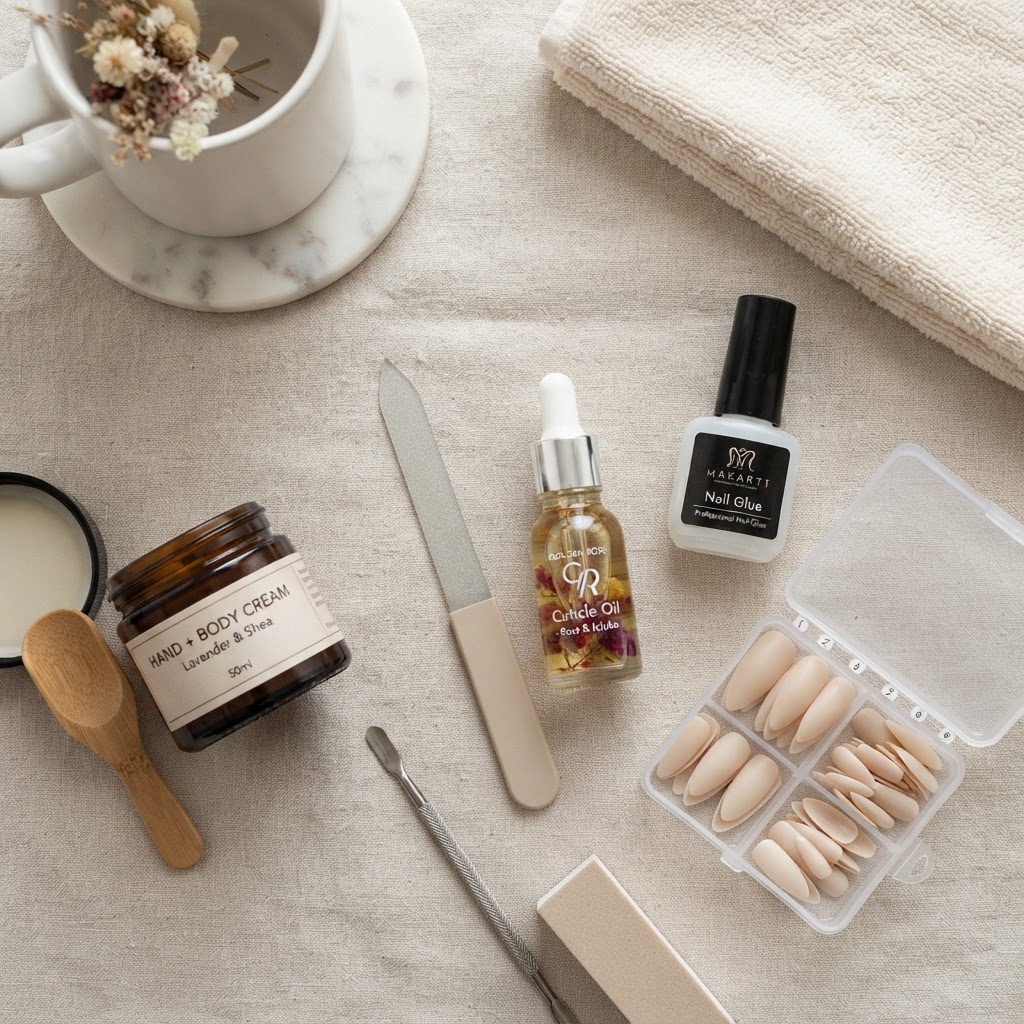
Proper preparation is the foundation of healthy nail care and successful nail maintenance tips. Before you even pick up your file, ensure your workspace is ready and your natural nails are cleaned and prepped. You will need a high-quality hand file—typically a 180-grit is perfect for blending—a cuticle pusher, and some cuticle oil to soothe the surrounding skin after the process. Gathering these items beforehand makes the entire DIY manicure much more efficient.
When applying nail tips, consider your nail sizes carefully to avoid unnecessary filing. Selecting the correct width prevents the tip from overlapping your skin, which is a common cause of pain and lifting. Once applied with the appropriate amount of glue, wait for the adhesive to fully set before you begin the blending process. A rushed application often leads to an uneven surface, making the blending stage much harder than it needs to be.
Step-by-Step Blending Techniques
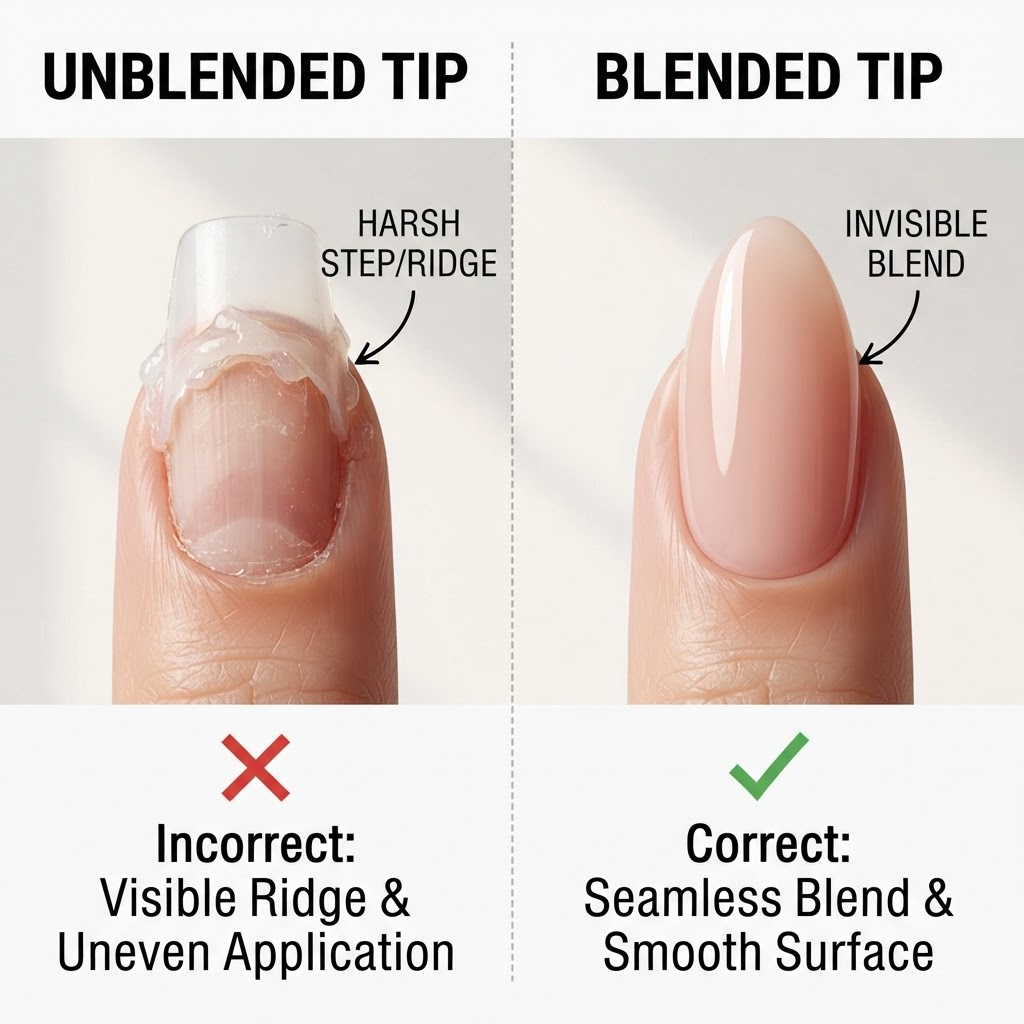
To begin, hold your hand file at a slight downward angle, moving from the plastic tip toward your natural nail. The goal is to taper the thickness of the plastic down until it becomes invisible. Using light pressure, follow the curvature of your nail, ensuring you do not create any flat spots. If you are doing a french tip on square nails or working with almond nail tips, focus on maintaining the desired nail tip shapes throughout the filing process.
It is helpful to check your progress frequently. Run your finger over the surface; if you feel a bump, you need a bit more blending. Do not worry if the clear plastic turns slightly opaque—this is normal and will vanish once you apply your gel or acrylic overlay. Keeping the area free of dust is also vital, so use a clean brush to sweep away debris as you work to see your results clearly.
Advanced Manicure Tips for Professionals
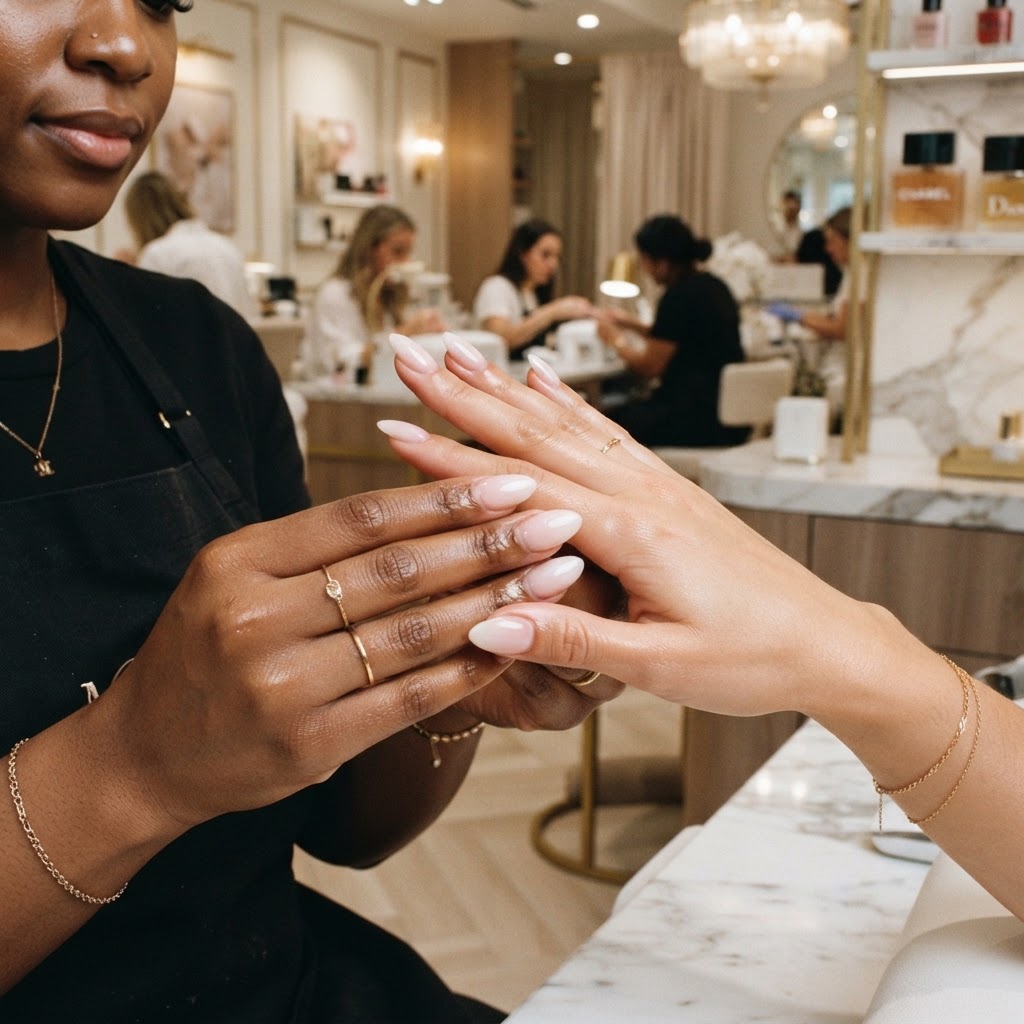
Once you have mastered the basics of blending, you can explore more complex styles like coffin shape or soft square nails design. Many users love adding creative nails elements like chrome or cat eye nails to enhance their look. As you advance, you might find that using a nail tip blender or specialized gel nail builder tutorial videos provides further insights into achieving luxury nails finish. Always keep your nail care routine at home consistent, using moisturizer cream daily to keep the skin around your manicure hydrated.
Remember that nail growth is a biological process; if you notice brittle nails, take a break from extensions. Using a quality nail strengthener can also help protect your natural bed. Whether you prefer trendy nails or a simple neutral nail, the longevity of your set depends on how clean your base was during application. Education on nail anatomy and technique is the best way to ensure your hands remain beautiful without sacrificing health.
FAQ
How do you blend nail tips?
To blend nail tips, use a 180-grit hand file to gently bevel the base of the plastic tip where it meets your natural nail. File with light, consistent pressure toward the tip until the ridge disappears and the surface feels smooth to the touch.
Do you shape a nail tip before or after you blend down the contact area?
You should perform the bulk of your shaping before you blend the contact area to avoid damaging the refined edge. Once the tip is blended and flush with the nail, do a final light file to perfect the shape and remove any stray plastic remnants.
How to shape fingernails with a file?
To shape fingernails with a file, always file in one direction rather than using a sawing motion to prevent splitting. Start at the sides of the nail and move toward the center, following the natural contour of your finger to achieve your desired aesthetic.
How to use nail tip blender?
A nail tip blender is a specialized liquid or tool designed to soften the plastic of the extension, making it easier to file away the ridge. Simply apply it to the contact area according to the package instructions, then gently file the softened material to create a seamless transition.
Conclusion
Mastering how to blend nail tips is a transformative skill for anyone interested in at-home beauty. With the right tools and a steady hand, you can achieve results that rival a professional nail salon. Start practicing these techniques today, focus on healthy nail care, and enjoy the confidence of a perfect manicure. Share your results with us and keep exploring new nail art trends to keep your hands looking their best all year round!
Leave a Reply